VIZIO E422VA User Manual
12
www.VIZIO.com
Chapter 2 Basic Controls and Connections
Front Panel
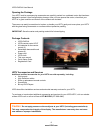
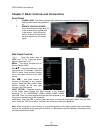
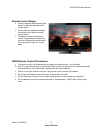
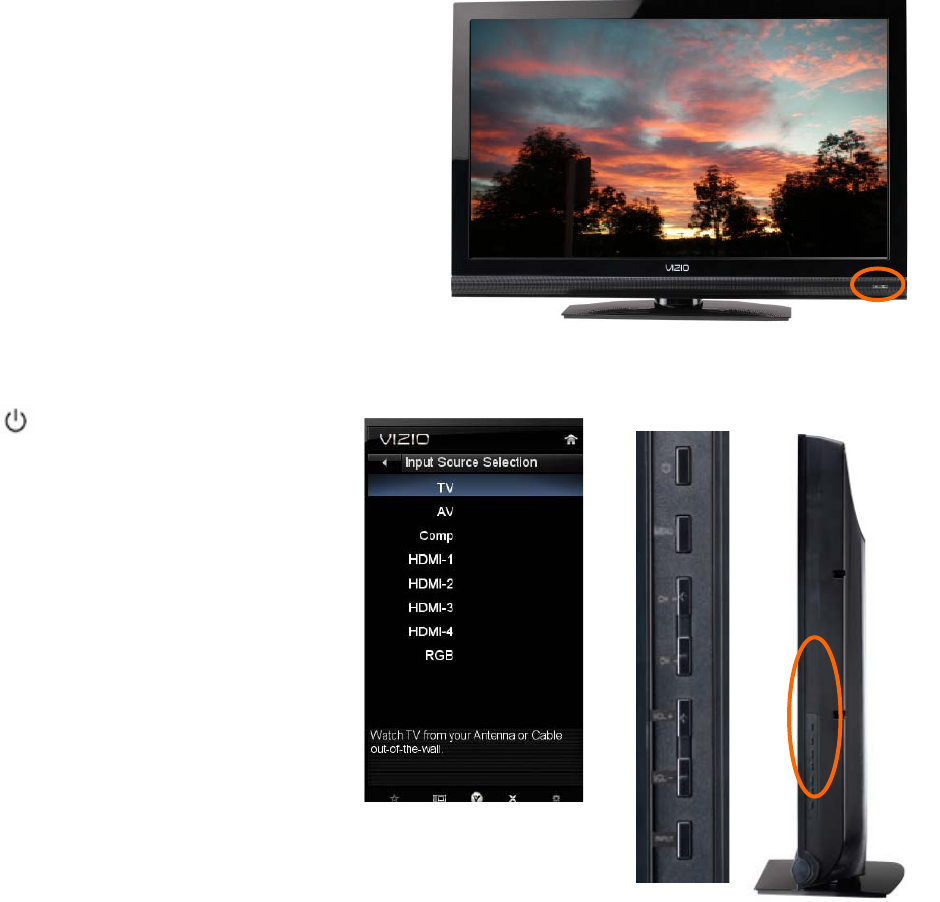
1. POWER LIGHT– The power indicator lights white when powered on and it will get dimmer
after few seconds of being powered
on.
2. REMOTE CONTROL SENSOR –
This is the window through which all
of the remote control signals pass
to the sensor. Point the remote
control directly at this window for
the best response to the remote
signal.
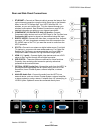
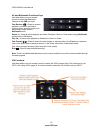
Side Panel Controls
( ) – Press this button once to
power your TV on. Press the button
again to power the TV off.
MENU – This button activates the On
Screen Display (OSD ).
CH
ST – Use these buttons to step
up or down the TV channels. While the
OSD is active, these buttons function
as up and down controls in the OSD
menus.
VOL
WX – Use these buttons to
increase or decrease to the speaker
volume. While the OSD is active, these
buttons function as left and right
controls in the OSD menus.
INPUT (ENTER) – Repeated pressing
of this button steps through the input sources in the following
sequence: TV, AV, COMPONENT, HDMI1, HDMI2, HDMI3, HDMI4,
and RGB. Once you have stepped through the entire sequence, you
will return to the beginning of the sequence.
Additionally, when the OSD is active, press this button to select the highlighted option from the OSD
menu. When the OSD is not active, this button will show the current input selections.
Note: When using the AV input (usually, a composite signal) the video signal (yellow color coded cable)
needs to be connected to the green jack connector; if a black/white image is displayed, Component input
has been selected by mistake.


