7-3
Using the Scan Functions
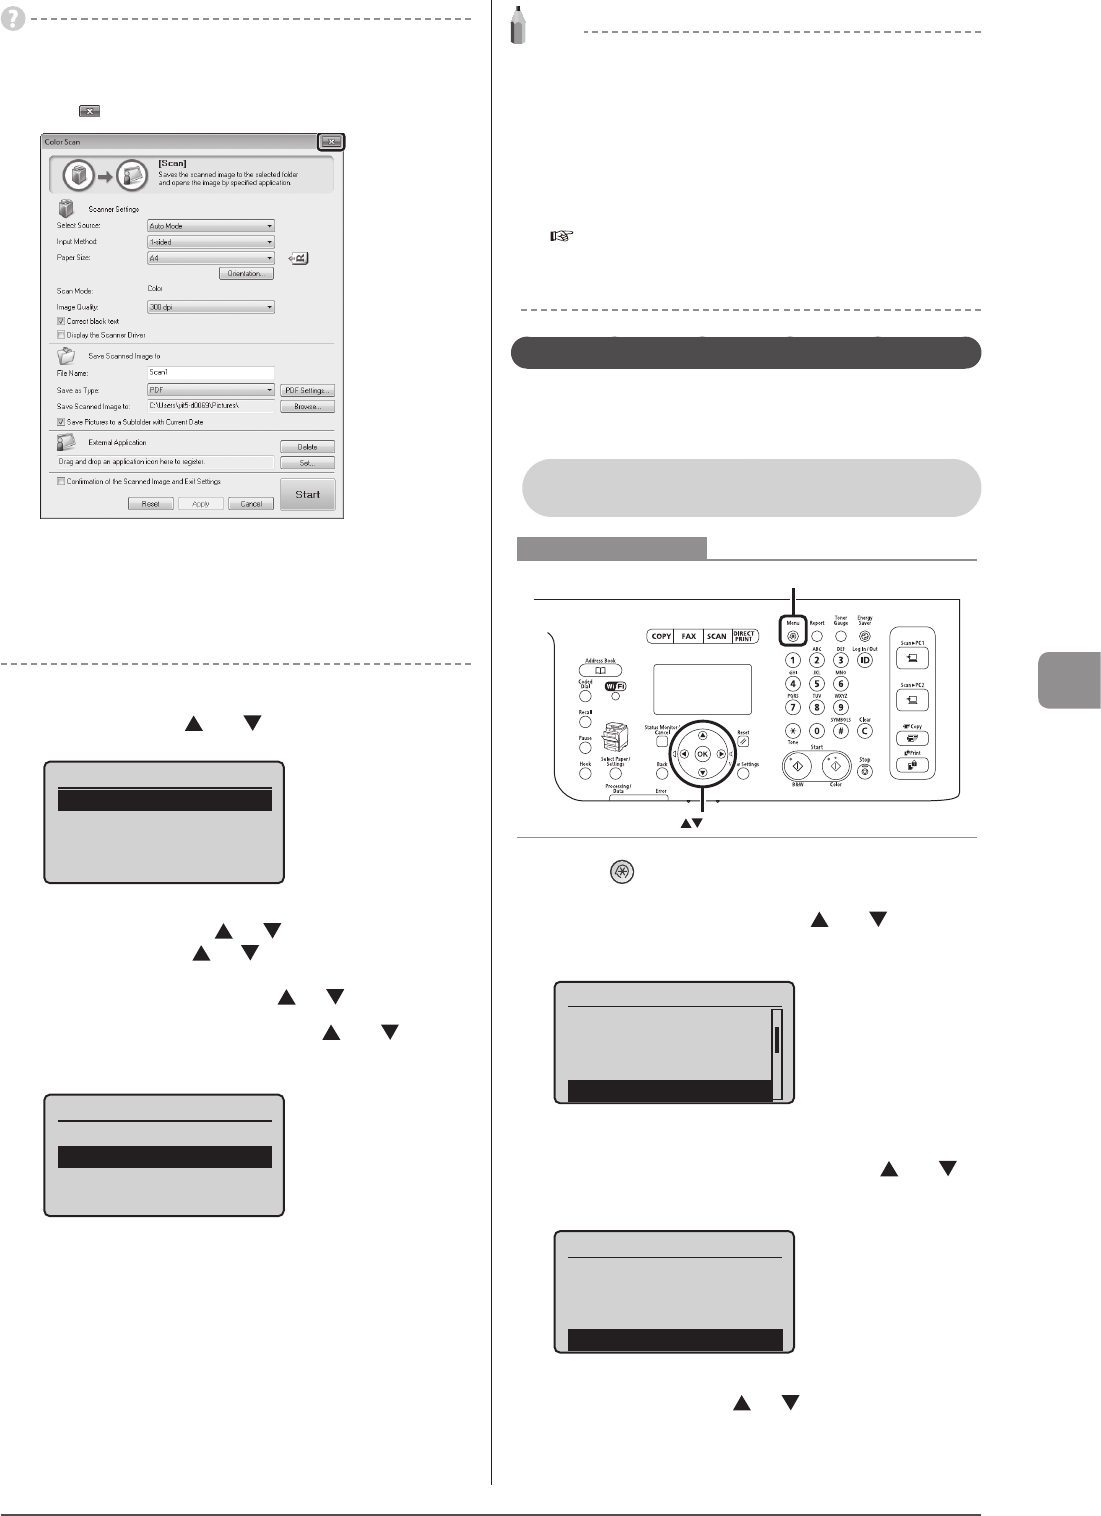
When scanning cannot be performed
You cannot perform a scan while the MF Toolbox setup screen is
displayed.
Click [ ] to close the screen before starting a scan.
When scanning is complete
The scans are saved in the appropriate folder.
When additional pages can be scanned on the platen
glass
Proceed to step 6.
6 To scan the next page, select <Scan Next
Original> using [ ] or [ ] and press [OK].
Select Next Action
<Scan Next Original>
<Store and Finish>
<Cancel>
Confirm Destination
To cancel scanning
(1) Select <Cancel> using [ ] or [ )] and press [OK].
(2) Select <Yes> using [ ] or [ )] and press [OK].
To check the destination
Select <Confirm Destination> using [ ] or [ )] and press [OK].
7 Select <Store and Finish> using [ ] or [ ] and
press [OK].
Select Next Action
<Scan Next Original>
<Store and Finish>
<Cancel>
Confirm Destination
The scans are saved in the appropriate folder.
NOTE
The default save location:
Once scanning is complete, a folder is automatically displayed to
which the scanned images are saved. By default, a folder bearing
the scanning date is created inside the [Pictures] (or [My Pictures])
folder in [My Documents].
To change the scanner settings:
You can re-specify the save location, file format, resolution, and
other settings from a computer.
e-Manual → Scanning → Scanning Paper Documents and
Saving Them to a Computer (USB & Network Connection) →
Using the MF Toolbox
Performing a Scan Using a Shortcut Key
Register destinations and frequently used settings in shortcut
keys in advance, to perform a scan easily without needing to
manually enter a destination and specify required settings.
Registering a Shortcut Key/Confirming the
Destination Registered in the Shortcut Key
Menu
OK
Keys to be used for this operation
1 Press [ ] (Menu).
2 Select <Scan Settings> using [ ] or [ ] and press
[OK].
Menu
Common Settings
Copy Settings
Fax Settings
Scan Settings
3 Select <Shortcut Key Settings> using [ ] or [ ]
and press [OK].
Scan Settings
TX Function Settings
Memory Media Settings
Output File Image Set
Shortcut Key Settings
To store a new shortcut:
(1) Select <Register> using [ ] or [ ] and press [OK].
