12 78-8135-4385-3-A
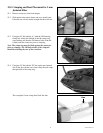
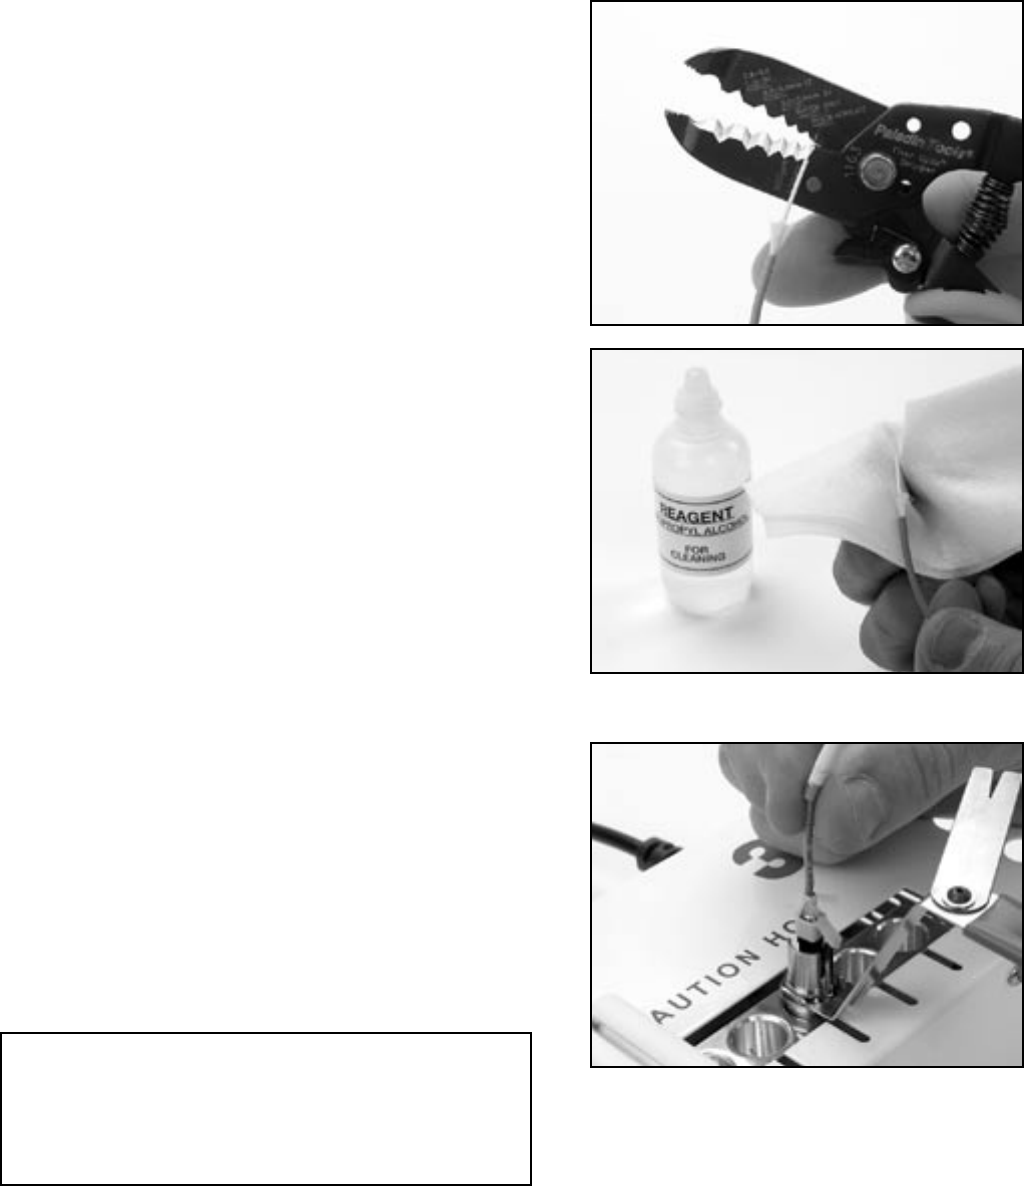
11.5 Using the 3M
™
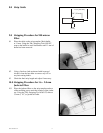
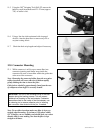
Stripping Tool 6365-ST, remove the
buffer in small increments until 21–22 mm (approx.
7/8") of buffer is left.
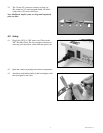
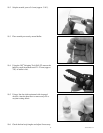
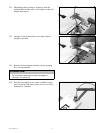
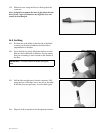
11.6 Using a lint-free cloth moistened with isopropyl
alcohol, clean the bare fiber to remove any oils or
acrylate coating debris.
11.7 Check the final strip lengths and adjust if necessary.
12.0 Connector Mounting
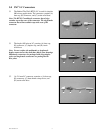
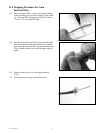
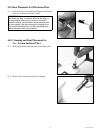
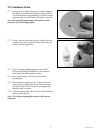
12.1 While connector is still in oven, mount fiber into
connector inserting until buffer stops inside the
connector. Be sure to insert fiber within the guide tube
at the rear of the connector.
Note: Removing the connector holder from the oven prior
to fiber insertion will cause adhesive to thicken rapidly,
greatly limiting the time to insert the fiber.
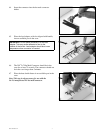
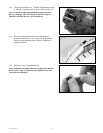
Cable jackets should be approximately 1mm from the rear
of crimp area when buffer is correctly located.
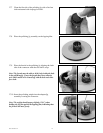
IMPORTANT: Do not lift the connector while in the load
adapter during the heating process. This will prevent
adhesive from bonding to the load adapter. If adhesive
does adhere itself to the inside of the load adapter, use
the cleaning pin to remove adhesive prior to inserting
next connector. Use alcohol with the pin, if needed.
Note: To ease fiber insertion, make sure fiber is kept very
straight when mounting. If resistance is felt when within
1/8” of buffer, you are stubbing and should back out a short
distance and re-enter making sure that the fiber is kept
straight at all times.


