16 78-8135-4385-3-A
15.0 Crimping and Boot Placement for 3 mm
Jacketed Fiber
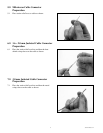
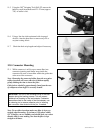
15.1 Remove connector from load adapter
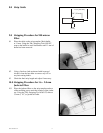
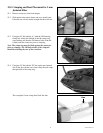
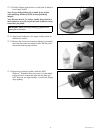
15.2 Slide metal crimp sleeve down and over aramid yarn.
It should rest over the metal strength sheath as shown.
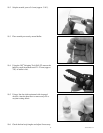
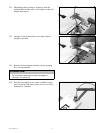
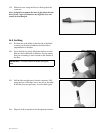
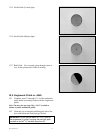
15.3 Using the LC die labeled “A” with the 3M lettering
facing left, crimp the left half of the the crimp ring
once making sure that the 3M lettered side of the die
is flush with the connector prior to crimping.
Note: The crimp ring must be flush against the connector
prior to crimping. The 3M-lettered side of the crimp die
should be touching the rear of the connector.
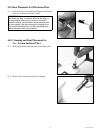
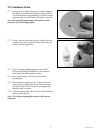
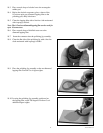
15.4 Using the LC die labeled “B” line up the non-lettered
side of the die with the rear of the crimp die and crimp
the right half of the crimp ring.
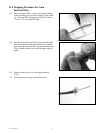
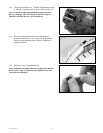
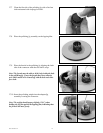
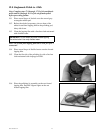
The completed 3 mm crimp shold look like this:
Hex


