


60
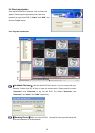
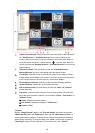
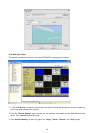
1. Adjust the screen size: Move the mouse to the vertical bar on the right side of
the "Work Devices" / "Available Devices" box on the left margin of the
screen. This bar runs from the top to the bottom of the screen, and when you
move the mouse to this bar, it shows like this: . You can move this bar to
the left to narrow the "Working Devices" / "Available Devices" box and to the
right to widen it.
2. Hide Device Panel: Click this button to hide the "Available Devices /
Working Devices" box from view behind the video display screen.
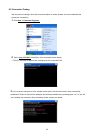
3. Full Screen: Click this button to show the full screen for surveillance. All the
setting buttons will be hidden in this mode. If you want to return to the previous
mode, use the mouse to click the right key, and choose "Close".
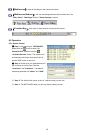
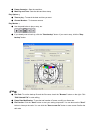
4. Re-arrange the divisions: Click this button to see the following channels.
5. Screen divisions: Choose any of the buttons you want.
6. LAN or Internet mode: Click this button to enter the "LAN" and "Internet"
modes alternately.
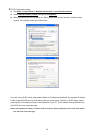
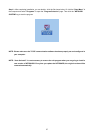
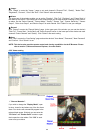
7. Pop-menu: You can use the mouse to move to each channel. Click the right
key of the mouse to show a window. You can select "Close", "Full Screen", or
"Capture / Print".
※ Close: Stops the channel's display.
※ Full Screen: Enlarges the display to "Full Screen".
※
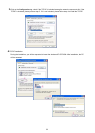
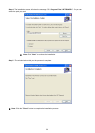
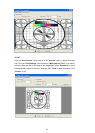
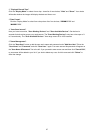
Capture / Print:
"Capture":
See the "Image Preview" page for the "Preview Setting" which has two choices :
"Mark Date and Time" and "Dimension". Mark the item “Mark Date and Time” to
set the date and time stamp on a chosen picture. Choose an appropriate dimension
before saving the image. To save the image, click "Save" at the bottom to enter the
"Save Page" window. Give the file name. If you want to exit, click "Cancel".