CHANGING THE DEFAULT SETTINGS
18
CHOOSE THE SETUP MENU
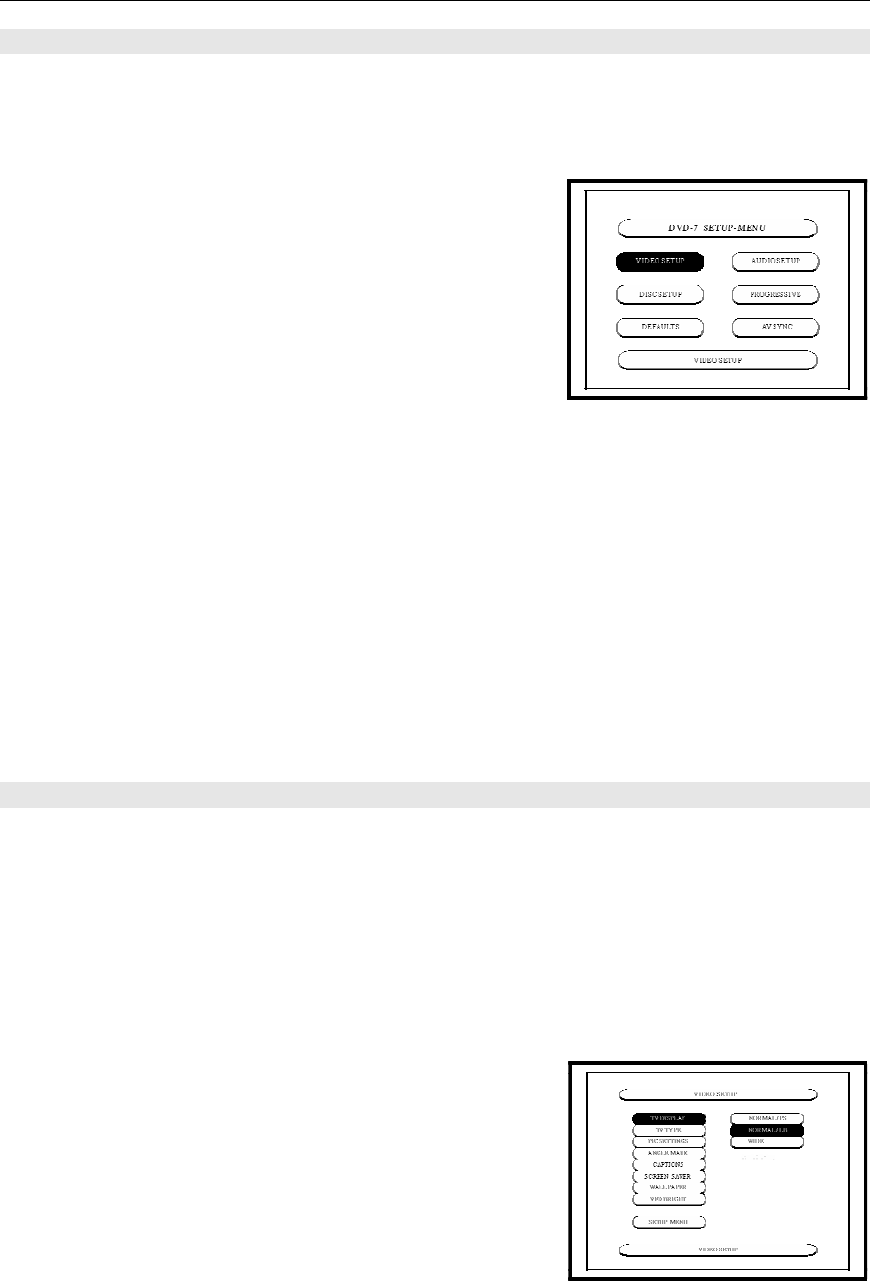
The SETUP menu allows you to make alterations to the video, audio, disc, progressive and AV
Sync settings. Use the UP
, DOWN, LEFT, and RIGHTcursors buttons to select the
desired setting. Press ENTER to save changes in settings. Press the SETUP button and the
following options appear:
1. VIDEO SETUP
Use this to set the DVD 7 screen mode.
(TV aspect and TV type)
2. AUDIO SETUP
Use this to set the DVD 7 audio output mode.
(Digital and LPCM output settings)
3. DISC SETUP
Use this to set the language to be used when playing the disc. If the set language is not
offered on that disc, the discs default language is set.
4. PROGRESSIVE SETUP
Use this to set the Progressive Video Output mode, HDMI and RGBs Video Output mode.
5. DEFAULTS
Use this to reset the factory defaults settings.
6. AV SYNC SETUP
Use this to set the Audio & Video so they are synchronized in timing for the video and
the audio signals. Some disks have incorrect timing and the video and the audio signals
are slightly out of “synch” which is visible from careful viewing.
VIDEO SETUP
Choose Video Setup and press ENTER. Use the UP
, DOWN, LEFT, and
RIGHTcursor buttons to navigate the options within Video Setup. When making changes,
navigate to the desired selection and press ENTER. Press the LEFT
arrow to return to the list
of options within Video Setup. To exit Video Setup, use the DOWN arrow to navigate to the
bottom of the list making SETUP menu visible. Choose the SETUP button to return to the main
SETUP menu.
...........................................................................................................................................................................
TV DISPLAY
Use this to set the shape of your TV’s screen.
Normal / PS (for 4/3 shape screens)
Select this to play wide DVDs in the pan and scan mode.
(with sides of the picture cut off)
Discs for which pan and scan is not specified are played
in the Letter Box mode.
