6-21
Cisco IOS Software Configuration Guide for Cisco Aironet Access Points
OL-29225-01
Chapter 6 Configuring Radio Settings
Configuring Radio Channel Settings
The following example selects channel 36 and configures it to use DFS on a frequency band 1:
ap#configure terminal
ap(config)interface dot11radio1
ap(config-if) channel 36
ap(config-if)
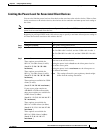
Blocking Channels from DFS Selection
If your regulatory domain limits the channels that you can use in specific locations--for example, indoors
or outdoors--you can block groups of channels to prevent the access point from selecting them when DFS
is enabled. Use this configuration interface command to block groups of channels from DFS selection:
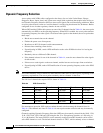
[no] dfs band [1] [2] [3] [4] block
The 1, 2, 3, and 4 options designate blocks of channels:
• 1—Specifies frequencies 5.150 to 5.250 GHz. This group of frequencies is also known as the UNII-1
band.
• 2—Specifies frequencies 5.250 to 5.350 GHz. This group of frequencies is also known as the UNII-2
band.
• 3—Specifies frequencies 5.470 to 5.725 GHz.
• 4—Specifies frequencies 5.725 to 5.825 GHz. This group of frequencies is also known as the UNII-3
band.
This example shows how to prevent the access point from selecting frequencies 5.150 to 5.350 GHz
during DFS:
ap(config-if)# dfs band 1 2 block
This example shows how to unblock frequencies 5.150 to 5.350 for DFS:
ap(config-if)# no dfs band 1 2 block
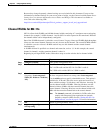
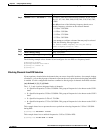
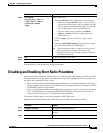
Step 3
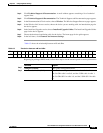
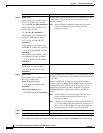
channel number | dfs |band <1 - 5>}For number, enter one of the following channels: 36, 40, 44, 48,
149, 153, 157, 161, 5180, 5200, 5220, 5240, 5745, 5765, 5785,
or 5805.
Enter dfs and one of the following frequency bands to use
dynamic frequency selection on the selected channel:
1—5.150 to 5.250 GHz
2—5.250 to 5.350 Ghz
3—5.470 to 5.725 GHz
4—5.725 to 5.825 GHz
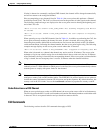
If you attempt to configure a channel that may only be selected
by dfs, the following message appears:
This channel number/frequency can only be used by
Dynamic Frequency Selection (DFS)
Step 4
end Return to the privileged EXEC mode.
Step 5
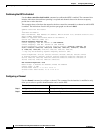
show running-config Verify your entries
Step 6
copy running-config startup-config (Optional) Save your entries to the configuration file.
Command Purpose


