40
Function Setup Function Setup
ENGLISH
ENGLISH
Introduction Connections Playback Function Setup Others
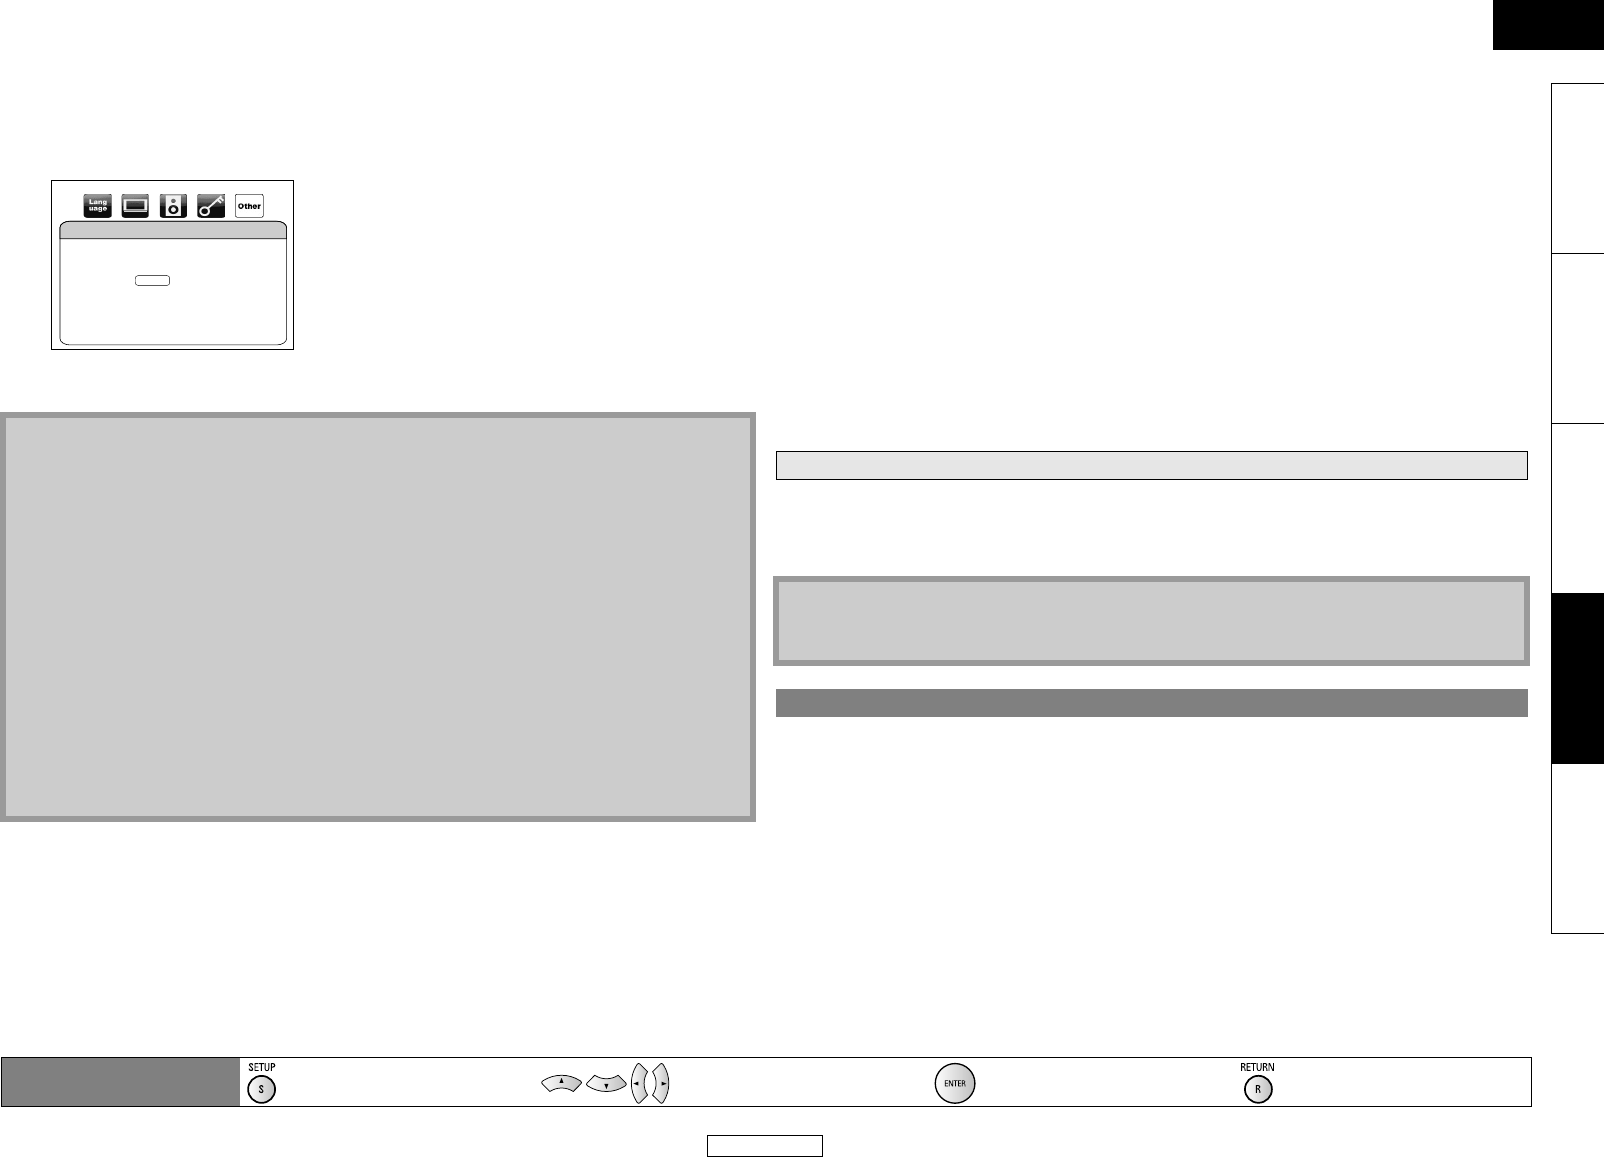
Proxy Port
Use [U / V] to select “Proxy Port”, then press [ENTER].
• Proxy port setting screen will appear.
Enter proxy port number with [the Number buttons].
After you enter all correctly, press [ENTER] to complete the setting.
4) Press [SETUP] to exit.
Ⅵ Connection Speed
You can set connection speed as your preference. (The default setting is “Auto”.)
1) Follow steps 1) to 2) in “IP Address Setting” on page 38.
2) Use [U / V] to select “Connection Speed”, then press [ENTER].
3) Use [U / V] to select the desired setting, then press [ENTER].
4) Press [RETURN] to go back to previous screen, or press [SETUP] to exit.
Ⅵ BD-Live Setting
You can limit the Internet access from the BD-Live functions. (The default setting is “Allow”.)
1) Follow steps 1) to 2) in “IP Address Setting” on page 38.
2) Use [U / V] to select “BD-Live Setting”, then press [ENTER].
3) Use [U / V] to select the desired setting, then press [ENTER].
4) Press [RETURN] to go back to previous screen, or press [SETUP] to exit.
You can deactivate all the network connection and settings by following the instructions below.
1) Follow steps 1) to 4) in “Connection Test” on page 38.
2) Use [U / V] to select “Disable”, then press [ENTER].
3) Press [RETURN] to go back to previous screen, or press [SETUP] to exit.
You can update the software by connecting the unit to the Internet.
1) Follow steps 1) to 3) in “Connection Test” on page 38.
2) Use [U / V] to select “Network Update”, then press [ENTER].
• Confirmation message will appear.
3) Use [U / V] to select “Yes”, then press [ENTER].
• This unit will start checking for the latest firmware version.
4) Confirmation message will appear.
Use [U / V] to select “Yes”, then press [ENTER].
• The unit will start downloading the latest firmware version.
5) When the download completes, confirmation message will appear.
Press [ENTER].
• The unit will start updating the firmware version.
• It may take a while to complete the updating. (Please wait until “100%” appears on the front
panel display.)
6) After updating finishes, this unit will restart and open the disc tray automatically.
Note
For IP Address Settings and DNS Settings:
• The range of input number is between 0 and 255.
• If you enter a number larger than 255, the number will automatically be 255.
• The manually entered number will be saved even if you change the setting to “Auto(DHCP)”.
• When you enter a wrong number, press [CLEAR] to cancel. (The number will be back to “0”.)
• If you want to enter 1 or 2-digit number in one cell, press [Z] to move on to the next cell.
• If the entered IP address or the default gateway or primary DNS number is same as the default
setting, IP address setting will be set to “Auto(DHCP)”. (The manually entered number will be
saved.)
• When IP address setting is set to “Manual”, the setting of DNS setting will automatically be
“Manual” and when IP address setting is set to “Auto(DHCP)”, you can set either “Auto(DHCP)” or
“Manual” for DNS setting.
For Proxy Settings:
• The range of input number for the proxy port number is between 0 and 65535. (If you enter a
number larger than 65535, it will be regarded as 65535.)
• For proxy port, the selected ports may be blocked and not be able to use depending on your
network.
“Auto” : Set the appropriate connection speed automatically, in accordance with your
network environment.
“10BASE Half” : Set the connection speed to “10BASE Half”.
Proxy Port
Please select the input Proxy Port.
then press ‘ENTER’.
∗∗∗∗∗
“10BASE Full” : Set the connection speed to “10BASE Full”.
“100BASE Half” : Set the connection speed to “100BASE Half”.
“100BASE Full” : Set the connection speed to “100BASE Full”.
“Allow” : Internet access is permitted from all BD-Live contents.
“Limited Allow” : Internet access is permitted only for BD-Live contents which have content
owner certificates. Internet access without the certificates are prohibited.
“Prohibit” : Internet access is prohibited from all BD-Live contents.
Disable
Note
• The network connection can be reactivated by setting the network connection to “Enable(Easy)”
or “Enable(Custom)”.
Network Update
Remote control operation
buttons
:
Displaying the menu
Cancel the menu
:
Move the cursor
(Up/Down/Left/Right)
: Confirm the setting : Return to previous menu
E5KC1UD_EN.book Page 40 Tuesday, May 26, 2009 10:08 AM


