30
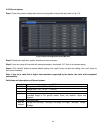
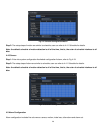
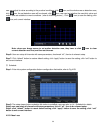
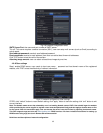
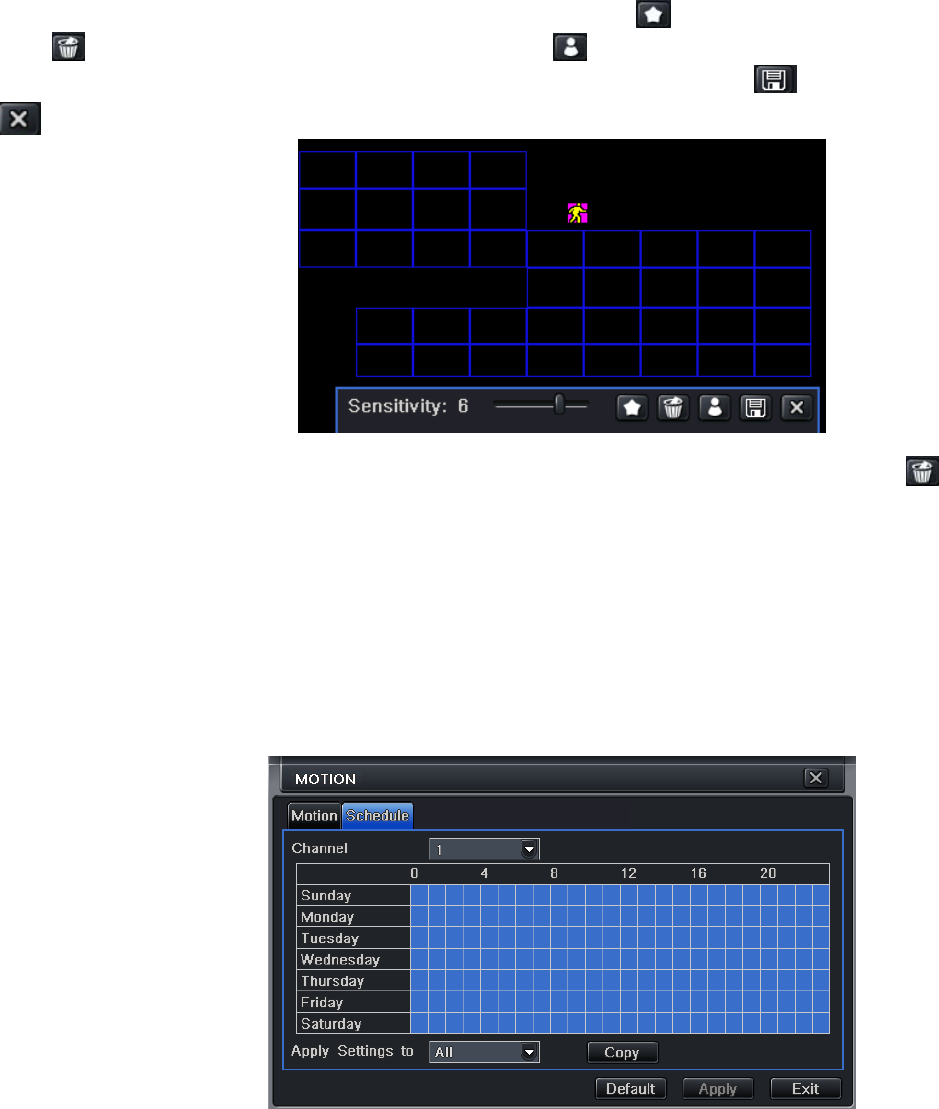
user can adjust its value according to the practical conditions; click icon, set the whole area as detection area;
click
icon, the set detection area will be cleared; click icon, user can test whether the sensitivity value and
motion area are suitable to current conditions(refer to following picture); Click
icon, to save the setting; click
icon, exit current interface.
Note: when user drags mouse to set motion detection area, they have to click
icon to clear
current detection area first, and then set the area.
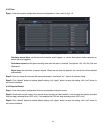
Step 6: User can setup all channels with same parameters, checkmark “all”, then to do relevant setup.
Step 7: Click “default” button to restore default setting; click “apply” button to save the setting; click “exit” button to
exit current interface.
② Schedule
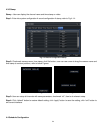
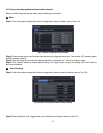
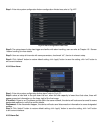
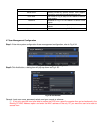
Step 1: Enter into system configurationalarm configurationschedule; refer to Fig 4-25:
Fig 4-25 Alarm Configuration-Schedule
Step 2: The setup steps of alarm schedule are similar to schedule; user can refer to 4.4.1 Schedule for details.
Step3: user can setup all channels with same parameters, tick off “all”, then to do relevant setup.
Step4: click “default” button to resort default setting; click “apply” button to save the setting; click “exit”
button to exit current interface.
4.5.3 Video Loss


