


66
REC
4. Recording Overview
Before continuing with the Recording Overview please be sure to have reviewed Chapter 3,
specifically the Camera & Schedule menus. You are now ready to begin setting up the machine for
recording. This chapter will show you how to setup the recorder for three basic types of recording:
Instant recording, scheduled recording, and event recording. Instant recording (N) is simple as it
only requires pressing the Record button for recording, much like pressing the record button on a
VCR. Scheduled recording (1~8) is based upon a set time period of when to begin & end the
recording. Event recording consists of an alarm or motion event triggering the DVR to record on that
event.
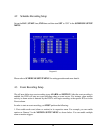
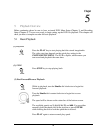
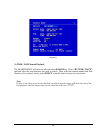
4.1 Instant (N) Recording Setup
Press the Record key to start recording immediately.
When REC is pressed, the pictures being monitored will be recorded in the HDD.
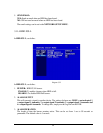
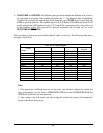
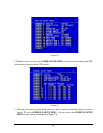
The recording quality and recording speed can be set in the CAMERA SETUP
MENU. To set the target camera for a particular recording speed (IPS) when
using the instant record method, apply the changes to the last Time Period (TP)
row labeled N.
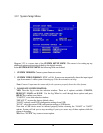
A “R01” sign appears in the record status bar. The number following R signifies
HDD number.
When the HDD is full, the machine will stop recording automatically or overwrite
from the beginning of the HDD, depending on the setting in the RECORD
SETUP MENU.
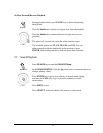
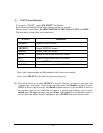
Press STOP key to stop instant recording.
The STOP key can only be used for instant recording mode. Schedule or event
recording mode must be turned off in their respective menus.
Note:
If STOP key is pressed while machine is recording and playing video, the Play function will be
disabled first. If STOP key is pressed twice, the DVR will stop recording completely.
Chapter
4
STOP