35
4.4.3 Alarm – Video Loss
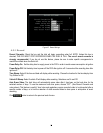
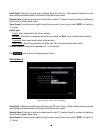
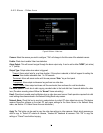
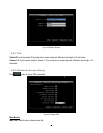
Figure 4-19 Alarm – Video Loss
Camera: Select the camera you wish to configure, “Title” will change to the title name of the selected camera.
Enable: Check box to enable Video Loss detection.
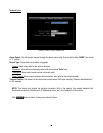
Alarm Output: This will transmit a signal through the alarm output relay. It can be set to either “NONE” (not active)
or “1” (active).
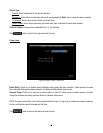
Output Type: Output action when alarm is triggered.
Timeout: Alarm output lasts for a set time duration. If this option is selected, a field will appear for setting the
duration. Time duration selectable from 1 to 150 seconds.
Permanent: Alarm will remain active until the user presses “Enter” key on front panel.
Transparent: Alarm output continues as long as there is a video loss.
Trans+Timeout: Alarm output continues until the event ends, then continues for a set time duration.
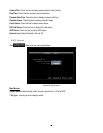
Pre-alarm Record: Check box to start copying recorded video to the hard disk from 5 seconds before the video
loss. (Pre-alarm recording rate will follow the “Normal” frame rate setting)
Email: Check box to enable email notification when a video loss event occurs. Email operation requires that valid
email settings have been entered in the Network Setting/Email setup screen.
Network Alarm: Check this box to send out a network alarm to a client PC when video loss occurs. (This feature
requires PowerCon software on the client PC and proper settings for the Alarm Server in the Network Setup
menu; see Section 4.7.6 Alarm Server for more information.)
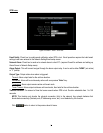
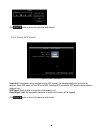
Apply To: This button can be used to copy the video loss settings to other cameras. Select which cameras you
wish to copy to. "Select All" selects all cameras, “Unselect All” deselects all cameras. Click “OK” to copy the
settings or "Cancel" to exit without copying.


