


48
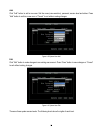
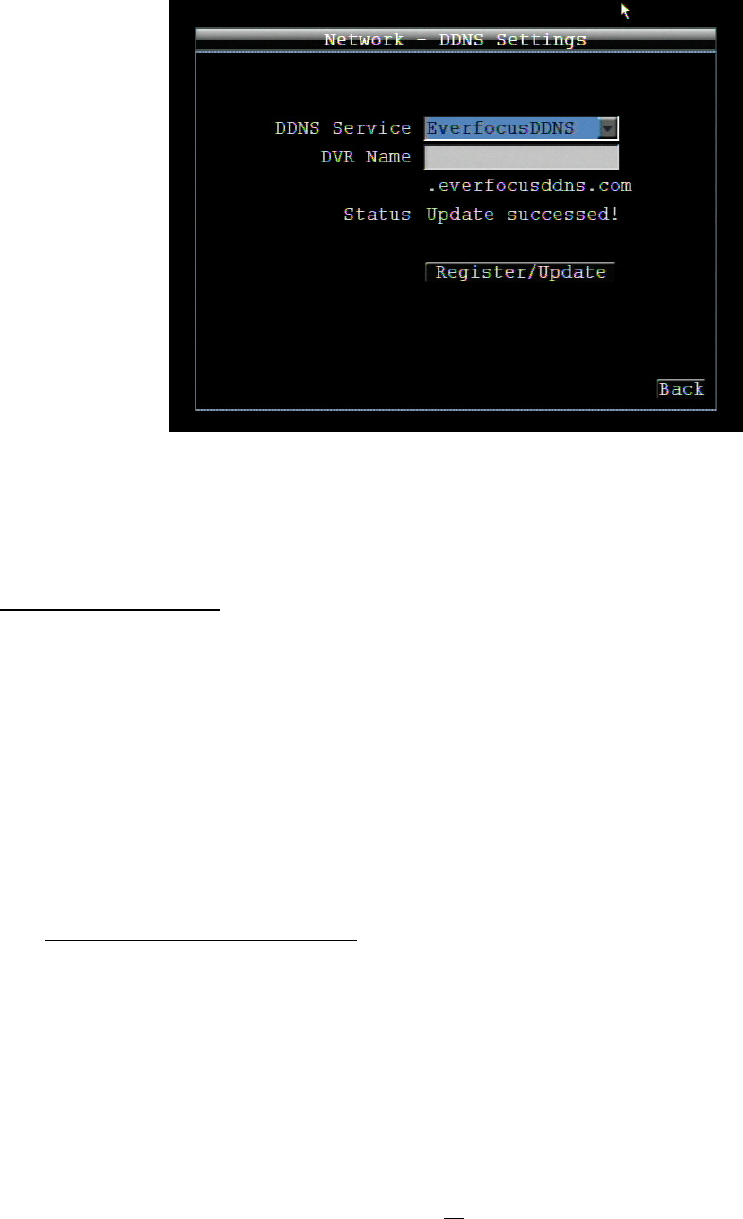
4.7.4 DDNS Settings
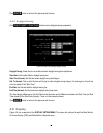
DDNS Server: Select either “EverfocusDDNS” or “www.dyndns.org” as the DDNS provider. If DDNS will not be
used, simply select “Disable”.
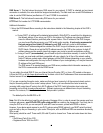
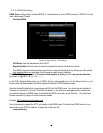
EverfocusDDNS
Figure 4-34 Network Menu – DDNS Settings
DVR Name: Input the desired name for the DVR
Register/Update: Click the button to submit and register the name to the Everfocus server.
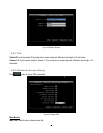
The DDNS name you choose must be unique; that is, it must not already be in use. Please go to the website
http://everfocusddns.com and check that the name you wish to use is available.
PLEASE NOTE: The name of the DVR cannot include a space, or a dot (period) or any special characters
particularly ~ ! @ # $ % ^ & * ( ) + < > " ; : . , _
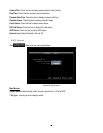
In the DVR’s Network Menu above, go to DDNS. Choose “everfocusddns.com” for the Server and put in your
chosen name (verified available and without special characters) for DVR Name/hostname.
Press the Submit/Update button to synchronize the DVR with the DDNS server. You should see an indication of
“Success” on the screen. If you see “Could Not Find Server” or any other error message instead, double-check
your network settings and DDNS name and resubmit the DDNS name until you get “Success”. You should now
be able to connect by typing in the host name you created.
Example: http://hostname.everfocusddns.com
It is not necessary to append the HTTP port number to the DDNS name. The EverFocus DDNS server not only
keeps track of your DVR’s IP address, it keeps track of the ports too!
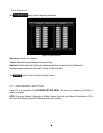
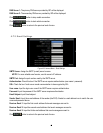
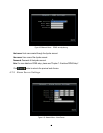
www.dyndns.org