BusSecure User Manual Hardware Installation
0150-0263A / May 2003 15
2.6 INSTALLING THE PANIC BUTTON (OPTIONAL)
The Panic Button is typically installed within reach of the driver.
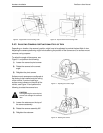
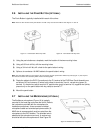
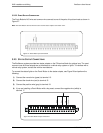
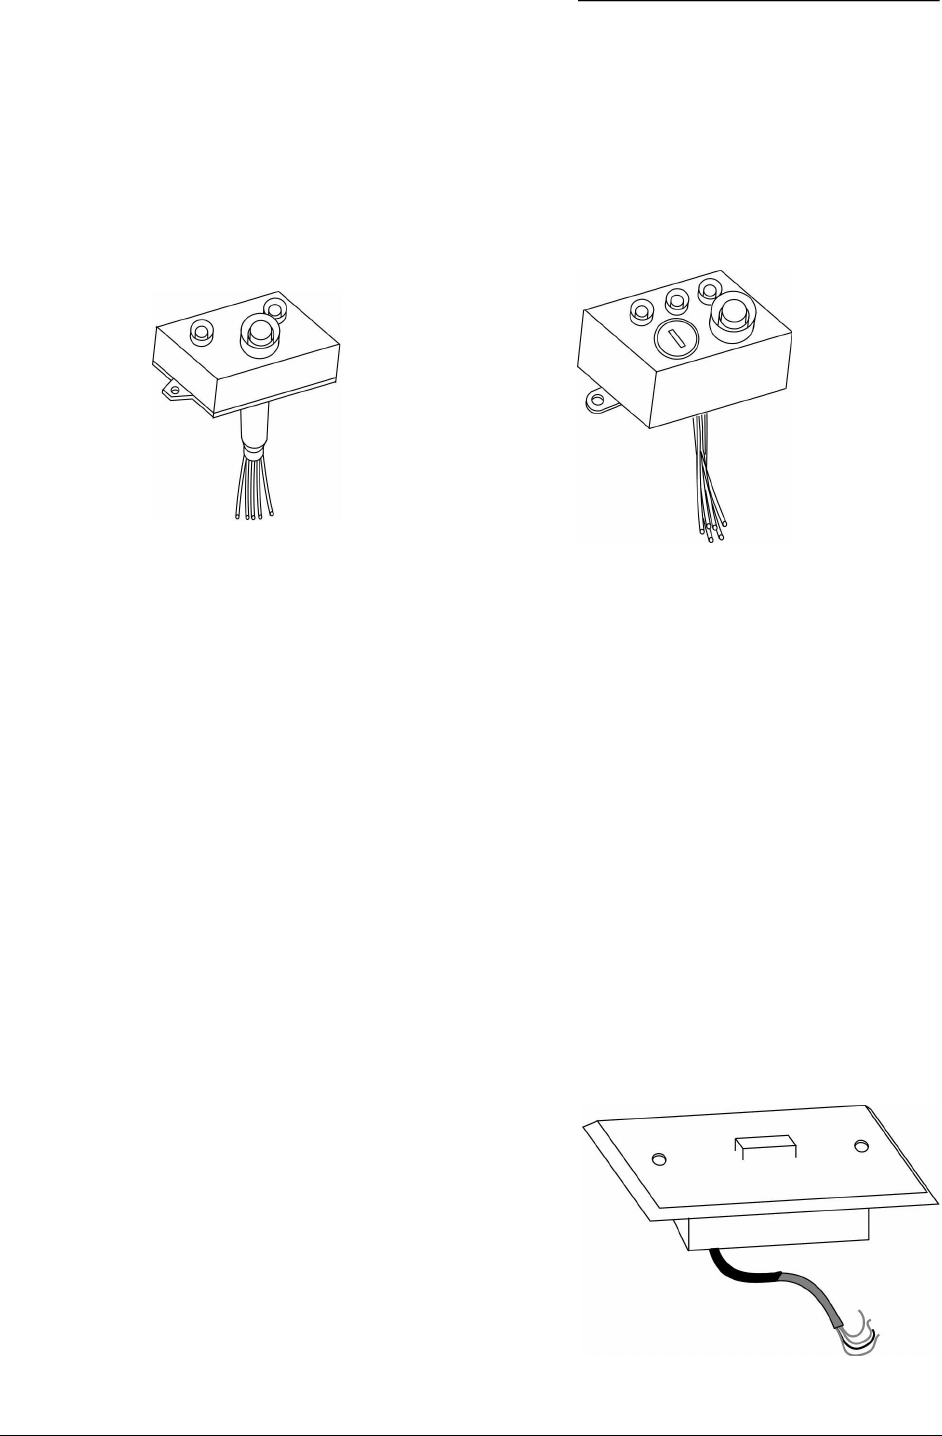
Note: There are two versions of the panic button: one with a key reset and one without. See Figures 17 and 18.
1) Using the panic button as a template, mark the location of the two mounting holes.
2) Using a 6/32-inch drill bit, drill the mounting holes.
3) Using a 3/4-inch drill bit, drill a hole for the panic button’s wiring.
4) Splice a six-conductor 18 AWG cable to the panic button’s wiring.
Note: The panic button with key reset (Figure 18) has six wires, and the panic button without key reset (Figure 17) has only five.
The N/C and common wires are both yellow and are interchangeable.
5) Route the cable to the DVR. Connections to the P1 terminal of the DVR Rear Panel Assembly are
as follows: N/C and common (2 wires, both yellow) to terminals 3 and 4, normal wire (green) to
terminal 13, check wire (red) to terminal 15, positive wire (gray) to terminal 18, negative wire (white,
present only on the panic button with key reset) to terminal 17.
6) Mount the panic button.
2.7 INSTALLING THE MICROPHONE (OPTIONAL)
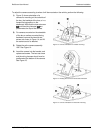
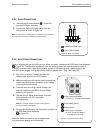
The BusSecure microphone (Figure 19) is typically
mounted in the head sign area near the driver. Refer to
the instructions provided with the microphone for
installation procedures. A two-conductor shielded
microphone cable and a twisted pair power cable (18
AWG wire is recommended) must be routed from the
microphone to the DVR location. The shielded wire is
attached at the microphone end only. A service loop
should be left at the microphone end. See Figure 29.
Figure 17. Panic button without key reset Figure 18. Panic button with key reset
Figure 19. BusSecure microphone


