


Chapter 1 1
Introduction
Key Features Overview
Your VCR is equipped with features that will add to your recording experience. The following
information summarizes a few of these features. Chapter 3 provides more information about
the rest of the VCR’s features and how to use them.
I
N
P
U
T
T
V
•
V
C
R
REVERSE PLAY FORWARD
RECORD
STOP
PAUSE
INFO
SEARC
MUTE
GO BACK
123
456
789
0
F.ADV
CLEAR MENU SPEED
C
H
A
N
V
O
L
V
O
L
C
H
A
N
TV
VCR
TRACKING
ON OFF
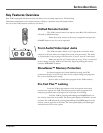
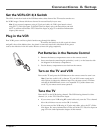
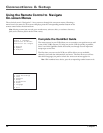
Unified Remote Control
Description: The VCR’s remote control can operate most RCA, GE, and Proscan
TVs with no additional steps.
Requirements: Point the remote control at the active component and press the
ON•OFF button to see if it can be operated.
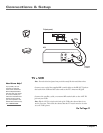
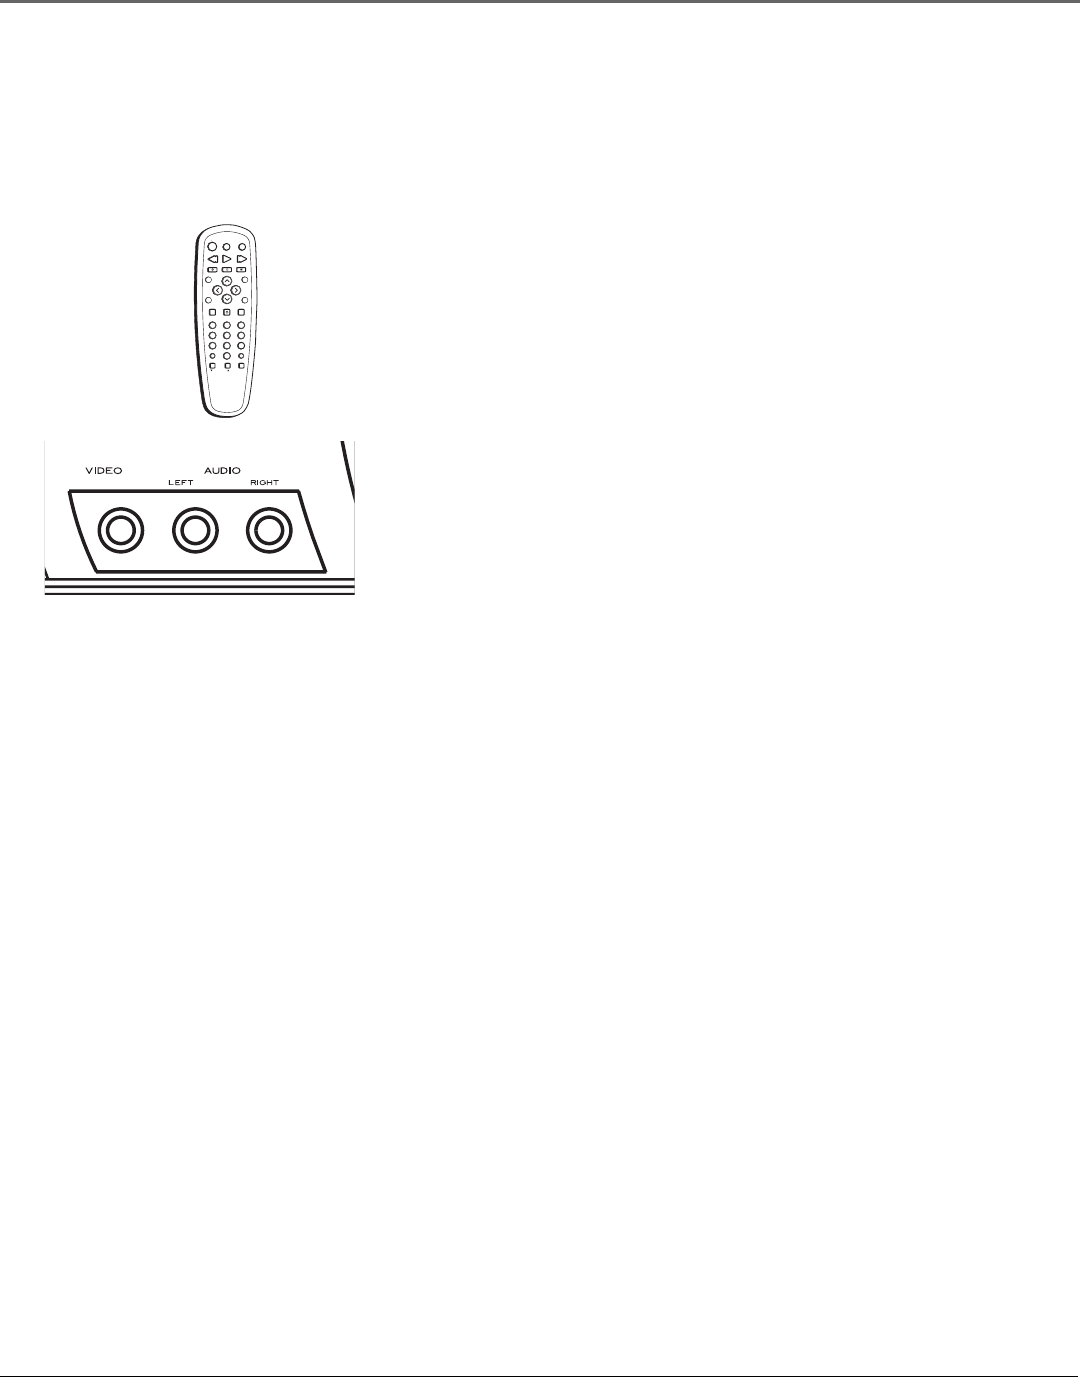
Front Audio/Video Input Jacks
Description: The VCR has Audio/Video (A/V) input jacks on both the front
and rear of the unit (there are output jacks on the rear panel only). The front
A/V jacks make it easy to plug in an external A/V device, such as a camcorder.
Requirements: Make sure that all A/V connections are snug. To see a connected
device’s image, turn the VCR to its Video Line Input by pressing the remote
control’s WHO•INPUT button.
ShowSaver™ Memory Protection
Description: Set timer programs are stored indefinitely using the VCR’s
permanent memory so you’ll never have to worry about losing your programs
due to an extended power outage.
Requirements: Store a daily or weekly timer program in the VCR’s memory.
Pro-Tect Plus™ Locking
Description: Locks the VCR so that buttons on the front panel and remote
control won’t operate the VCR. This feature protects timer programs from
frustrating accidents such as being left on at the time of recording.
Requirements: Lock the VCR by pressing and holding the POWER button on
the remote control for six seconds. The front panel display will blink for several
seconds. The VCR unlocks by pressing and holding the POWER button on the
remote control, again for six seconds. The front panel display will blink again
and release the lock on the system.