Setting Up
Setting Up 11
1
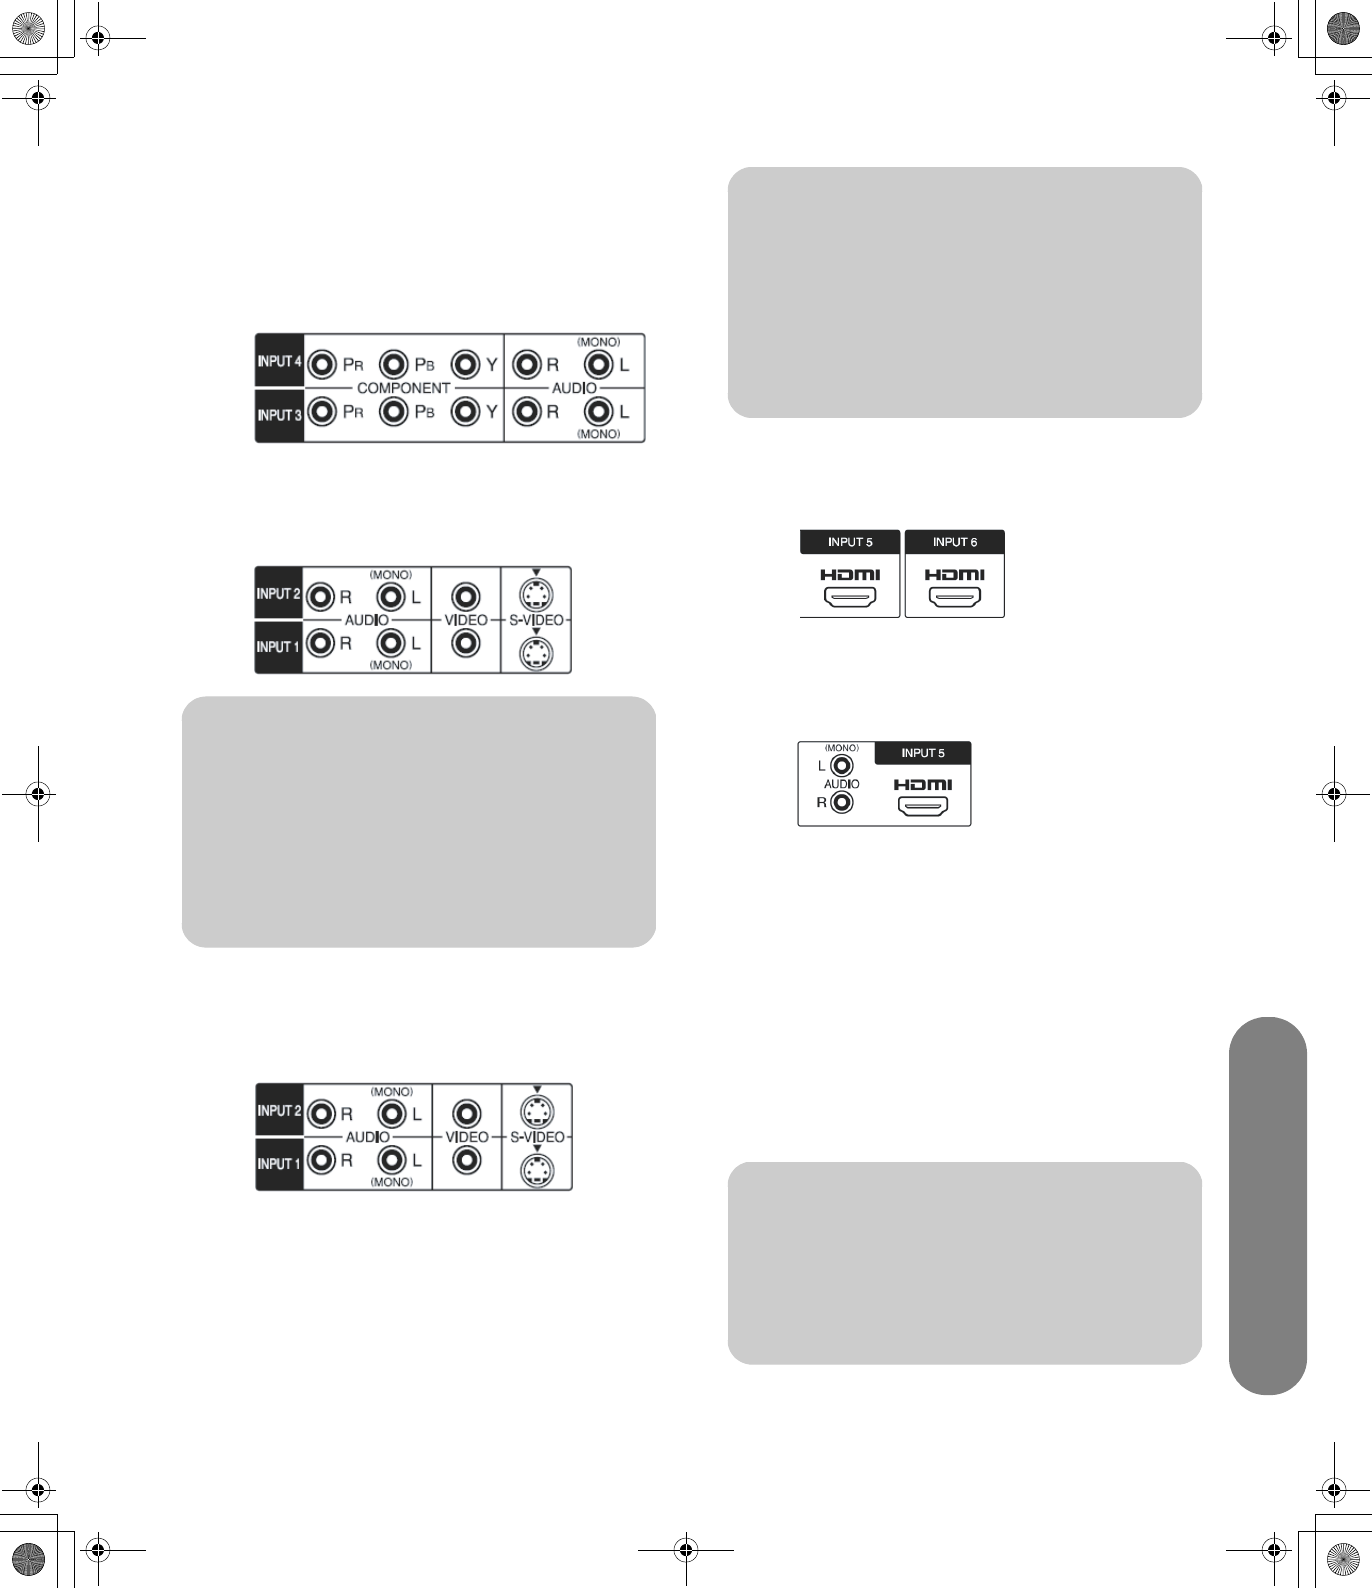
Connect the set-top box input source cable(s) to
the back of the TV using one of the connector sets:
■ Component video and audio cables
connected to Component-1 (Input 3) or
Component-2 (Input 4) connectors and
Component-Audio connectors on the TV.
■ S-video and audio cables connected to
AV1-S/Video (Input 1) or AV2-S/Video
(Input 2) connectors and AV-Audio connectors
on the TV.
.
■ Video (composite) and audio cables
connected to AV1-Video (Input 1) or AV2-
Video (Input 2) and AV-Audio connectors on
the TV.
.
■ HDMI cable connected to the HDMI In 1
(Input 6) or HDMI In 2 (Input 5) connectors on
the TV.
■ DVI video cable with a DVI-to-HDMI adapter
and audio cables connected to the HDMI In 2
(Input 5) connector and Audio In connectors
on the TV.
2 Connect the cables to the set-top box.
3 Turn on the set-top box.
4 Connect power to the TV; see “Connecting power
to the TV” on page 15.
5 Turn on the TV; see “Turning the TV On and Off
(Standby)” on page 17.
6 Open the OSD and set the HDMI audio option in
the Audio menu to DVI when using the HDMI 2
connector with DVI equipment. See “Selecting
HDMI audio mode” on page 29.
n
The AV-S/Video and AV-Video connectors
share the audio connectors in the input
connector set. If cables are connected to
both video connectors in a set, the S/Video
connector has priority over the Video
connector.
n
The AV-S/Video and AV-Video connectors
share the audio connectors in the input
connector set. If cables are connected to
both video connectors in a set, the S/Video
connector has priority over the Video
connector.
n
The HDMI connector does not support PC
timing. If you connect a PC using the HDMI
connector on the TV, the PC may not
function properly.
sa6ldtv.book Page 11 Tuesday, February 21, 2006 12:35 PM
