FRONT PANEL CONTROLS FOR 36CX35B, 36FX42B AND
36UX52B - 12 -
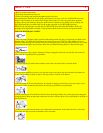
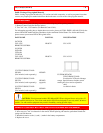
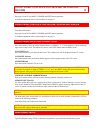
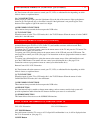
Front Panel Illustration
See pages 24 and 25 for MENU, CURSOR and EXIT button operations.
A detailed explanation of the circled numbers is on page 11.
FRONT PANEL CONTROLS FOR 36CX35B, 36FX42B AND 36UX52B
FRONT VIEW
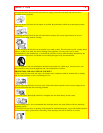
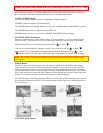
Front Panel Illustration
See pages 24 and 25 for MENU, CURSOR and EXIT button operations.
A detailed explanation of the circled numbers is on page 11.
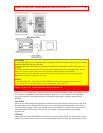
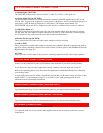
FRONT PANEL JACKS AND CONNECTIONS
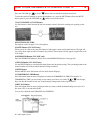
1 INPUT/EXIT Button
Press this button to select the current antenna source or VIDEO: 1, 2, 3. Your selection is shown in the top
right corner of the screen. This button also serves as the EXIT button when in MENU mode.
2 VOLUME Level
Press these buttons for your desired sound level. The volume level will be displayed on the TV screen.
3 CHANNEL Selector
Press these buttons until the desired channel appears in the top right corner of the TV screen.
4 POWER Button
Press this button to turn the TV on or off.
NOTE: Your HITACHI TV will appear to be turned OFF if there is no video input when VIDEO: 1, 2, or 3
is selected. If you have no input to VIDEO 1, 2, or 3, press the INPUT button until the normal broadcast
picture appears. (See page 24.) If the picture does not appear, the power is OFF.
5 REMOTE CONTROL INFRARED Sensor
Point your remote control at this area when selecting channels, adjusting volume, etc.
6 FRONT INPUT JACKS
Use these audio/video jacks for a quick hook-up from a camcorder or VCR to instantly view your favorite
show or new recording. Press the INPUT button until VIDEO: 3 appears in the top right corner of the TV
screen. If you have mono sound, insert the audio cable into the left channel jack.
NOTE: Front panel control CURSOR operation will not operate the FAMILY FAVORITES channel
function.
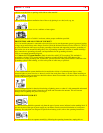
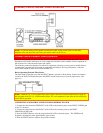
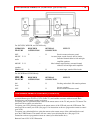
The front panel jacks are provided as a convenience to allow you to easily connect a camcorder or VCR as
shown in the following examples:
Front Panel Jacks and Connections Illustration
NOTE: Completely insert the connection cord plugs when connecting to front panel jacks. If you do not,
the picture that is played back may be abnormal.
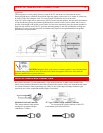
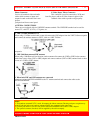
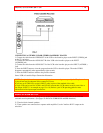
REAR PANEL JACKS
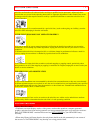
Rear Panel Jacks Illustration
Typical full feature setup. Follow connections that pertain to your personal entertainment system.


