


T775U SERIES 2000 ELECTRONIC STAND-ALONE CONTROLLER
25 62-0255—09
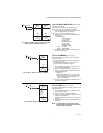
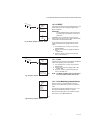
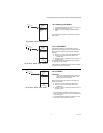
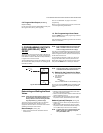
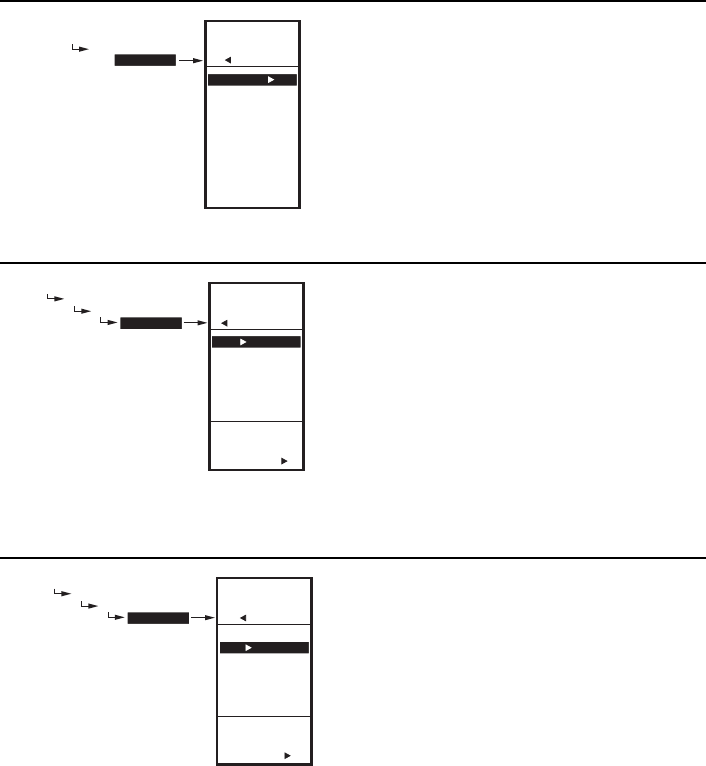
Fig. 53. Setup - Outputs - Relay Menu.
1.3.4. Setting up the Relays
1. From the Outputs menu, use the p and q buttons to
highlight the desired relay (1 or 2).
2. Press the u button to display the selected Relay
menu.
Continue with the remainder of this section to setup the
relay outputs.
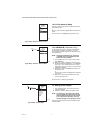
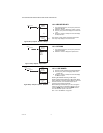
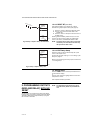
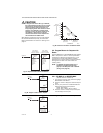
Fig. 54. Setup - Outputs - Relay - Schedule.
1.3.4.1. SCHEDULE
This selection displays only if “Use Sched = YES” is
selected during the Output Options setup (see page 22).
When selected, individual outputs default to follow the
schedule.
1. Press the u button to display the Schedule values.
2. Use the p and q buttons to select YES or NO.
Default: YES
3. Press the u button to accept the value and return to
the Relay menu.
An individual output can be selected to be controlled or
not controlled by the schedule.
If NO is selected, the Setback selection does not appear
in the Program menu for this output.
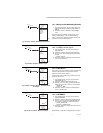
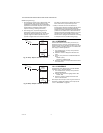
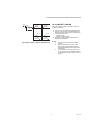
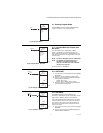
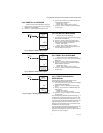
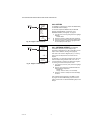
Fig. 55. Setup - Outputs - Relay - Reset.
1.3.4.2. RESET
IMPORTANT
For relays to use the Reset function of the con-
troller, both modulating outputs (MOD 1 and
MOD 2) must be set for Reset.
Relays that have Reset set to YES use the reset curve
configured for MOD 1.
1. Press the u button to display the Reset values.
2. Use the p and q buttons to select YES or NO.
Default: NO
3. Press the u button to accept the value and return to
the Relay menu.
• If you select YES, then all other outputs display this
Setup option and will use the reset curve programmed
for the first output.
• If you select NO, then No Reset is configured for that
output and all other subsequent outputs.
SETUP
OUTPUTS
RELAY 1
SETUP
OUTPUTS
RELAY 1
SCHEDULE
RESET
RESET RT
EXIT
M24614
SETUP
OUTPUTS
RELAY 1
SCHEDULE
SETUP
OUTPUTS
RELAY 1
SCHEDULE
USE
SCHEDULE
FOR
OUTPUTS
YES
NO
M24615
SETUP
OUTPUTS
RELAY 1
RESET
USE
RESET
FOR
RELAY 1
YES
NO
SETUP
OUTPUTS
RELAY 1
RESET
M24616