


T775U SERIES 2000 ELECTRONIC STAND-ALONE CONTROLLER
3 62-0255—09
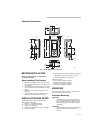
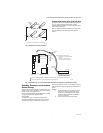
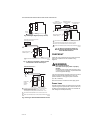
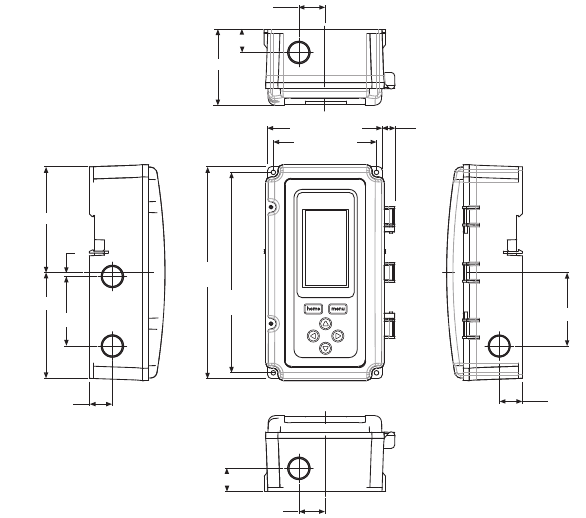
Controller Dimensions
Fig. 1. T775U Dimensions in inches (mm).
BEFORE INSTALLATION
Review the “Specifications” on page 38 before
installing the controller.
When Installing This Product
1. Read these instructions carefully. Failure to follow
them could damage the product or cause a hazard-
ous condition.
2. Check ratings given in instructions and on the prod-
uct to ensure the product is suitable for your appli-
cation.
3. Installer must be a trained, experienced service
technician.
4. After installation is complete, check out product
operation as provided in these instructions.
INSTALLATION AND SETUP
The following installation procedures are typically
performed in the order listed:
1. Mounting — see “Mounting” below.
2. Wiring — see “Wiring” on this page.
3. Checkout — see page 10.
4.
Interface and Programming overview – see page 11.
5. Setup – see page 14.
6.
Programming the Controller with no Reset – see page 26
or
Programming the Controller with Reset – page 29.
7. Scheduling (optional)— see page 34.
Additional topics are:
• Sensor calibration begins on page 11.
• Interface overview begins on page 11.
• Summary menu begins on page 38.
• Troubleshooting begins on page 38.
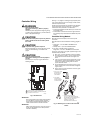
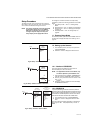
MOUNTING
This section describes the mounting procedures for the
controller and temperature sensor(s).
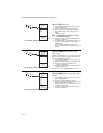
Controller Mounting
IMPORTANT
Avoid mounting in areas where acid fumes or
other deteriorating vapors can attack the metal
parts of the controller circuit board, or in areas
where escaping gas or other explosive vapors
are present.
IMPORTANT
The controller must be mounted in a position that
allows clearance for wiring, servicing, and
removal.
M24546
4 13/32 (112.1)
1/2 (12.4)
3 31/32 (101)
7 23/32
(196)
8 5/32
(207.1)
2 15/16 (74)
7/8 (22.5)
1 (25.5)
4 1/16 (103.4)
4 1/16 (103.4)
1/64 (3.8)
2 11/16 (68.1)
7/8 (22.5)
2 13/16 (71.8)
7/8 (22.5)
1 (25.5)
7/8 (22.5)
TOP
BOTTOM
LEFT RIGHT
FRONT VIEW