


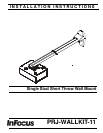
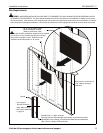

Installation Instructions PRJ-WALLKIT-11
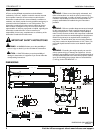
Visit the InFocus support site at www.infocus.com/support 13
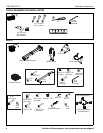
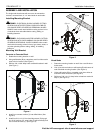
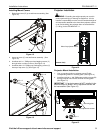
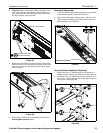
3. (Optional) Cables can be tied to inside of projector’s front
cover using cable ties (not included). Route cables near
front cover and wrap cable tie through slots on front cover
and around cables. (See Figure 25)
Figure 25
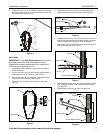
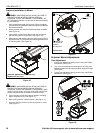
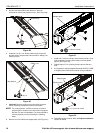
4. Replace removed cable management covers (if necessary).
Insert one side of cover into groove and press firmly on the
cover on the other side until it snaps into the other groove.
(See Figure 26)
Figure 26
5. Return outer covers to the mount following instructions in
Installing Mount Covers section.
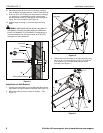
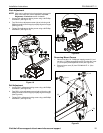
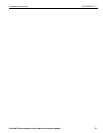
Extension Adjustment
1. Loosen two bolts holding stop bracket in place on underside
of short throw projector mount. (See Figure 27)
2. Adjust mount to desired extension length. (See Figure 27)
3. Tighten two bolts holding stop bracket to secure mount in
desired position. (See Figure 27)
Figure 27
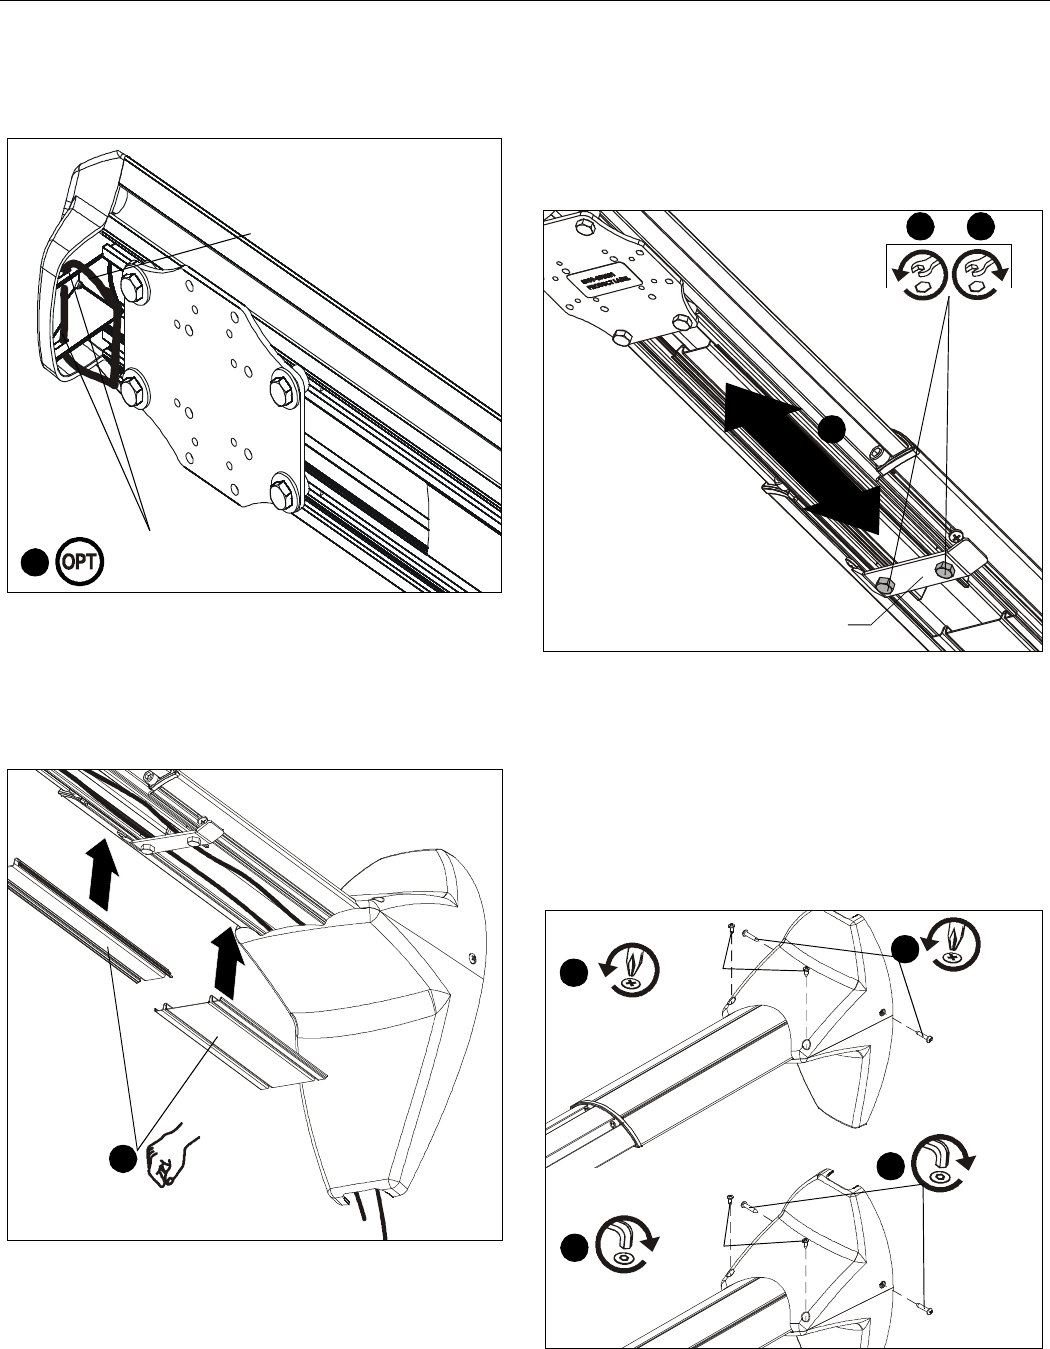
Security Screw Installation (Optional)
1. Remove two #8 x 1/2" Phillips screws (U) and two #10 x 1"
Phillips screws (V) from top and lower covers. (See Figure 28)
2. Install two 8-32 x 1/2" buttonhead security screws (J) and
two 10-24 x 1" buttonhead security screws (M) into top and
lower covers. (See Figure 28)
Figure 28
and around cables
Cable tie (not included)
Route through slots
3
4
(projector not shown)
1 3
2
Stop bracket
(projector not shown)
2
(V) x 2
(M) x 2
2
(J) x 2
1
(U) x 2
1