


12
www.insignia-products.com
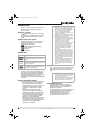
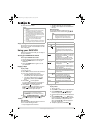
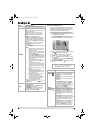
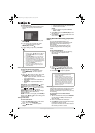
Using the DVD Setup menus
In this menu system there are several ways to
customize the settings. Most menus consist of
three levels to set up the options, but some
require more levels for some settings.
To change settings using the Setup menu:
1 Press DVD to switch to DVD mode (if you are
not already in DVD mode).
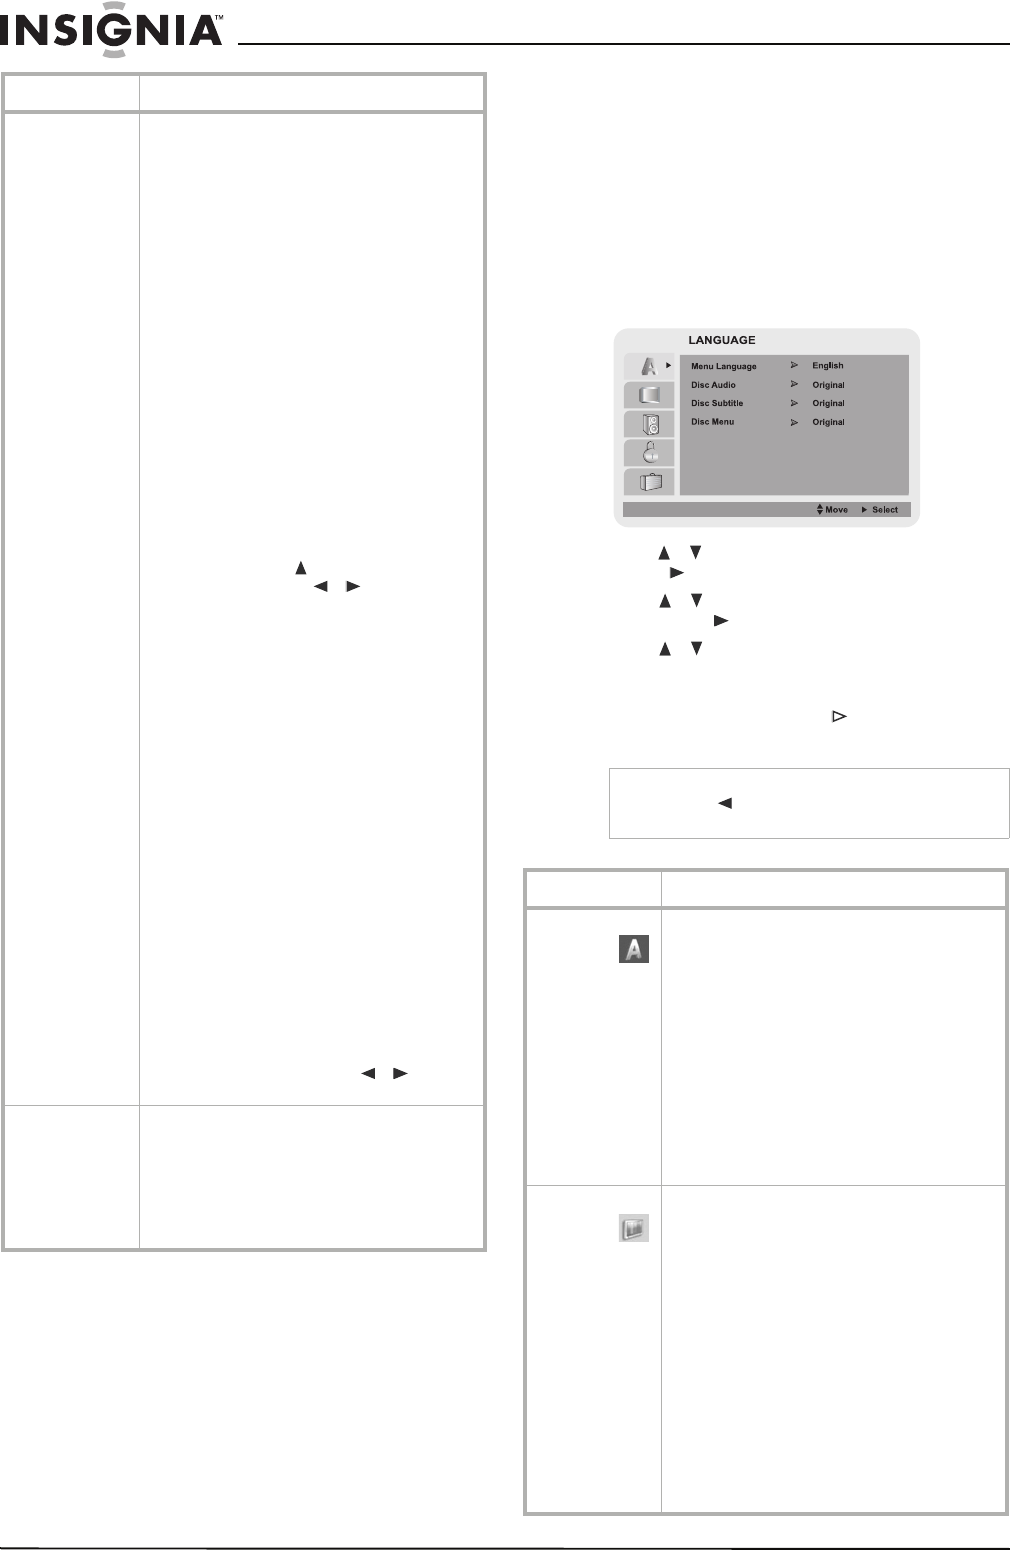
1 Press SETUP/MENU. The
Main Menu
opens
with the LANGUAGE sub-menu selected.
2 Use / to select the menu you want, then
press to go to the second level.
3 Use / to select the option you want,
then press to go to the next level.
4 Use / to select the setting you want on
the selected menu, then press ENTER (OK)
to confirm your setting.
5 Press SETUP/MENU or PLAY to exit the
menu.
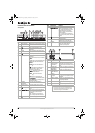
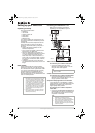
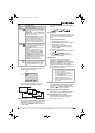
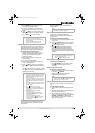
PROGRAM
Enter as many as eight programs to record.
Month—Choose the month of the year
Day—Choose the date (the day of the week is
shown automatically)
Start—Choose the time to start recording
Stop—Choose the time to stop recording
INPUT—Choose LINE1 or LINE2 to record
SPEED—Choose the record speed
REPEAT—Choose WEEKLY to record the same
program for eight weeks, choose DAILY to
record a program at the same time of day for
eight days, or choose ONCE to record only one
program.
If eight programs are already entered, FULLY
PROGRAMMED appears on the screen
momentarily.
Press SETUP/MENU to memorize the program.
Notes:
• Make sure that you insert a recordable
tape into the VCR before the first
programmed time.
• If you make a mistake or want to change
a setting, use to select the option and
correct it using / .
• If the program preset time is past, the
“PAST TIME PROGRAMMED” message
appears on the TV screen. Return to the
incorrect program and program it with
the correct time.
• If you enter a past date, the timer
recording will be performed on that date
next year.
• If the power fails or the player is
unplugged, the clock and timer settings
are kept in memory for only 3 seconds.
Otherwise you must reset the clock and
timer.
• If the tape indicator is blinking, no tape
is loaded.
• When you are playing a DVD at
programmed recording time, the player
automatically changes to VCR mode
and starts recording.
• The DVD/VCR automatically powers off
when timer recording ends.
• If the recording start and stop time
overlap on the same day, the second
program will not start recording until
the first program is finished.
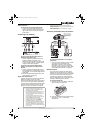
To check or erase a program, select the
program from the menu with / . Press
CLEAR to erase.
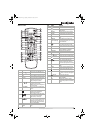
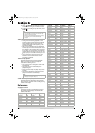
SETUP
FUNCTION OSD—Turns the on-screen display
(OSD) ON or OFF.
AUDIO MODE—Choose from HI-FI (stereo)
and NORMAL (mono - default)
AUDIO OUTPUT—Selects the audio output
from the AUDIO OUT terminals. Choose
STEREO (default), LEFT, or RIGHT.
Menu Available options
Notes
• Press to go back to the previous level.
• Menus remain on screen for 3 minutes.
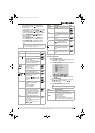
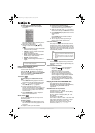
Menu Available settings
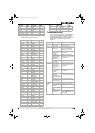
Language
Settings
Menu Language—You can select a language
for the setup menu and information display.
Disc Audio*—You can select a language for
the DVD audio.
Disc Subtitle*—You can select a language for
the DVD subtitle.
Disc Menu*—You can select a language for
the DVD menu.
* Select ORIGINAL (the original language in
which the disc was recorded, or OTHER (to
select another language. See “Language code
list” on page 18. Enter with the number
buttons, then press ENTER (OK). If you enter
the wrong code, press CLEAR.)
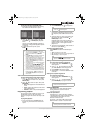
Display
Settings
TV Aspect—Choose from standard 4:3, or
wide screen 16:9, depending on your TV.
Display Mode—Choose from Letterbox (a
wide picture with bands at the top and bottom),
or Panscan (displays a wide-screen picture
using the whole screen, but cuts off portions
on both sides).
Progressive Scan—Choose from On or Off. If
you choose On you must be connected to a TV
that is compatible with progressive scan and
be connected using the Component Video
jacks.
TV Output Select—Choose from YPbPr (when
your player is connected to a TV using the
COMPONENT VIDEO OUT/PROGRESSIVE
SCAN jacks, or S-VIDEO (when your player is
connected to a TV using an S-Video cable).
NS-DVDVCR.fm Page 12 Saturday, December 23, 2006 9:52 AM