EN 39
ACCESS MAIN MENU
SCREEN
1
Press MENU.
ACCESS VIDEO
NAVIGATION SCREEN
2
Press
%
fi
to move the
highlight bar (pointer) to
"VIDEO NAVIGATION",
then press OK or
#
.
CHECK MEMORY
3
Press
%
fi
to move the
highlight bar (pointer) to
"CHECKING MEMORY",
then press OK or
#
.
● The CHECKING
MEMORY screen will
appear.
RETURN TO NORMAL
SCREEN
4
Press MENU.
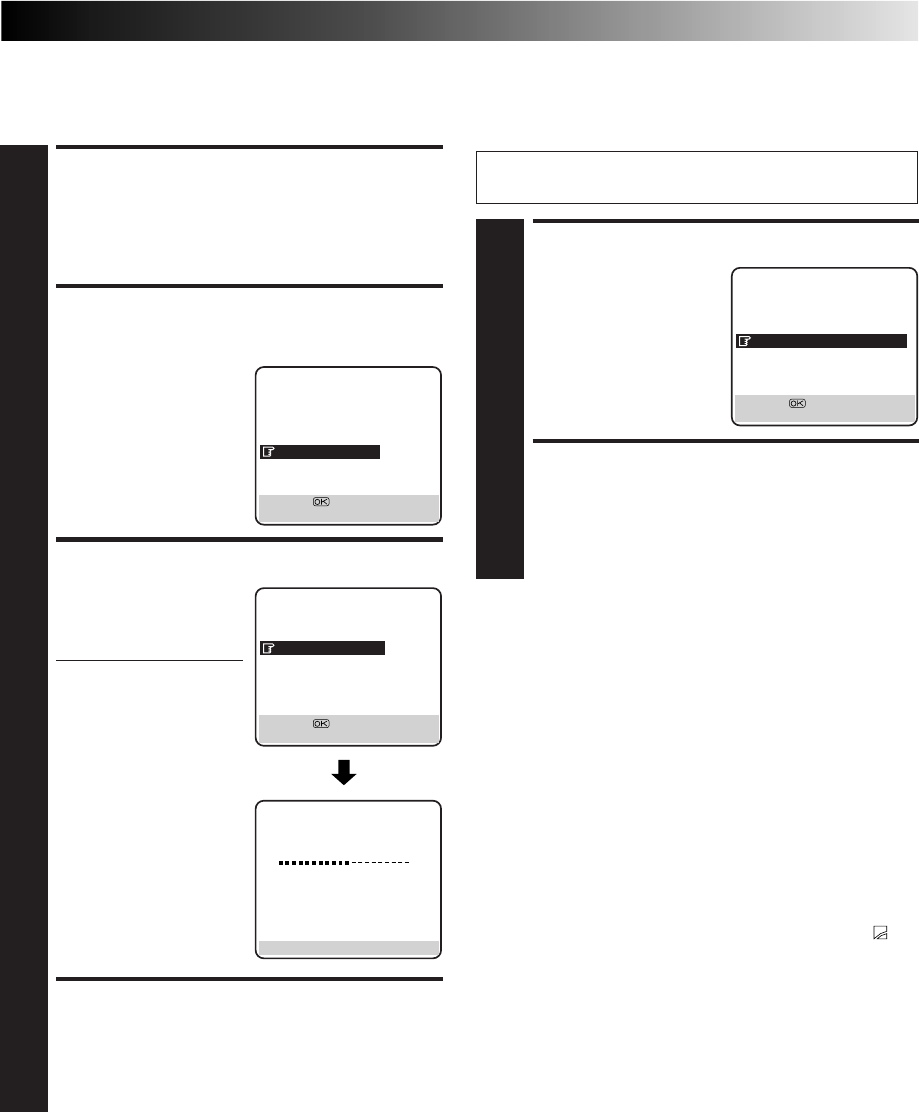
Checking Memory
You can check the amount of recorded information in the
memory.
MAIN MENU
MODE SET
AUTO CH SET
MANUAL CH SET
INITIAL SET
VIDEO NAVIGATION
[
5
∞
] =
[MENU] : EXIT
CHECKING MEMORY
0 100
[MENU] : EXIT
VIDEO NAVIGATION
EDITING
SORTING
CHECKING MEMORY
NAVIGATION : ON
[5∞] =
[MENU] : EXIT
NOTES:
●
Video Navigation is possible with the cassettes recorded with
this recorder only.
●
To record the date and time as the programme title in this
recorder's memory, make sure the recorder's clock is set
correctly before recording.
●
To record the programme information in this recorder's
memory, you must record each programme for over the
minimum recording time; 10 min. for the D-VHS (STD) mode,
30 min. for the D-VHS (LS3) mode, 8 min. for the S-VHS/VHS
(SP) mode or 15 min. for the S-VHS/VHS (LP) mode.
●
Video Navigation may not work properly depending on the
cassette being used.
●
If the recorder finds two tape numbers in one tape while
playing back or searching for the beginning of a programme,
then when you remove the tape, the tape will be assigned just
one number (smaller number).
●
If you overwrite a programme from the beginning, the "
"
symbol is displayed for the title that was overwritten.
●
The programme information is stored in this recorder’s
memory. If the memory in this recorder should ever be
damaged and the programme information lost, it is impossible
to restore that information.
●
After recording a tape with this recorder, write the tape
number on a label and affix the label to the cassette in order
to allow you to find the tape by its number.
TURN OFF NAVIGATION
1
Press
%
fi
to move the
highlight bar (pointer) to
"NAVIGATION", then
press OK or
#
to set to
"OFF".
RETURN TO NORMAL
SCREEN
2
Press MENU.
Turn Off Navigation
If you don't want to record information on the programmes, set
"NAVIGATION" to "OFF".
VIDEO NAVIGATION
EDITING
SORTING
CHECKING MEMORY
NAVIGATION : OFF
[5∞] =
[MENU] : EXIT
Perform steps 1 to 2 of "Checking Memory" in the left
column before continuing.


