


14
English
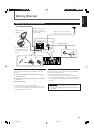
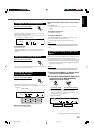
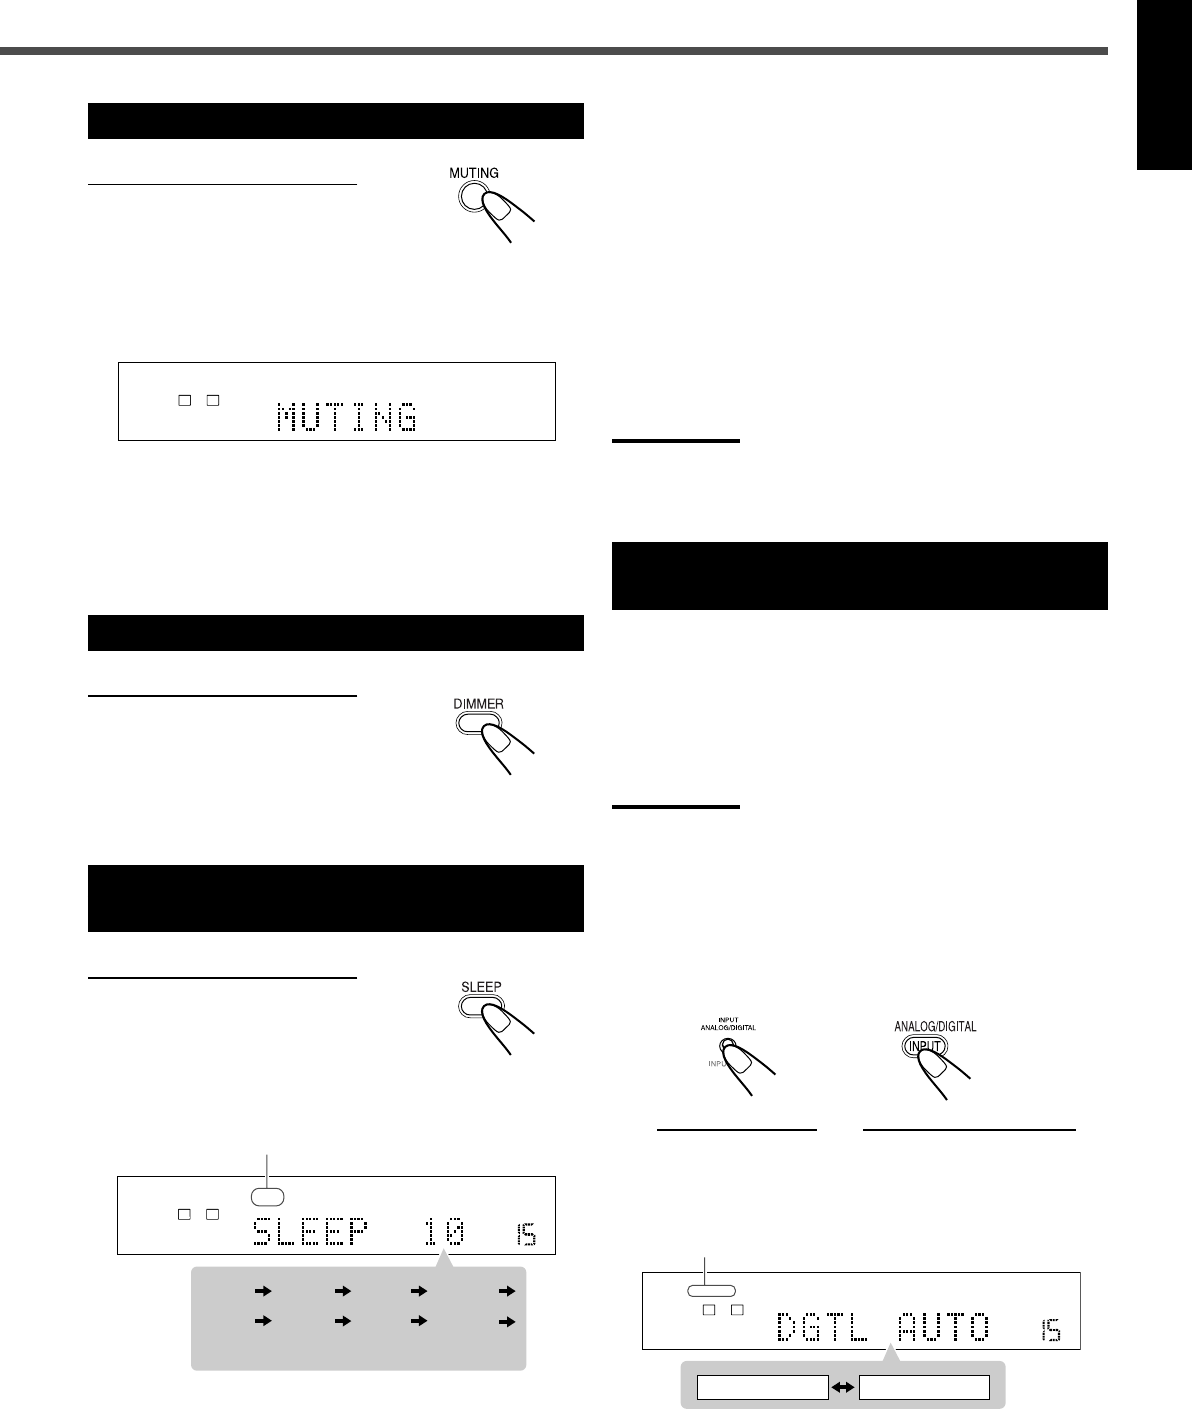
Turning Off the Sound Temporarily
From the remote control ONLY
Press MUTING to mute the sound.
“MUTING” appears on the display and the volume turns off
(the volume indication goes off).
• When “DVD” is selected as the source with your TV turned
on, “VOLUME –” appears on the TV.
To restore the sound
Press MUTING again.
• Pressing VOLUME + or – on the remote control (or turn
MASTER VOLUME on the front panel) also restores the
sound.
Changing the Display Brightness
From the remote control ONLY
Press DIMMER to dim the display.
• Each time you press the button, the display and illumination
lamp dim and brighten alternately.
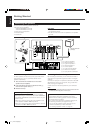
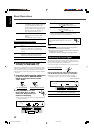
Turning Off the Power
with the Sleep Timer
From the remote control ONLY
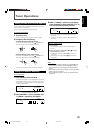
Press SLEEP repeatedly.
The SLEEP indicator lights up on the display.
• Each time you press the button, the shut-off time changes
as follows:
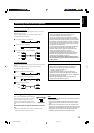
SLEEP indicator
When the shut-off time comes
The unit is turned off automatically.
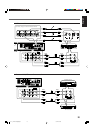
MPEG-2AAC
TA NEWS INFO
ANALOG
S
DIGITAL AUTO DSP SLEEP REPEAT RANDOM RDS INPUT ATT
SPK 1 2
AUTO MODE
A.POSITION
PROGRESSIVE1A-B
DIGITAL
LPCM
LFE
PPCM AUTO
SURROUND
GROUP TITLE TRACK CHAP.
RESUME
kHz
MHz
VOL
BONUSB.S.P TUNED STEREO AUTO MUTING
PL
SUBWFR
L C R
LS RS
PROGRAM
REC
MPEG-2AAC
TA NEWS INFO
ANALOG
S
DIGITAL AUTO DSP SLEEP REPEAT RANDOM RDS INPUT ATT
SPK 1 2
AUTO MODE
A.POSITION
PROGRESSIVE1A-B
DIGITAL
LPCM
LFE
PPCM AUTO
SURROUND
GROUP TITLE TRACK CHAP.
RESUME
kHz
MHz
VOL
BONUSB.S.P TUNED STEREO AUTO MUTING
PL
SUBWFR
L C R
LS RS
PROGRAM
REC
(back to the beginning)
10 20 30 60
90 120 150 0 (off)
To check or change the remaining time until the shut-off
time
Press SLEEP once.
• The remaining time (in minutes) until the shut-off time
appears.
To change the shut-off time
Press SLEEP repeatedly.
To cancel the Sleep Timer
Press SLEEP repeatedly until “SLEEP 0” appears on the
display. (The SLEEP indicator goes off.)
• Turning off the unit also cancels the Sleep Timer.
Note:
• If Auto Standby (see page 58) and Sleep Timer are used at the
same time, the one with the earlier shut-off time will turn off the
unit.
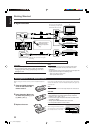
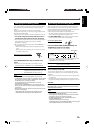
Selecting the Analog or Digital Input
Mode
When you have connected digital source components using
both the analog connection and the digital connection
methods (see pages 9 to 11), you can select the input mode.
• Before selecting the digital input mode, register the digital
input terminal setting correctly (see “Digital input (DIGITAL
IN) terminals” on page 27).
Note:
• You cannot change the input mode when selecting “DVD” as the
source. Digital input is always used for the built-in DVD player.
1
Select a source (DBS, TV, or CDR) for which
you want to change the input mode.
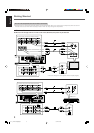
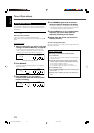
2
Press INPUT ANALOG/DIGITAL (INPUT ATT.)
on the front panel or ANALOG/DIGITAL
INPUT on the remote control.
On the front panel From the remote control
The current input mode appears on the display.
• Each time you press the button, the input mode
alternates between the analog input (“ANALOG”) and
the digital input (“DGTL AUTO”).
DIGITAL AUTO indicator
TO BE CONTINUED TO THE NEXT PAGE
MPEG-2AAC
TA NEWS INFO
ANALOG
S
DIGITAL AUTO DSP SLEEP REPEAT RANDOM RDS INPUT ATT
SPK 1 2
AUTO MODE
A.POSITION
PROGRESSIVE1A-B
DIGITAL
LPCM
LFE
PPCM AUTO
SURROUND
GROUP TITLE TRACK CHAP.
RESUME
kHz
MHz
VOL
BONUSB.S.P TUNED STEREO AUTO MUTING
PL
SUBWFR
L C R
LS RS
PROGRAM
REC
DGTL AUTO ANALOG
12-16_RX-DV31SL[UW]f.p65 03.4.22, 18:5514