2
r
rn
n
h
TV
n
i
h
nn
l
If channel 3 has been alread
occupied for
broadcastin
, see “RF Output Channel” section
Select your language when turning this unit on
or the
irst time.
en press
o go
o nex
s
ep
uic
Use Gui
Please re
er to “Basic TV Connection” on the
ront page be
ore
ou use t
is unit
RF Out
ut Channe
I
channel 3 has been already occupied
or broadcasting
1) Set your TV to c
anne
4.
) Insert a pre-recor
e
tape into t
is unit
3
Press
SOURCE
on t
e unit so t
at t
e VCR SOURCE
ig
t is
it
I
noise appears on the TV screen, press
VCR/TV
on t
e
remote contro
.
4
Press
PLAY
c
5) A
ter a
ew seconds, press and hold
PLAY
n the unit
or
3 secon
s
The RF output channel will change to channel 4
rom channel
3 an
you wi
see a p
ay
ac
picture.
W
en a picture
oes not appear on t
e TV screen, repeat
step
6
Press
STOP
to stop p
a
ac
1
nn
i
n
C
oc
Setu
5
Turn on the Unit
or the First Tim
VCR/DVD Switchin
4
3
Installin
the Batteries for the Remote
n
r
2
DVDVCR
SOURCE
STANDBY-ON
DISPLAY VCR DVD PAUSE
SLOW
VCR/TV
SKIP/CH.
PLAY
STOP
RECORD
MENU
SETUP TOP MENU
MODE ZOOM
SUBTITLE
T-SET
ANGLE
ENTER
RETURN
SEARCH
MODE
REPEAT A-B
OPEN/CLOSE
/EJECT
SPEED AUDIO
LEAR
. RE
E
123
456
789
0
+10
PLAYDISC IN
DVDVCR
OPEN/CLOSE
CHANNEL SOURCE PREV STOP PLAY NEXT
DVD PLAYER / VCR CMWD 2206
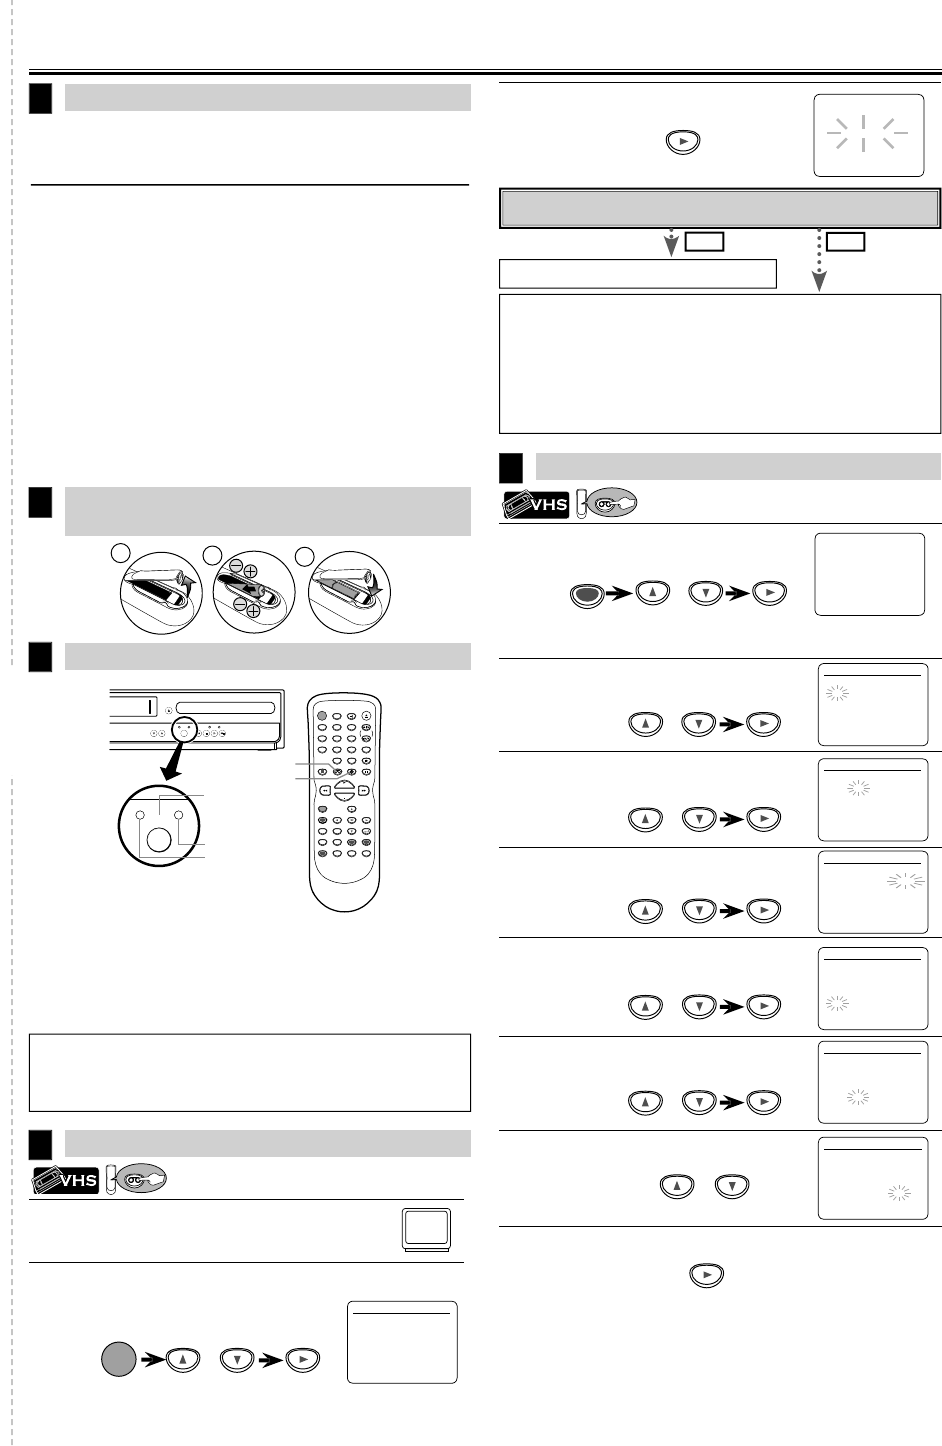
SOURCE button
DVD SOURCE light
VCR SOURCE light
DVD button
VCR button
R M
DE
r
VCR
n the remote control. (Verif
that the VCR SOURCE
i
t is
it.
VD M
DE
ress
DVD
on the remote control. (Veri
y that the DVD SOURCE
ig
t is
it.
o
lease wait
or a
ew minutes
After scanning...
T
e tuner stops on t
e
owest memorize
c
anne
.
You can select onl
the channels memorized in this unit b
using
SKIP/CH.
or
CHANNEL
.
I
“AUTO SET UP” appears on the TV screen again, check the cable con-
nections. T
en, press
once aga
n
Y
Pr
MENU
xi
o you connect the cable
rom the cable box or the satellite box to the
nit’s ANT-IN jac
H
n
• Pressing on
SOURCE
on the
ront panel DOES NOT switch the mode
o
the remote control. You MUST select the correct mode on the remote
contro
ress
MENU
an
se
ect “CLOCK SET“.
en press
o go
o nex
s
ep.
l
h
rr
n
m
n
h
hen
ress
to
o to next step.
e
ect t
e current
a
en press
o go
o nex
s
ep.
e
ect t
e current year
en press
o go
o nex
s
ep.
l
h
rr
n
h
r
hen
ress
to
o to next step.
l
h
rr
n
min
hen
ress
to
o to next step.
e
ect “AM” or “PM”
xi
L
K
ET
r
I
the clock is not set, the CLOCK SET screen appears when you
MENU
. In t
is case, go to step 2
r
r
r
r
-
TIMER PR
GRAMMING
AUTO REPEAT
OFF
HANNEL
ET UP
L
K
E
LANGUAGE
ELE
T
L
K
ET
M
NTH DAY YEA
1 0
– – – – –
HOUR MINUTE AM
P
– –
– – –
L
K
ET
M
NTH DAY YEA
1 0
0 5 – – –
HOUR MINUTE AM
P
– –
– – –
L
K
E
M
NTH DAY YEA
1 0
0 5 2 0 0
HOUR MINUTE AM
P
– –
– – –
L
K
E
M
NTH DAY YEA
1 0
0 5 MON 2 0 0
HOUR MINUTE AM
P
– – –
L
K
ET
M
NTH DAY YEA
1 0
0 5 MON 2 0 0
HOUR MINUTE AM
P
4
–
L
K
E
M
NTH DAY YEA
1 0
0 5 MON 2 0 0
HOUR MINUTE AM
P
4
P M A
ANGUAGE
ELE
ENGLISH
ON
FRAN
AI
ESPA
OL
r
to start Auto
et U
.
CH 0
T
ET
N
E


