


2322
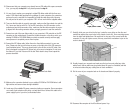
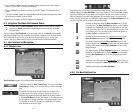
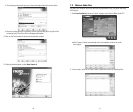
3. In the welcome window, you can once again see the components you can choose to
remove. Click on NEXT to continue uninstalling.
4. Click on REMOVE and confirm by clicking on the NEXT button. The Uninstall wizard
opens.
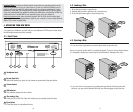
5. The Nero 6 uninstall wizard then automatically removes the desired components. Once
the uninstall is complete, click on FINISH.
6. Restart your computer so that the changes will take effect.
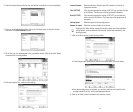
6.3. Using Nero StartSmart-the Command Center
The tasks shown in Nero StartSmart depend upon the version and the installed
programs of Nero 6 and therefore can deviate from the description within the
documentation!
The new program Nero StartSmart is the command center for the Nero 6 product family
and makes it easier to use the comprehensive software programs. Once you have started
Nero StartSmart, all you have to do is select the desired category (e.g., Audio), then
choose a task (e.g., Make Audio CD) and the relevant software starts automatically.
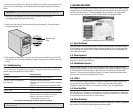
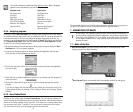
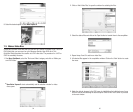
6.4. User Interface and Navigation
6.4.1 Standard view
6.4.2. The Nero StartSmart bar
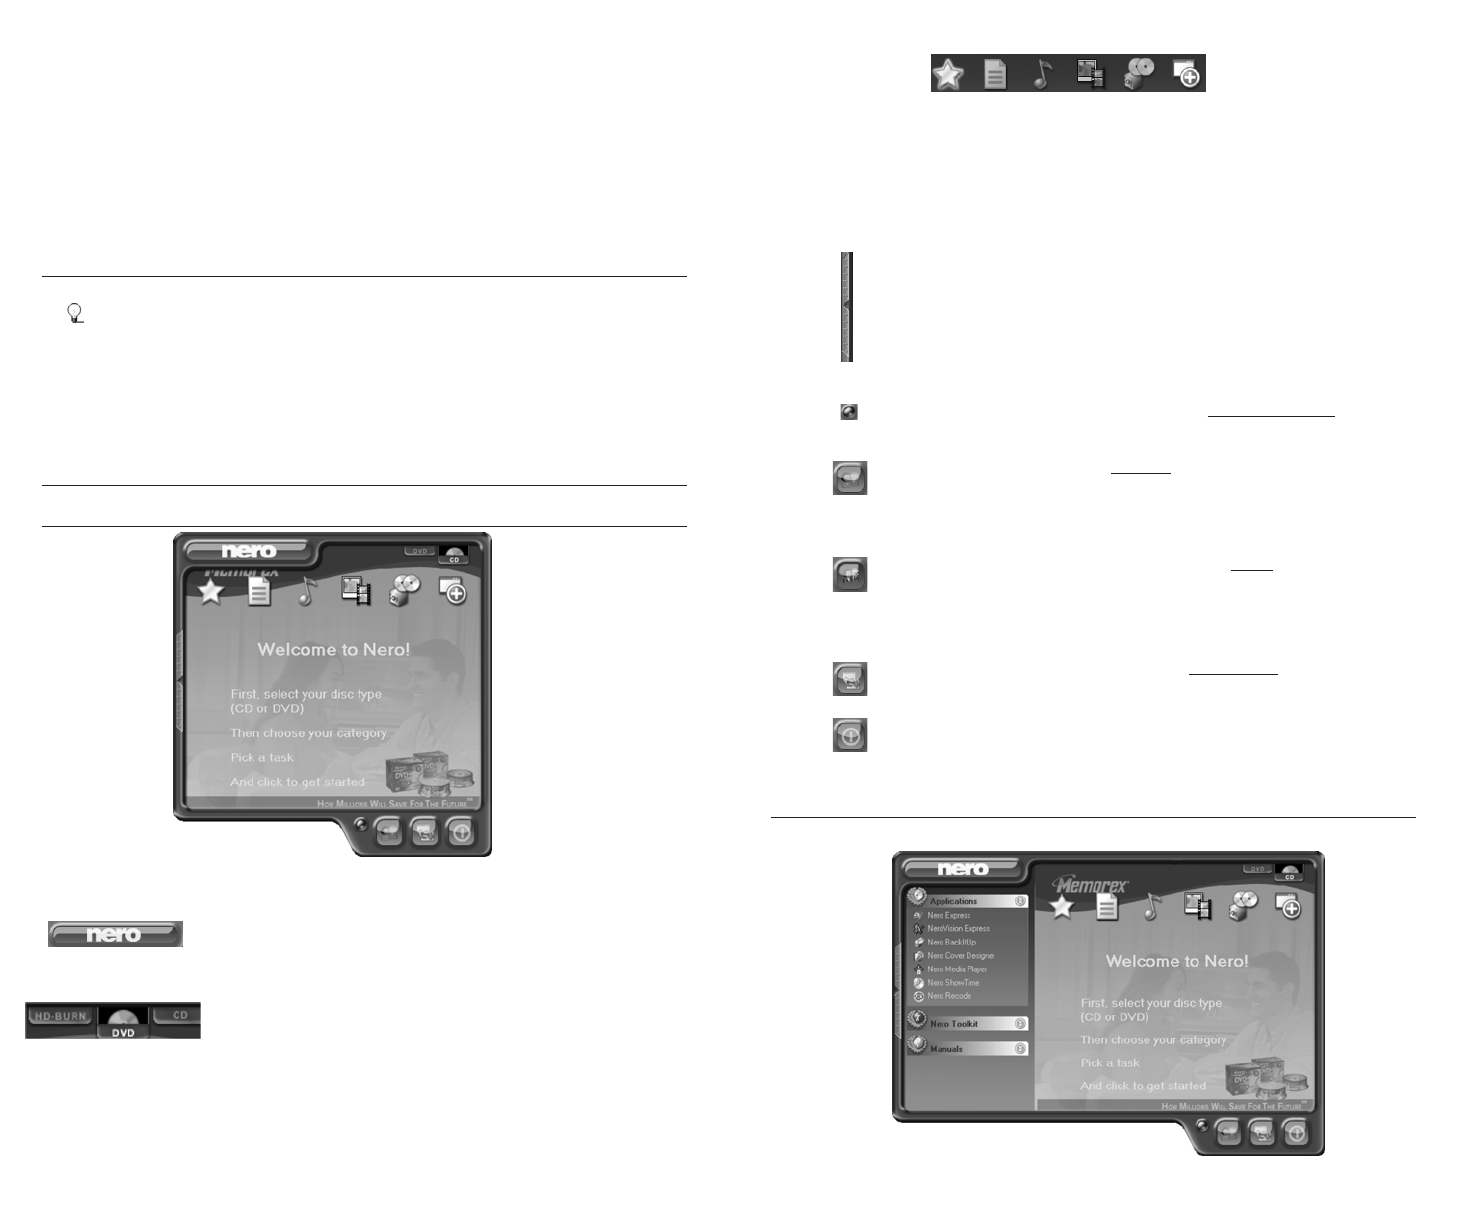
Nero StartSmart consists of the following areas and elements.
This button opens the Nero ProductCenter. If you are in the Nero
ProductCenter, clicking on this button takes you back to standard
view.
Clicking on this button adds the Nero StartSmart bar to the pro-
gram interface. The Nero StartSmart bar shows you the installed
components of the Nero 6 bundle in the "Applications" area and,
at the same time, allows you to select the desired program direct-
ly by clicking on it. You can open up the individual programs in
the Nero Toolkit by clicking on them.
Clicking on this button allows you to change the colors of your
Nero StartSmart interface for a customized look if you prefer.
This button displays the standard Nero StartSmart mode. If this
mode is selected, only the most frequently used tasks are displayed.
Clicking on this button switches Nero StartSmart to Expert mode
described below.
This button displays the Nero StartSmart expert mode. If this mode
is selected, all available tasks are displayed. Clicking on this button
switches Nero StartSmart back to the standard mode described
above.
Clicking on this button opens up the configuration window. Here you
can set which program in the Nero 6 family is started for which tasks.
Clicking on this button closes Nero StartSmart.
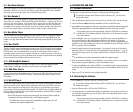
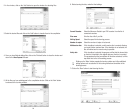
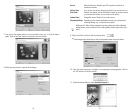
If recorders that can burn several formats are installed on the
computer and/or the option to display all recorder formats is
activated, the possible project types appear in the upper section
of the Nero StartSmart window. The content of the categories and
the possible tasks change according to the selected project type.
For example, an audio CD can only be created if the CD tab has
been selected as the project type.
Depending on the selected project type and the installed software, this section shows the
available categories in Nero StartSmart. If you hover the mouse over the individual category
icons, the possible tasks in that category are displayed. For each task, you also have the
option of deciding for yourself which application is to be used to open it. If you hover the
mouse over the desired task, the OPEN WITH option appears in the Nero StartSmart bar. You
can then select the desired program in the pulldown menu.