


17
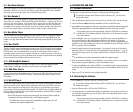
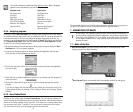
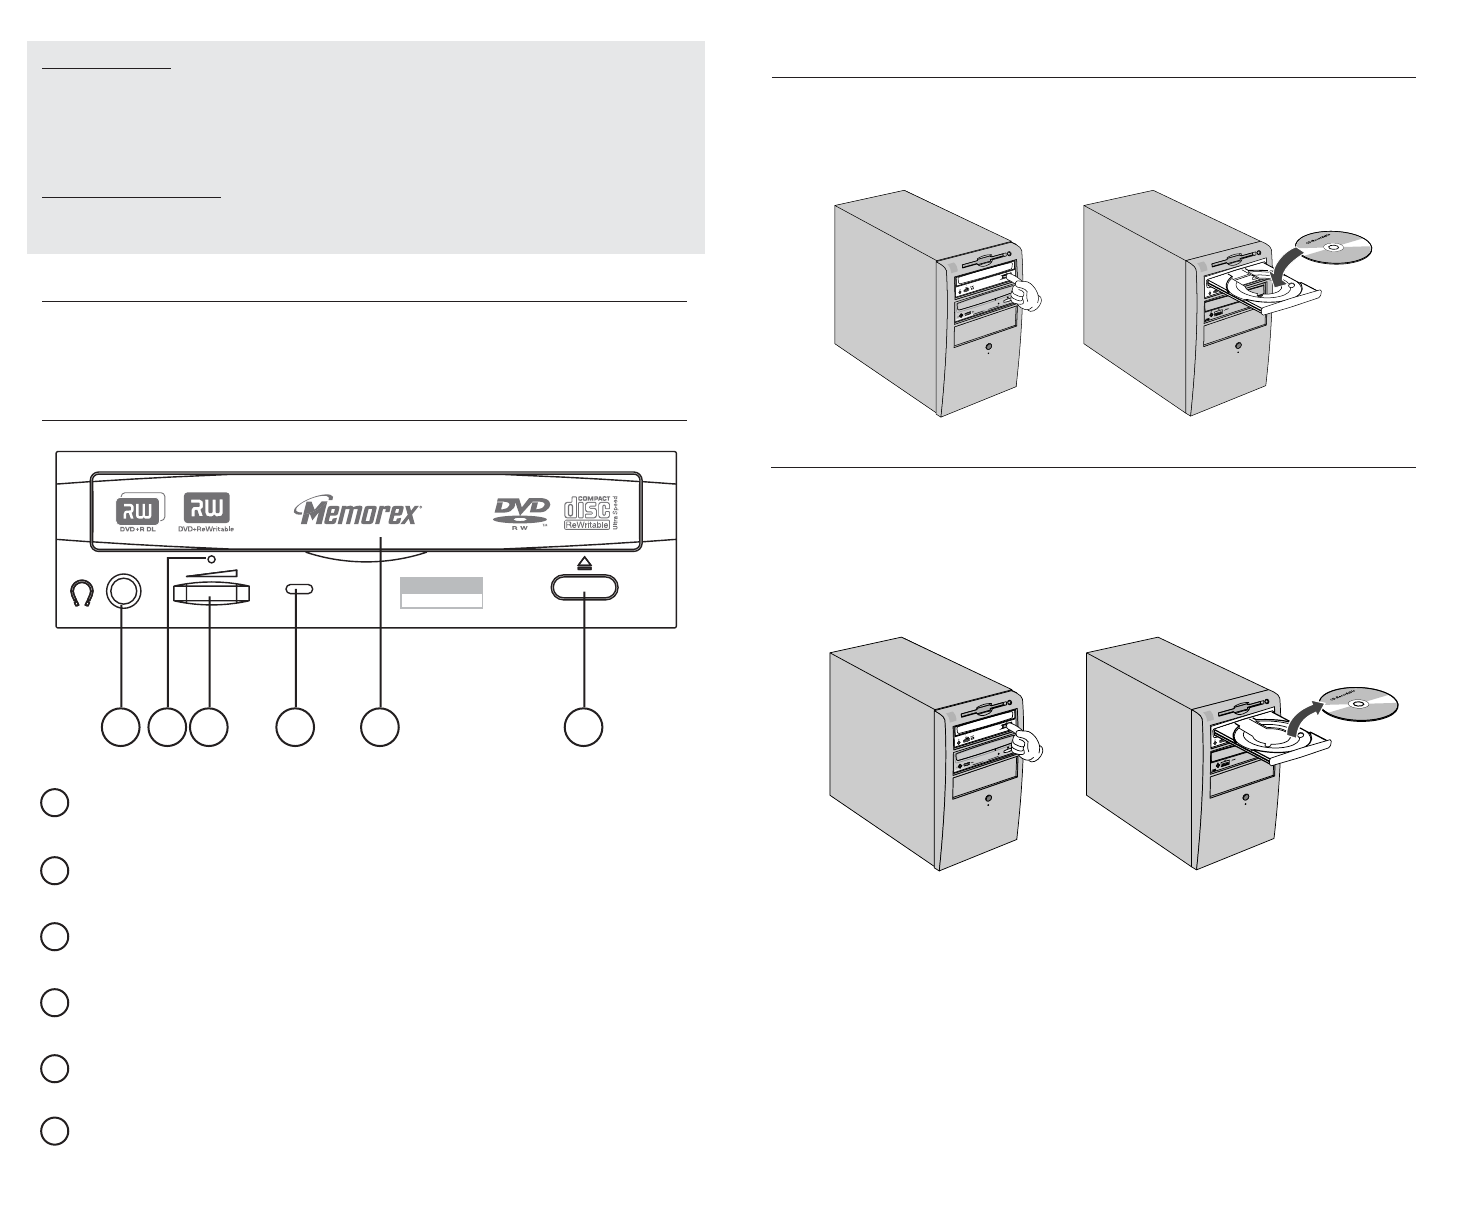
4.2. Loading a Disc
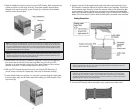
1. Press the eject button to open the tray.
2. Carefully place the disc, label-side up, on the disc tray.
3. Press the eject button again to close the disc tray.
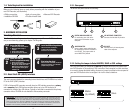
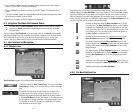
4.3. Ejecting a Disc
• If your new drive is powered on, press the eject button to eject the disc.
Be sure to remove the disc after it is completely ejected. (Trying to remove the disc before
it is completely ejected may cause the drive to malfunction or damage to the disc).
• If your new drive is not powered on, pressing the eject button will not eject the disc.
However, you may use the Manual Eject hole (see following page) to eject the disc.
16
4. OPERATING YOUR NEW DRIVE
It is important to familiarize yourself with your new Memorex DVD Recorder. Please study
the following illustrations and text carefully.
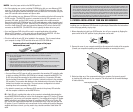
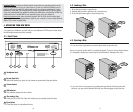
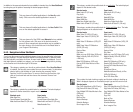
4.1. Front Panel
Headphone Jack
Forced Eject Hole
Opens the loading tray when the tray cannot be opened using the eject button.
Volume Control
LED Indicator
This indicator displays the drive status.
Disc Loading Tray
Holds the CD or DVD disc. Open the loading tray by pressing the eject button.
Eject Button
Press this button to unload/load the tray.
1
6
x
DOUBLE
LAYER
1
2
3
4
5
6
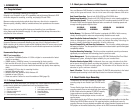
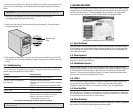
Important Notes: For the most desired results, ensure that your operating system has the
DMA setting enabled for all of your internal drives. Consult your Microsoft Windows user’s
guide to verify how to enable this setting and consult your computer manufacturer’s docu-
mentation to verify that your computer and its various components like hard drives, optical
drives, and motherboards are capable of enabling and utilizing the many benefits of DMA. For
details about how to enable DMA in your operating system, go to our website at
http://www
.memorex.com under service and support, click on FAQs, look for topics about
enabling DMA. You will need administrator rights to your computer if you are using Windows
2000 or XP in order to enable DMA.
1 32 4 5 6