


29
SETUP MENU (CONTINUED)
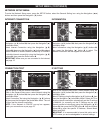
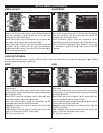
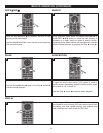
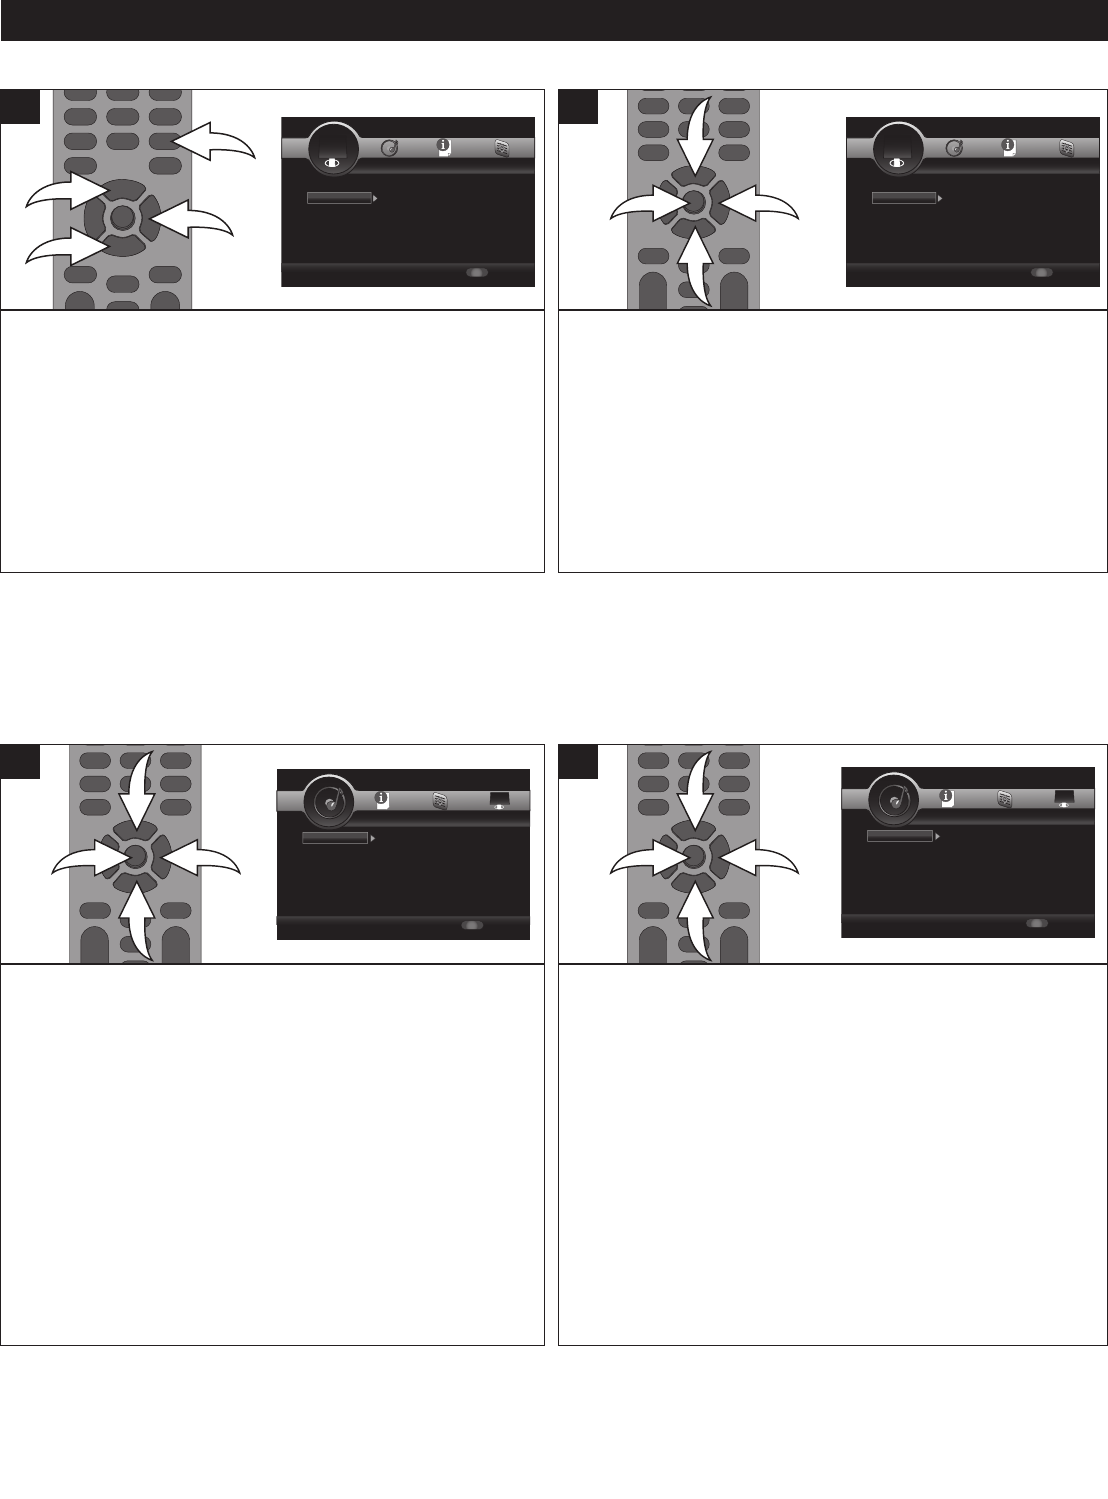
Use this option to set the TV picture settings.
While in the Display Setup menu, select Video Processing
using the Navigation (π,†) buttons 1, then press the
Navigation (®) button 2 to enter.
Select Video Adjust using the Navigation (π,†) buttons 1,
then press the Navigation (®) button 2 to select.
Select Brightness, Contrast, Hue and Saturation using the
Navigation (π,†) buttons 1, then use the Navigation
(√,®) buttons 2 to adjust. Press the RETURN button 3 to
return to the previous menu.
1
1
2
3
1
Use this option to set the TV Sharpness.
While in the Display Setup menu, select Video Processing
using the Navigation (π,†) buttons 1, then press the
Navigation (®) button 2 to enter.
Select Sharpness Adjust using the Navigation (π,†)
buttons 1, then press the Navigation (®) button 2 to select.
Select the desired Sharpness (High, Middle or Low) using
the Navigation (π,†) buttons 1, then press the ENTER
button 3.
3
1
1
2
1
VIDEO ADJUST
SHARPNESS
SETUP Exit
--- Display Setting ---
Setup Menu
Use cursor keys to move focus, use
“ENTER” key to select
T
V
V
ideo Process...
T
V Screen
R
esolution
TV System
Color Space
HDMI Deep Color
1
6:9 Full
A
uto
Multi
RGB
Off
S
ETUP Exit
-
-- Display Setting ---
S
etup Menu
Use cursor keys to move focus, use
“ENTER” key to select
TV
Video Processin
Video Adjust
Sharpness
More...
High
SETUP Exit
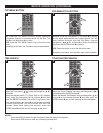
--- Display Setting ---
Setup Menu
Use cursor keys to move focus, use
“ENTER” key to select
T
V
V
ideo Process...
T
V Screen
R
esolution
TV System
Color Space
HDMI Deep Color
1
6:9 Full
A
uto
Multi
RGB
Off
S
ETUP Exit
-
-- Display Setting ---
S
etup Menu
Use cursor keys to move focus, use
“ENTER” key to select
TV
Video Processin
Video Adjust
Sharpness
More...
High
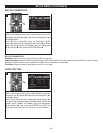
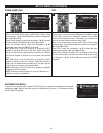
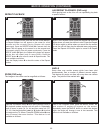
AUDIO SETUP MENU:
To enter the Audio Setup menu, press the SETUP button, select the Audio Setting icon using the Navigation (√,®) buttons
and then press the Navigation (†) button.
Select this when your equipment is connected via Optical or
Coaxial cable.
While in the Audio Setup menu, select Audio Output using
the Navigation (π,†) buttons 1, then press the Navigation
(®) button 2 to enter.
Select SPDIF using the Navigation (π,†) buttons 1, then
press the Navigation (®) button 2 to select.
Select the desired option using the Navigation (π,†)
buttons 1, then press the ENTER button 3.
Bitstream: Outputs the original bit stream directly from the
S/PDIF output jacks.
PCM: Decodes using the internal decoder and outputs the
audio in PCM from the S/PDIF output jack(s).
Off: Turns any option off.
3
1
1
2
1
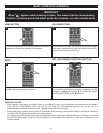
Select this option when your equipment is connected via
HDMI cable.
While in the Audio Setup menu, select Audio Output using
the Navigation (π,†) buttons 1, then press the Navigation
(®) button 2 to enter.
Select HDMI using the Navigation (π,†) buttons 1, then
press the Navigation (®) button 2 to select.
Select the desired option using the Navigation (π,†) buttons
1, then press the ENTER button 3.
Bitstream: Outputs the original bit stream directly from the
S/PDIF output jacks.
PCM: Decodes using the internal decoder and outputs the
audio in PCM from the HDMI output jack(s).
Off: Turns any option off.
3
1
1
2
1
SPDIF
HDMI
SETUP Exit
--- Audio Setting ---
Setup Menu
Use cursor keys to move focus, use
“ENTER” key to select
A
udio Output SPDIF
H
DMI
Down Sampling
DRC
B
itstream
P
CM
48K
On
SETUP Exit
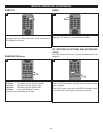
--- Audio Setting ---
Setup Menu
Use cursor keys to move focus, use
“ENTER” key to select
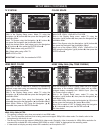
Audio Output
Speaker Setting
Configuration
S
ETUP Exit
-
-- Audio Setting ---
Setup Menu
Use cursor keys to move focus, use
“ENTER” key to select
Audio Output SPDIF
HDMI
Down Sampling
D
RC
Bitstream
PCM
48K
O
n
SETUP Exit
--- Audio Setting ---
Setup Menu
Use cursor keys to move focus, use
“ENTER” key to select
Audio Output
Speaker Setting
Configuration