31
BASIC OPERATION (GENERAL)
IMPORTANT:
When “ ” appears while pressing a button, this means that the corresponding
function cannot be performed either on the disc inserted, or in the selected mode.
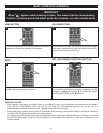
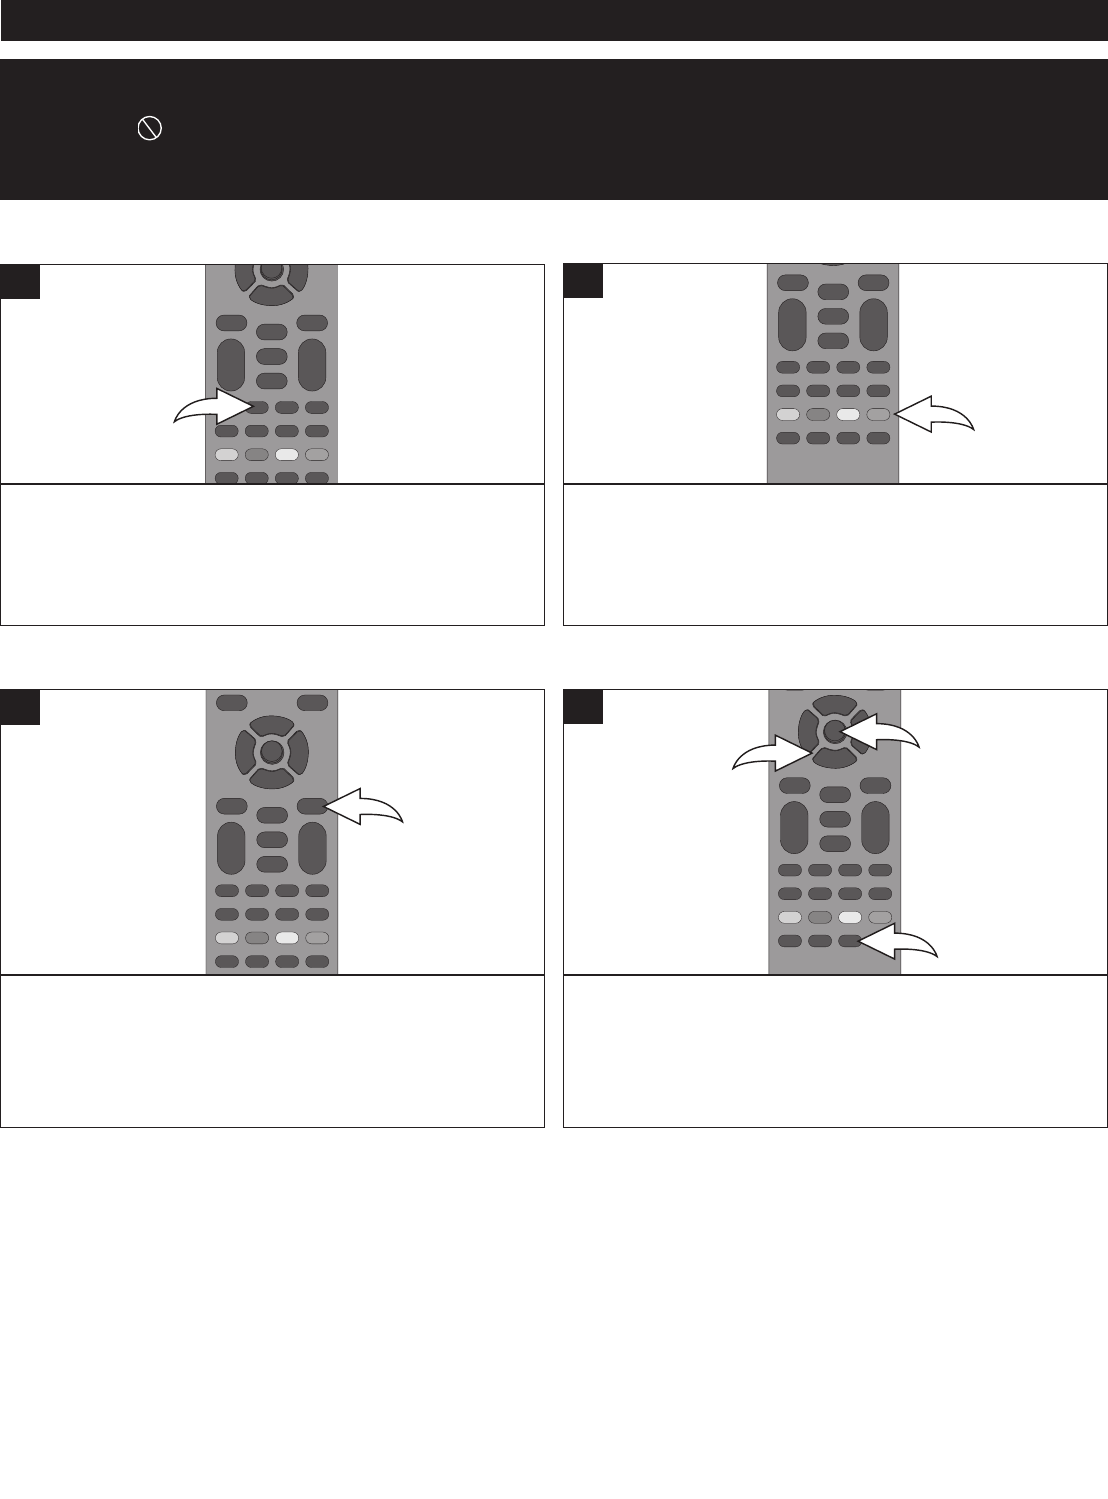
HDMI BUTTON
IMPORTANT NOTES:
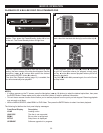
• After plugging in and setting the Power Switch on the back of the unit to the ON position, the unit will be in the Standby
mode and the Power/Standby button light will be red. Press the Power/Standby button to turn on the unit; the
Power/Standby button light will now be blue. Loading will take about 30 seconds.
• Always hold the disc without touching either of its surfaces. When inserting a disc, position it with the printed title side facing
up, align it with the guides and place it in its proper position.
• It is important that you read the manual that accompanies the disc as there are features that are on this player that cannot
be used with certain discs. There are also extra features that are different for each disc, so they are not explained in this
owner’s manual.
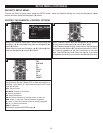
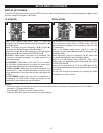
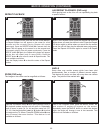
When connected via the HDMI cable, press the HDMI button
repeatedly to change the resolution of the screen.
1
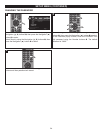
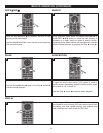
MUTE
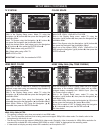
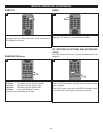
Press the MUTE button once to mute the sound. Press the
MUTE button again to restore the sound.
1
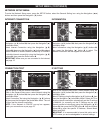
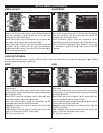
COLOR BUTTONS
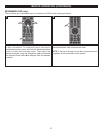
These buttons are used as shortcuts for some on-screen
items when viewing Blu-ray discs (can also be used for BD-
Live's Java interactive operations).
1
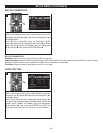
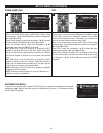
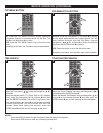
OSC (ON-SCREEN CONTROLS) BUTTON
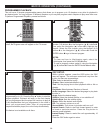
While playing back a disc, press the OSC button 1 to bring
up a list of on-screen controls that can be adjusted. Use the
Navigation (√,®,π,†) buttons 2 to choose the desired
option and the ENTER button 3 to select it.
2
1
3
1


