MODEL: WD-52327 / WD-62327
Page 30
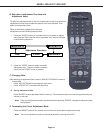
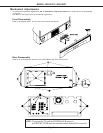
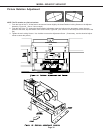
Picture Rotation Adjustment
NOTE: The TV must be on a flat level surface.
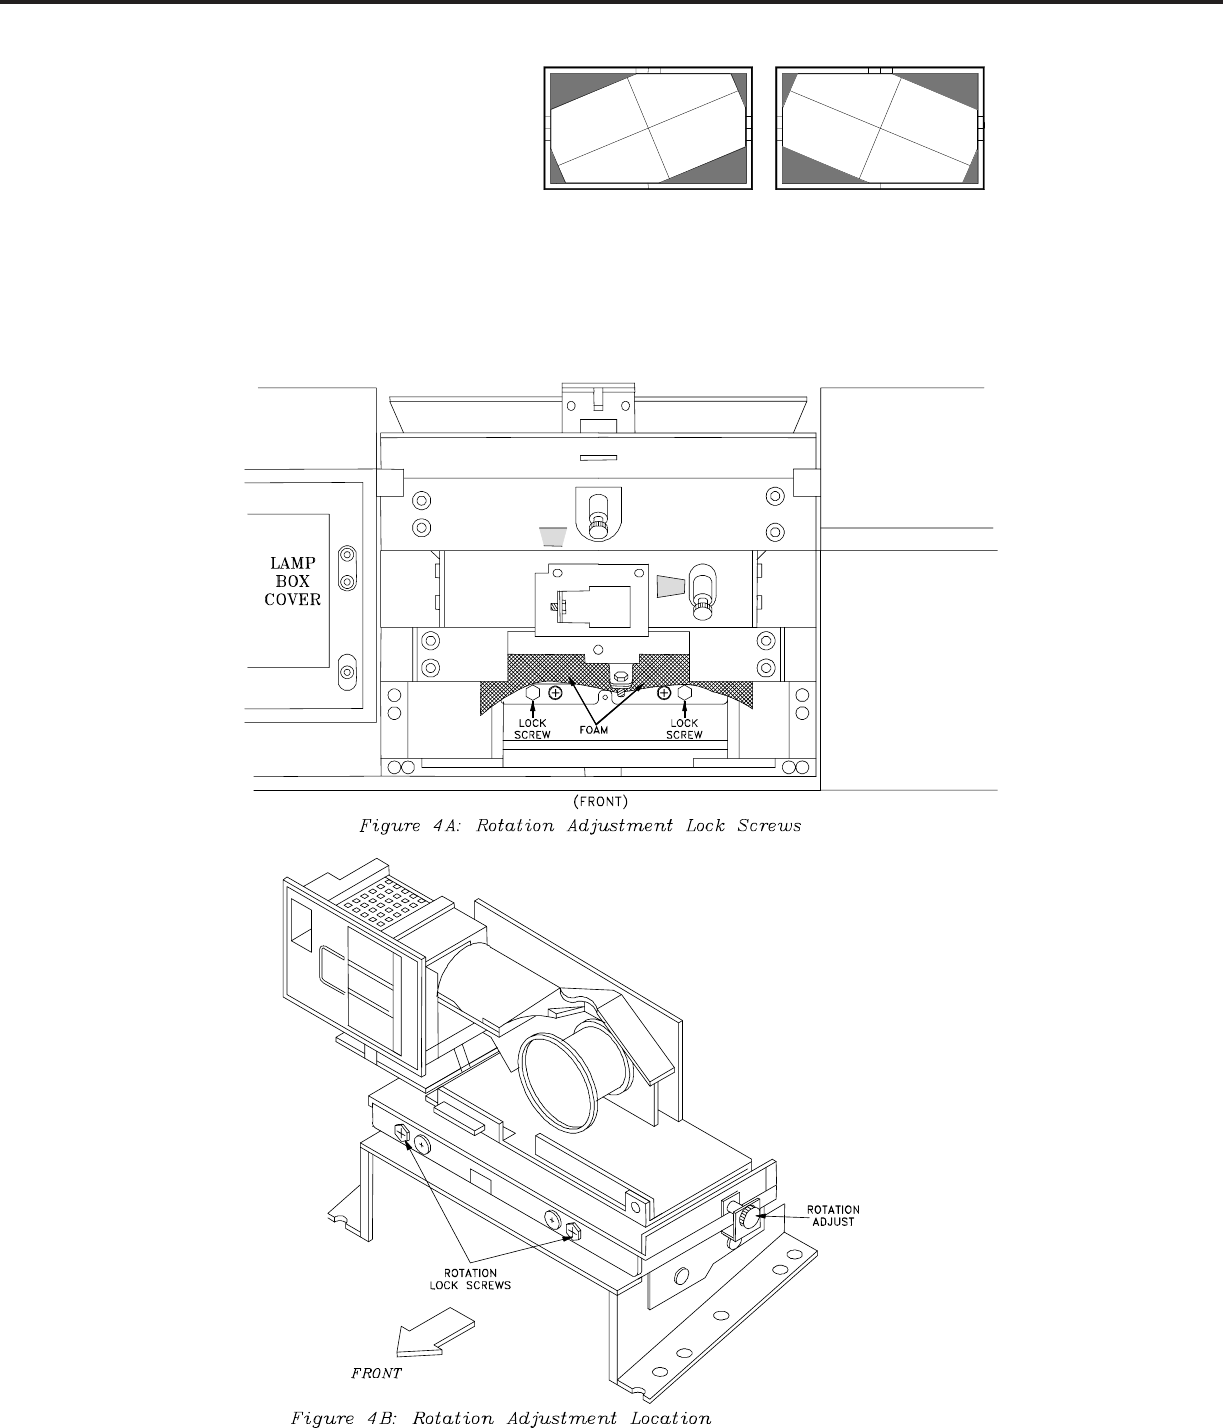
1. From the front of the TV, lift the foam to access and loosen slightly, the brass Rotation Locking Screws on the Adjuster
Assembly, Figure 4A. (Use a 10mm wrench.)
2. From the rear of the TV, access the black Rotation Adjustment screw and adjust so the test pattern center lines are
parallel to the sides, top and bottom of the screen frame, Figure 4B. (Use a mirror to veiw the picture from the rear of the
set.)
3. Tighten the two Locking Screws. Use Locktite to secure the Adjustment Screw. (If necessary, use the electrical adjust-
ments to center the picture)


