Chapter 3. NetCommand Setup and Editing 41
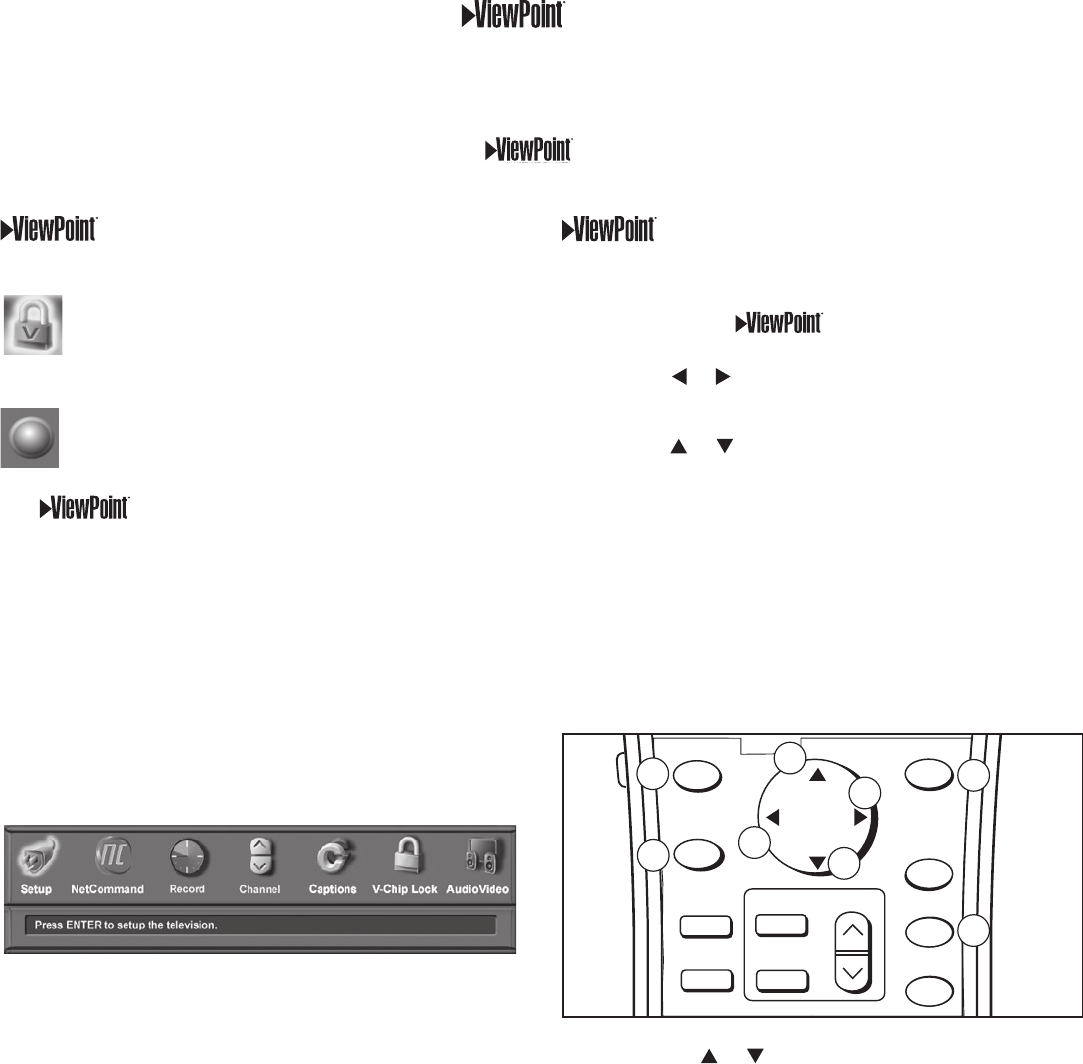
Remote Control Buttons
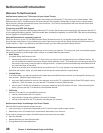
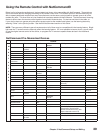
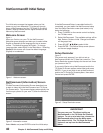
The following buttons on your remote control help you
navigate within the system :
1. ADJUST or to select the menu item you want to
change.
2. ADJUST or to change the settings.
3. ENTER to enter into a menu, start an automatic
function or select a check box.
4. TV MENU to display the main menu or move back
one menu screen at a time.
5. CANCEL to clear a setting or stop an automatic
function.
6. HOME to exit all menus and return to TV viewing.
108&3
)0.&
1"64&
3&$
'''8%3&83&7 1-":
4501
27
70-6.&
*/'0
&9$)
&/5&3
57.&/6
%&7*$&
.&/6
7$)*1
'03."5
1*1$)
427
%&7*$&
4-&&1
7*%&0
"6%*0
.65&
$)"//&-
"%+645
1*1
1*1%&7*$&
$"/$&-
57
"6%*0
$"#-&%#4%57 %7%
7$3
(6*%&
46#
$0//&$5
1"(&
6
2
1
3
4
5
1
2
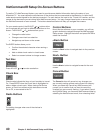
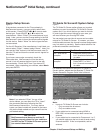
Press ADJUST or to change text boxes. Some
text boxes have preset labels. Other boxes allow you
to select letters, numbers or characters to customize
names.
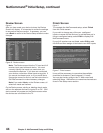
Menu Screens
A picture (icon) will be highlighted on the
menu screen when selected with the ADJUST
arrows. You may then make changes within
the menu or access sub-menus, if available.
You can also access sub-menus from a button.
Sometimes when you select a button, an
automatic function begins.
The system includes the following special
features:
• The currently selected icon or button is
highlighted with a yellow outline; the text color is
yellow.
• On-screen instructions, shown in the message
line at the bottom of the menu, provide feature
selection and adjustment information.
• Some on-screen menu options must be set
before other options are available.
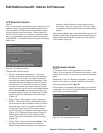
3D Graphical Menu System
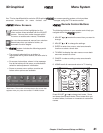
Main Menu: This screen will always be the first screen that
appears when you press the remote’s TV MENU button.
Your TV also has Mitsubishi’s exclusive 3D Graphical on-screen operating system, which provides
on-screen information for menu choices and changes, using the TV’s remote control.


