


Page 14
MODELS: WD-60C9 / WD-65C9 / WD-73C9 / WD-60737 / WD-65737 / WD-73737 / WD-82737
WD-65837 / WD-73837 / WD-82837
COLOR WHEEL REPLACEMENT
SYMPTOMS
• Noise (Bad Motor Bearing)
• Solarized Picture NOTE: Before replacing the Color Wheel, check the Index Delay Adjustment.
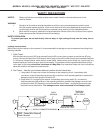
COLOR WHEEL REPLACEMENT PROCEDURE
CAUTION: This procedure should be performed in a dust free environment.
Any dust entering into the color wheel chamber can cause abnormalities in the picture.
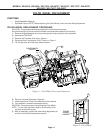
1) Remove Engine Assembly and cover the projection lens to protect it from scratches.
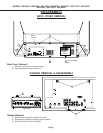
2) Remove the TOP DUCT.
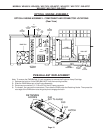
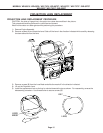
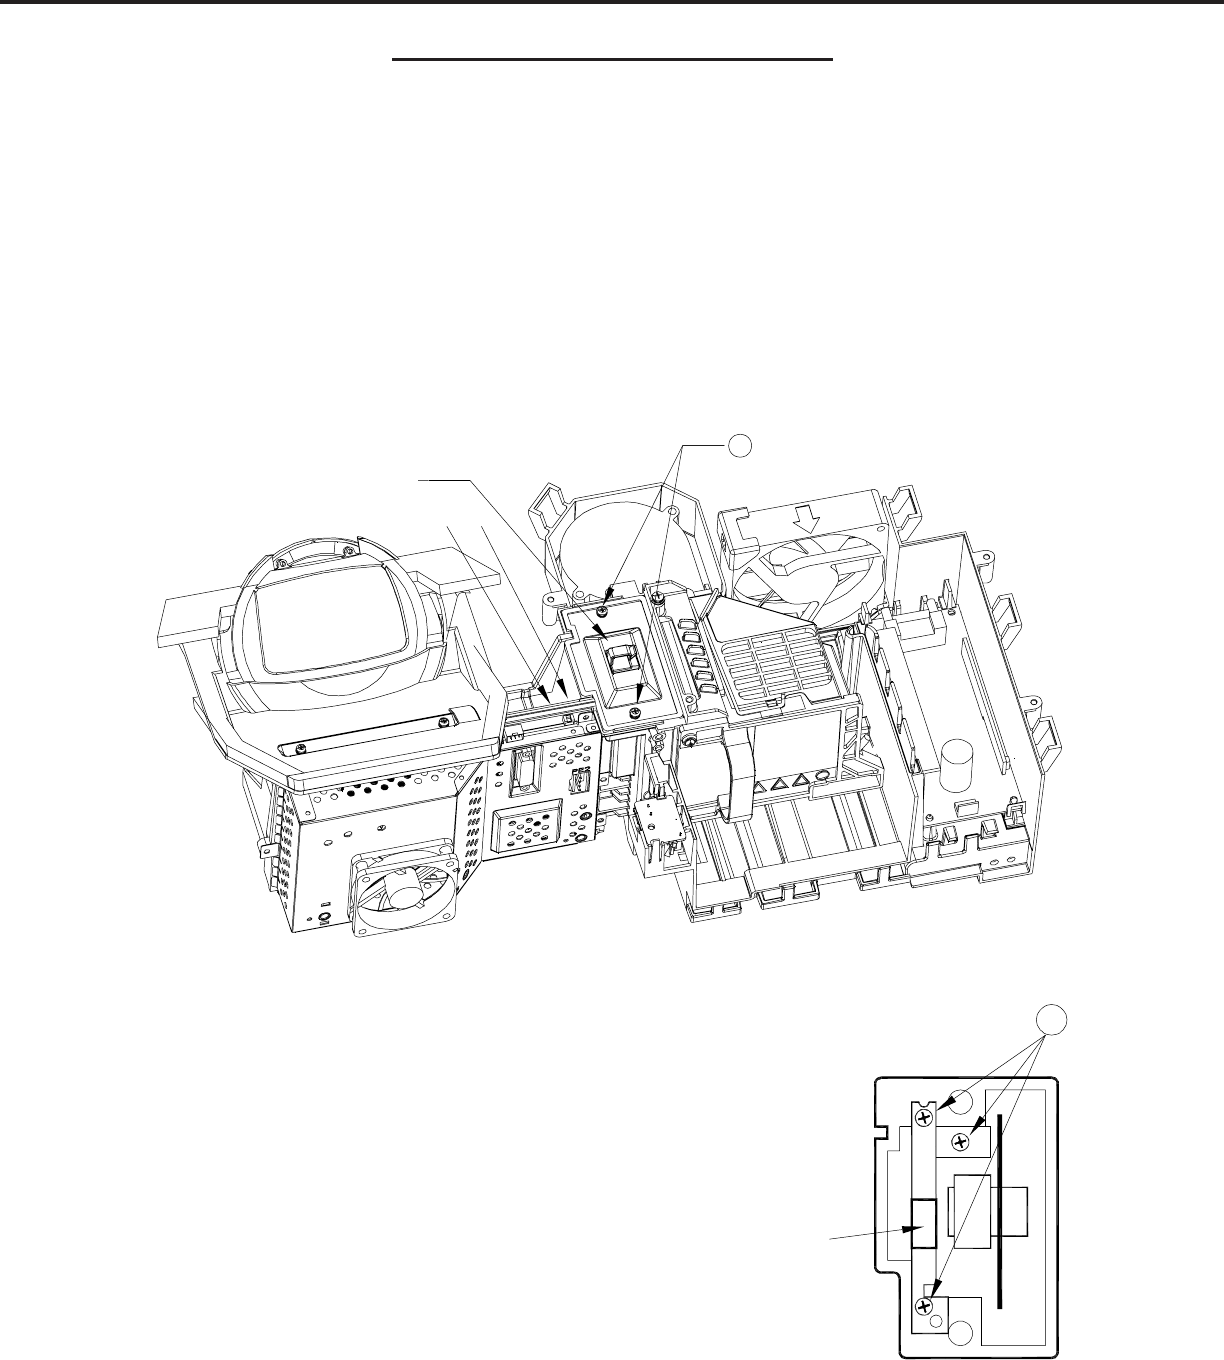
3) Remove the 2 screws (A) shown in Figure 1.
4) Disconnect the 2 connectors J6 & J7 shown in Figure 1.
5) Lift the top cover off of the color wheel chamber.
Figure 1: Color Wheel Cover and Connectors
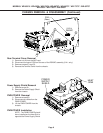
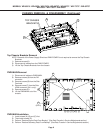
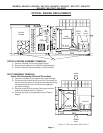
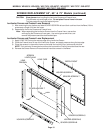
6) Remove 3 screws (B) shown in Figure 2.
7) Use the Handle to lift the Color Wheel from the chamber.
8) For installation, reverse the procedure above.
CAUTION: Use care to prevent scratching the Color Wheel.
NOTE: Do not twist the ribbon cable to J6 (the shiny silver
contacts must be facing up).
9) After re-assembly, perform the Index Delay Adjustment de-
scribed in the Service Adjustments section.
Figure 2: Color Wheel
COLOR
WHEEL
HANDLE
B
A
COVER
COLOR WHEEL
J6 J7