54
EN
FUNCTION SETUP
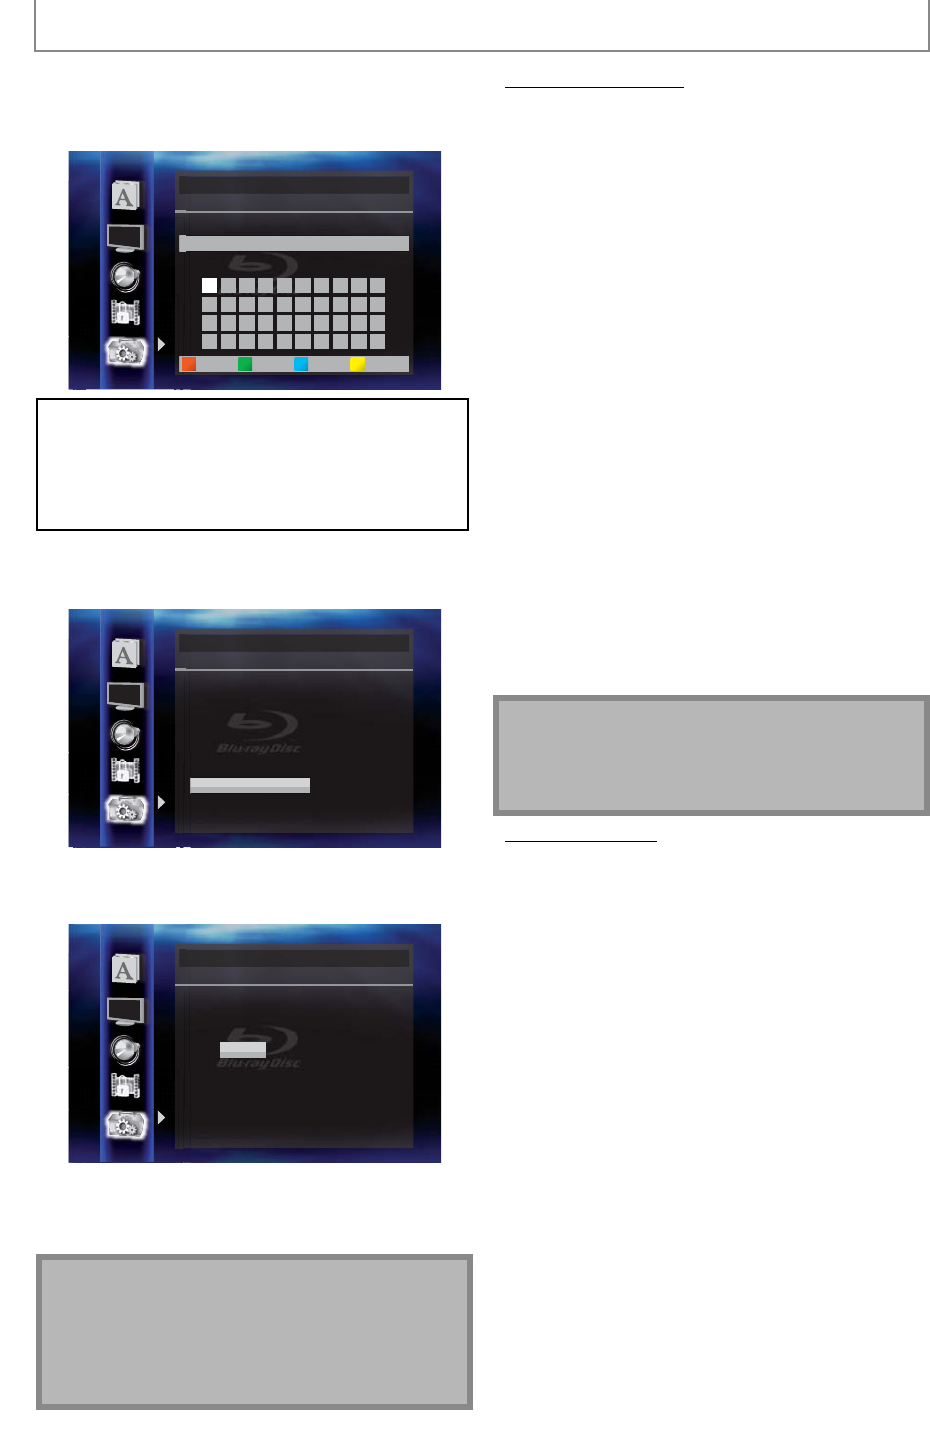
3-a) Use [K / L] to select “Proxy Address”, then press
[ENTER]. Proxy address setting screen will appear.
Enter proxy address.
• The keyboard screen will appear.
Others
Proxy Address
_
1 34567890
abcdefghij
klmnopqrst
uvwxyz.-_OK
2
2 3 4 5 6 7 8 9 0
a b c d e f g h i j
k l m n o p q r s t
u v w x y z . - _
OK
34567890
abcdefghij
klmnopqrst
uvwxyz.-_OK
OK
234567890
abcdefghij
klmnopqrst
uvwxyz.-_OK
OKa/A/@All ClearClear
[K / L /
s
/
B
] : Move the highlight.
[the Number buttons]
: Enter number.
[ENTER] : Enter the highlighted number / word.
[A] : Clear the entered number or word.
[B] :
Clear all the entered numbers or words.
[C] : Switch between abc ? ABC ? @!?
[
D
] : Set the entered number or word.
3-b) After you enter proxy address correctly, press [D].
• Confirmation message will appear. Select “Yes” to
complete the settings.
Others
Is Setting OK?
xxxxx
No
Yes
Proxy Address
3-c) Use [K / L] to select “Proxy Port”, then press
[ENTER]. Proxy port setting screen will appear.
Enter proxy port number with number buttons.
Others
Please select the input Proxy Port.
then press ‘ENTER’.
xxxxx
Proxy Port
3-d) After you enter proxy port correctly, press [ENTER].
4 Press [RETURN] to go back to the
previous screen, or press [SETUP] to exit.
Note
• The range of input numbers for the port number is
between 0 and 65535. (If you enter a number larger
than 65535, it will be regarded as 65535.)
• For proxy port, the selected ports may be blocked and
not be able to use depending on your network
environment.
• Connection Speed
You can set connection speed as your preference. (The
default setting is “Auto”.)
1 Follow steps 1 to 4 in “Connection Test”
on page 52.
2 Use [K / L] to select “Enable(Custom)”,
then press [ENTER].
3 Use [K / L] to select “Connection Speed”,
then press [ENTER].
4 Use [K / L] to select the desired setting,
then press [ENTER].
“Auto”:
Set the appropriate connection speed automatically, in
accordance with your network environment.
“10BASE Half”:
Set the connection speed to “10BASE Half”.
“10BASE Full”:
Set the connection speed to “10BASE Full”.
“100BASE Half”:
Set the connection speed to “100BASE Half”.
“100BASE Full”:
Set the connection speed to “100BASE Full”.
5 Press [RETURN] to go back to the
previous screen, or press [SETUP] to exit.
Note
• Choose a connection speed in accordance with your
network environment.
• The network connection may be disabled depending
on the device, when the settings are changed.
• BD-Live Setting
You can limit Internet access for BD-Live discs.
(The default setting is “Allow”.)
1 Follow steps 1 to 4 in “Connection Test”
on page 52.
2 Use [K / L] to select “Enable(Custom)”,
then press [ENTER].
3 Use [K / L] to select “BD-Live Setting”,
then press [ENTER].
4 Use [K / L] to select the desired setting,
then press [ENTER].
“Allow”:
Internet access is permitted for all BD-Live contents.
“Limited Allow”:
Internet access is permitted only for BD-Live contents
which have content owner certificates. Internet access
without the certificates is prohibited.
“Prohibit”:
Internet access is prohibited for all BD-Live contents.
5 Press [RETURN] to go back to the
previous screen, or press [SETUP] to exit.


