


40
RQT9274
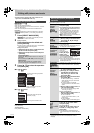
Editing still pictures and music
≥Instructions/notes regarding SD cards and SD drive are
applicable to the DMR-EH69 model only.
[HDD] [RAM] [-R] (JPEG) [SD]
≥You can edit pictures and albums.
≥You cannot edit still pictures recorded on DVD-R DL, CD-R/CD-
RW and USB memory.
≥You cannot edit still pictures recorded on finalized DVD-R.
Preparation
≥Press [DRIVE SELECT] to select the HDD, DVD or SD drive.
≥[RAM] [SD] Release protection (> 54, Setting the protection).
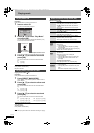
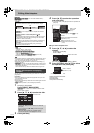
1 Press [DIRECT NAVIGATOR].
[HDD] [RAM] When “PICTURE” is not selected, press the
“Green” button to select “PICTURE”.
2 Editing an album:
Select the album to be edited and
press [OPTION].
≥When you want to create an album using “Create Album”,
press [OPTION] without selecting album.
Editing a still picture:
3 Press [3, 4] to select the operation
and press [OK].
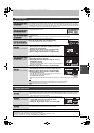
∫ To edit the album
(e.g., [HDD])
∫ To edit still picture
(e.g., [HDD])
To return to the previous screen
Press [RETURN].
To exit the screen
Press [DIRECT NAVIGATOR].
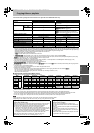
After performing steps 1–3 (@ left)
§
Multiple editing is possible.
[Change Date : Only when the “Picture (JPEG) View” screen is
displayed]
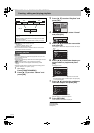
Editing still pictures (JPEG)
1 Select the album which contains the still
picture to edit and press [OK].
2 Select the still pictures to edit and press
[OPTION].
To show other pages
Press [3, 4, 2, 1] to select “Previous” or “Next” and
press [OK].
≥You can also press [:, 9] to show other pages.
Multiple editing
Select with [3, 4, 2, 1] and press [;]. (Repeat.)
A check mark appears. Press [;] again to cancel.
Slideshow Setting
Add Pictures
Create Album
Edit Album
Copy to DVD
VIDEO/MUSIC
Start Slideshow
Change Date
Set up Protection
Cancel Protection
Delete Album
Album (still picture) and picture
operation (@ right)
Useful functions during still picture
play (> 31)
Properties
Change Date
Set up Protection
Cancel Protection
Album View
Delete Picture
Album (still picture) and picture
operation (@ right)
You can go back to Album View.
Album (still picture) and picture
operation
Delete
Picture
§
Delete
Album
§
[HDD] [RAM]
[-R] (JPEG) [SD]
Press [2, 1] to select “Delete”
and press [OK].
≥Once deleted, the recorded contents are
lost and cannot be restored. Make certain
before proceeding.
≥When deleting an album, files other than
the still picture files inside the album will
also be deleted. (This does not apply to
folders under the album concerned.)
≥[-R] Available space does not increase even
after pictures are deleted.
Change
Date
§
[HDD] [RAM]
You can change the date of the picture.
1 Press [2, 1] to select the item
and press [3, 4] to change.
2 Press [OK].
Enter Album
Name
[HDD] [RAM] [SD]
You can give names to albums.
(> 42, Entering text)
≥Album names input using this unit may not
be displayed on other equipment.
Set up
Protection
§
Cancel
Protection
§
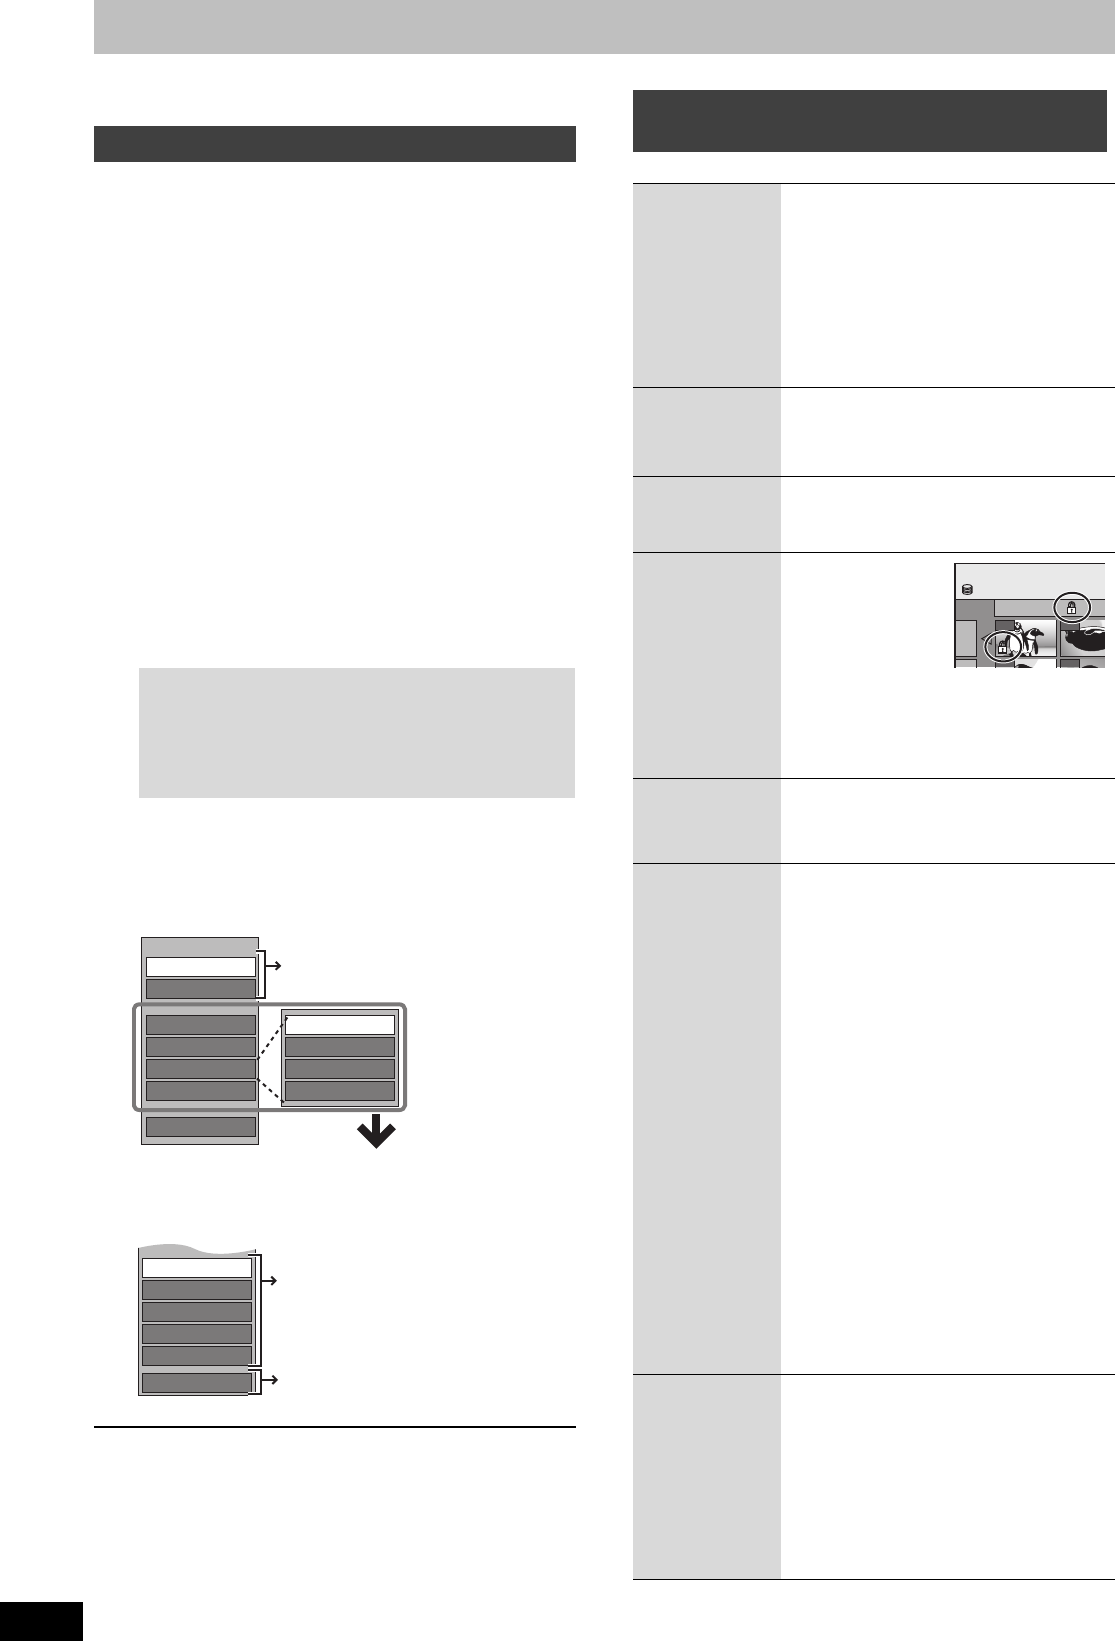
[HDD] [RAM] [SD]
If set, this will protect
the still picture or
album from
accidental deletion.
Press [2, 1] to
select “Yes”
and press [OK].
The lock symbol appears when the still
picture or album is protected.
≥Even if the protection setting is used by this
unit to protect an album, the album may be
deleted by another unit.
Properties
[HDD] [RAM] [-R]
[-R]DL] [CD] [USB]
[SD]
Information (e.g., image size and file size) is
shown.
≥To exit the Properties screen, press [OK].
Add
Pictures
Create
Album
[HDD] [RAM] [SD]
1 Press [2, 1] to select “Start”
or “Yes” and press [OK].
2 Press [3, 4, 2, 1] to select
the album that contains the
still picture you want to add
and press [OK].
3 Press [3, 4] to select the item
and press [OK].
≥If “Select pictures to copy” is selected:
Select the still picture you want to add
and press [OK].
≥If “Copy all pictures” is selected:
All the still pictures in the album will be
copied.
4 Press [2, 1] to select “Yes” or
“No” and press [OK].
≥If you want to continue copying, select
“Yes” and go to step 2.
Only for “Create Album”
5 Press [2, 1] to select “Yes” or
“No” and press [OK].
≥If “Yes” is selected:
You can give names to albums. (> 42,
Entering text)
≥If “No” is selected:
The album name is automatically given.
Copy to
DVD
[HDD]
Copy to HDD
[RAM]
For copy to DVD-RAM or HDD
Press [2, 1] to select “Start”
and press [OK].
For copy to DVD-R
Press [2, 1] to select “Copy &
Finalise” or “Copy Only” and
press [OK].
≥Use blank discs or unfinalized discs on
which JPEG images are recorded with this
unit.
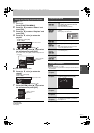
DIRECT NAVIGATOR Pi
c
0001
Album Name
103__
0002
0005 0006
HDD
EH59GN-RQT9274-L_eng.book 40 ページ 2009年2月16日 月曜日 午後6時49分