


68
RQT9434
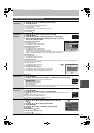
Copying still pictures
[HDD] [BD-RE] [RAM] [USB] [SD]
≥Pictures copied from SD card and USB memory will be categorised
according to the shooting date. Pictures without shooting date will
be categorised using the creation date.
≥The pictures recorded on DVD-R, DVD-R DL, CD-R/CD-RW
cannot be copied.
≥If the space on the destination drive runs out or the number of files/
folders to be copied exceeds the maximum (> 116), copying will
stop partway through.
≥You cannot copy the information about the picture rotation.
≥Timer recording will not start while copying still pictures.
[SD] > [HDD]
This unit saves information about imported still pictures. Therefore, if
still pictures are imported from the same SD card, then only new still
pictures will be imported.
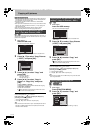
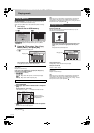
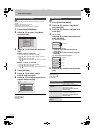
1 While stopped
Insert the SD card.
The menu is automatically displayed.
≥Display items differ depending on what is recorded in the
card.
2 Press [3, 4] to select “Copy Pictures
( JPEG )” and press [OK].
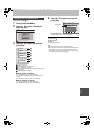
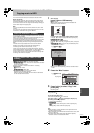
3 Press [2, 1] to select “Copy” and
press [OK].
≥Protection of the card is
–Set: Copy will start
–Not set: Go to step 4
4 Press [2, 1] to select “Copy &
Delete” or “Copy Only” and press
[OK].
If “Copy & Delete” is selected
Copied pictures in the SD card will be deleted after copying.
If “Copy Only” is selected
Pictures will not be deleted.
≥ will be displayed on the Pictures by Date screen of the
Picture View for the added pictures.
To stop copying
Press and hold [RETURN ] for 3 seconds.
If the menu screen (> above) is not displayed, display it by
performing the following operation.
1 Press [FUNCTION MENU].
2 Press [3, 4] to select “SD Card” and press [OK].
[Note]
≥This unit saves the information on up to 12,000 still pictures and 30
SD cards. If additional still pictures are imported, then the older
information will be deleted.
[USB] > [HDD]
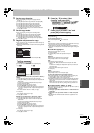
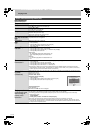
1 While stopped
Insert the USB memory.
The menu is automatically displayed.
≥Display items differ depending on what is recorded in the
USB memory.
2 Press [3, 4] to select “Copy Pictures
( JPEG )” and press [OK].
3 Press [2, 1] to select “Copy” and
press [OK].
≥ will be displayed on the Pictures by Date screen of the
Picture View for the added pictures.
To stop copying
Press and hold [RETURN ] for 3 seconds.
If the menu screen (> above) is not displayed, display it by
performing the following operation.
1 Press [FUNCTION MENU].
2Press [3, 4] to select “USB” and press [OK].
[Note]
≥The structure of folders on the USB memory may not be the same
at the copy destination.
[HDD] ,-. [BD-RE] [RAM] [SD]
[SD] ,-. [BD-RE] [RAM]
[USB] > [HDD] [BD-RE] [RAM]
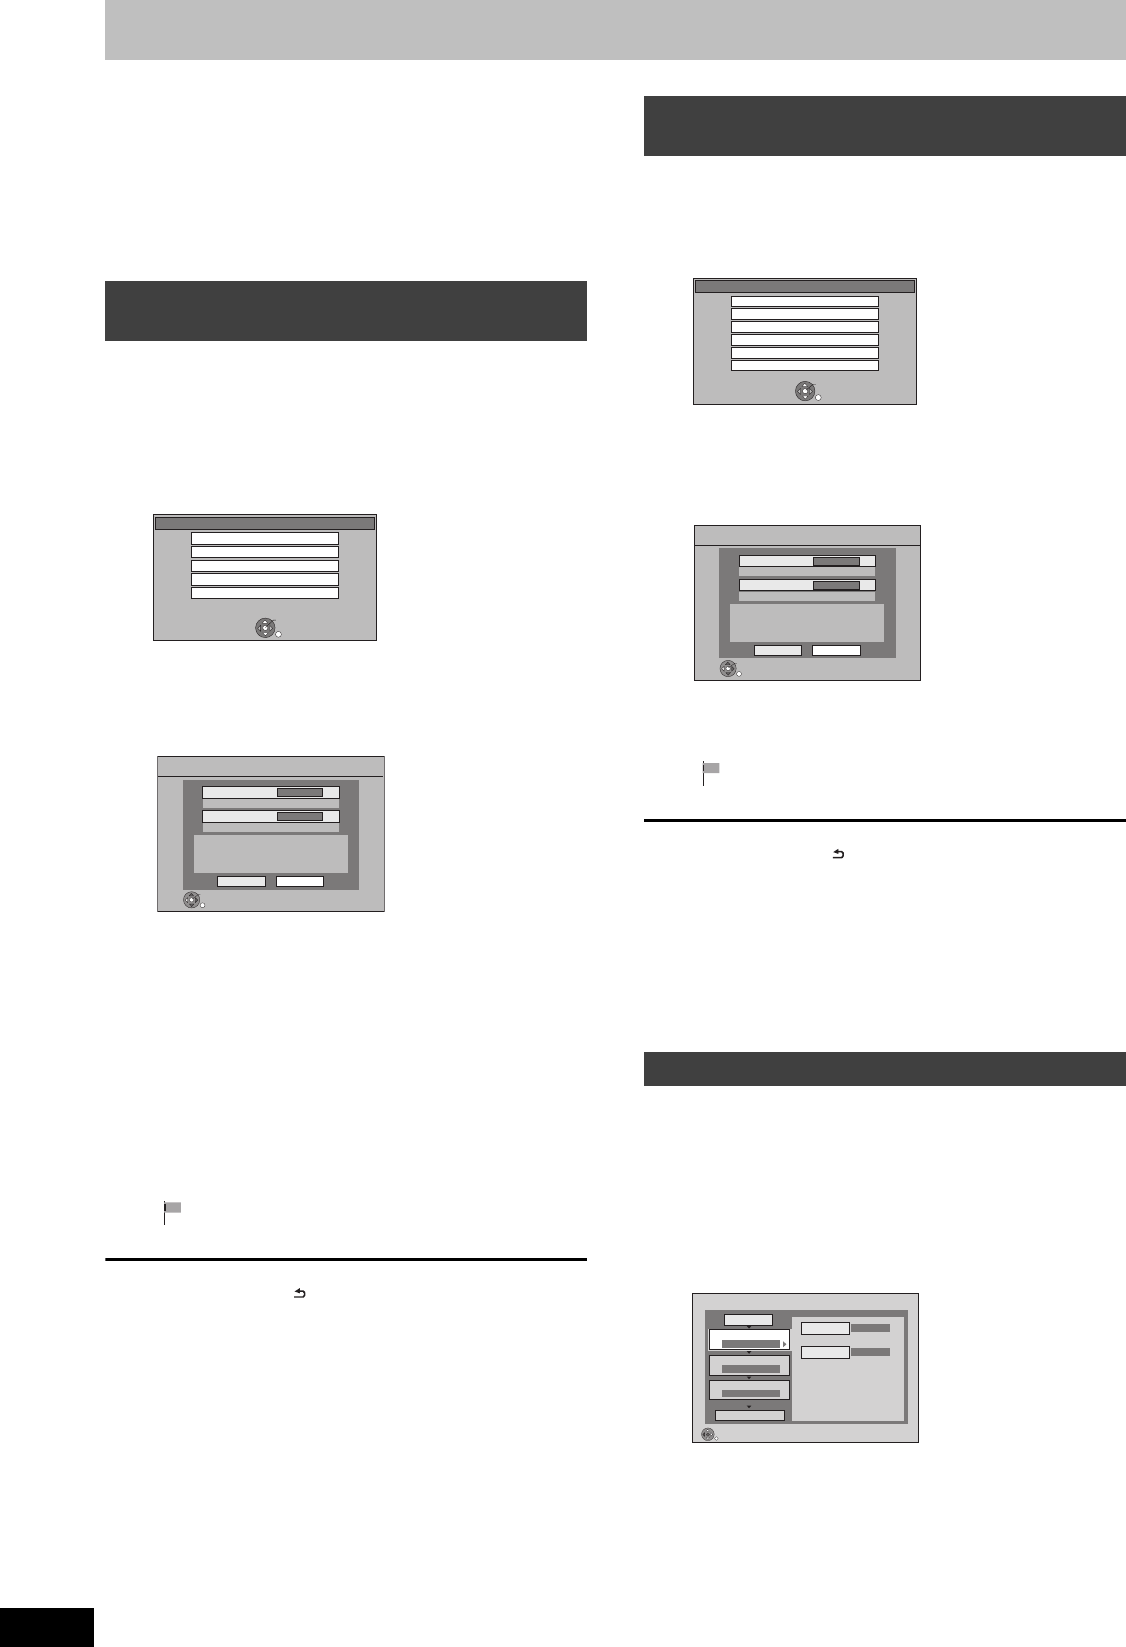
1 While stopped
Press [FUNCTION MENU].
2 Press [3, 4] to select “Copy” and
press [OK].
≥If you are not going to change each setting (> step 6).
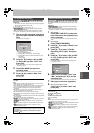
Copying new still pictures on the SD
card—Copy New Pictures ( JPEG )
SD Card
OK
RETURN
SD card is inserted.
Play Video ( AVCHD )
Play Pictures ( JPEG )
Copy Video ( AVCHD )
Copy Video ( MPEG2 )
Copy Pictures ( JPEG )
Copy added pictures ( JPEG ) by date.
Copy Cancel
RETURN
OK
Copy from
SD CARD
Copy to
HDD
Copy New Pictures ( JPEG )
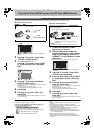
Copying all the still pictures on the USB
memory—Copy All Pictures ( JPEG )
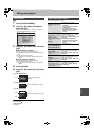
Copying using the copying list
USB
OK
RETURN
USB device is inserted.
Play Pictures ( JPEG )
Play Video ( DivX )
Play / Copy Music ( MP3 )
Copy Video ( AVCHD )
Copy Video ( MPEG2 )
Copy Pictures ( JPEG )
Copy all pictures ( JPEG ) by date.
Copy Cancel
RETURN
OK
Copy from
USB
Copy to
HDD
Copy All Pictures ( JPEG )
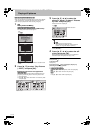
Copy
SD CARD
HDD
1
2
3
Source
Destination
Cancel All
Copy Direction
Copy Mode
Create List
Start Copying
SD CARD HDD
PICTURE High Speed
Select the copy direction.
RETURN
0
DMRBS850&750EG-RQT9434-L_eng.book 68 ページ 2010年1月14日 木曜日 午後4時21分