


97
RQT9434
Convenient
functions
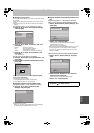
∫ Setting the proxy server
In most cases, default settings can normally be used without making
any changes.
Please use this setting when instructed to by your Internet service
provider.
≥Set the proxy server only after the connection test is completed
properly.
After performing steps 1–4 (> 96, Testing the connection)
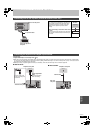
5 Press [3, 4] to select “Proxy Server Settings”
and press [OK].
6 Press [3, 4] to select “Connection Test” and
press [OK].
7 Press [3, 4] to select “Proxy Address” and
press [OK].
(> 80, Entering text)
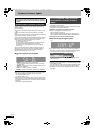
After the input of “Proxy Address” is completed
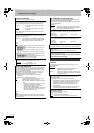
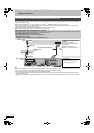
8 Press [3, 4] to select “Proxy Port Number” and
press [OK].
9 Enter numbers with the numbered buttons and
press [OK].
10
Press [2, 1] to select “Yes” and press [OK].
To set back to default setting
After performing step 5 (> above)
1 Press [3, 4] to select “Initialize” and press [OK].
2 Press [2, 1] to select “Yes” and press [OK].
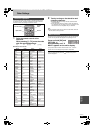
∫ Setting the internet content (VIERA CAST)
After performing steps 1–4 (> 96, Testing the connection)
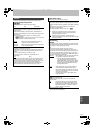
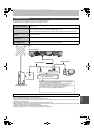
5 Press [3, 4] to select “Internet Content
Settings” and press [OK].
≥Lock (> 94)
≥Automatic Volume Control
Select “On”, the volume is controlled by this unit automatically. If
you want to enjoy the original volume, set it to “Off”.
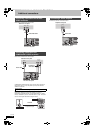
∫ Register the DLNA compatible equipment to this
unit
After performing steps 1–4 (> 96, Testing the connection)
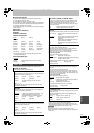
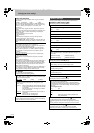
“Testing”: The test is in progress.
“OK”: The connection is completed.
Press [RETURN ] to exit.
“Failed”: Please check the connection and settings.
RETURN
Proxy Server Settings
Initialize
Proxy Address
Proxy Port Number
OK
0
Connection Test
----
0
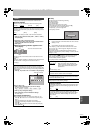
Proxy Port Number
Please input HTTP Proxy Server Port Number
and press “OK”. The number will be set to “0”
by pressing “OK” when there is no number
input.
Press “DEL” button if a wrong number
is entered.
0 - Number9
RETURN
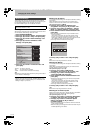
Internet Content Settings
Automatic Volume Control
OK
On
Off
Lock
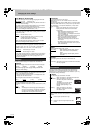
≥When connecting Panasonic DLNA compatible equipment
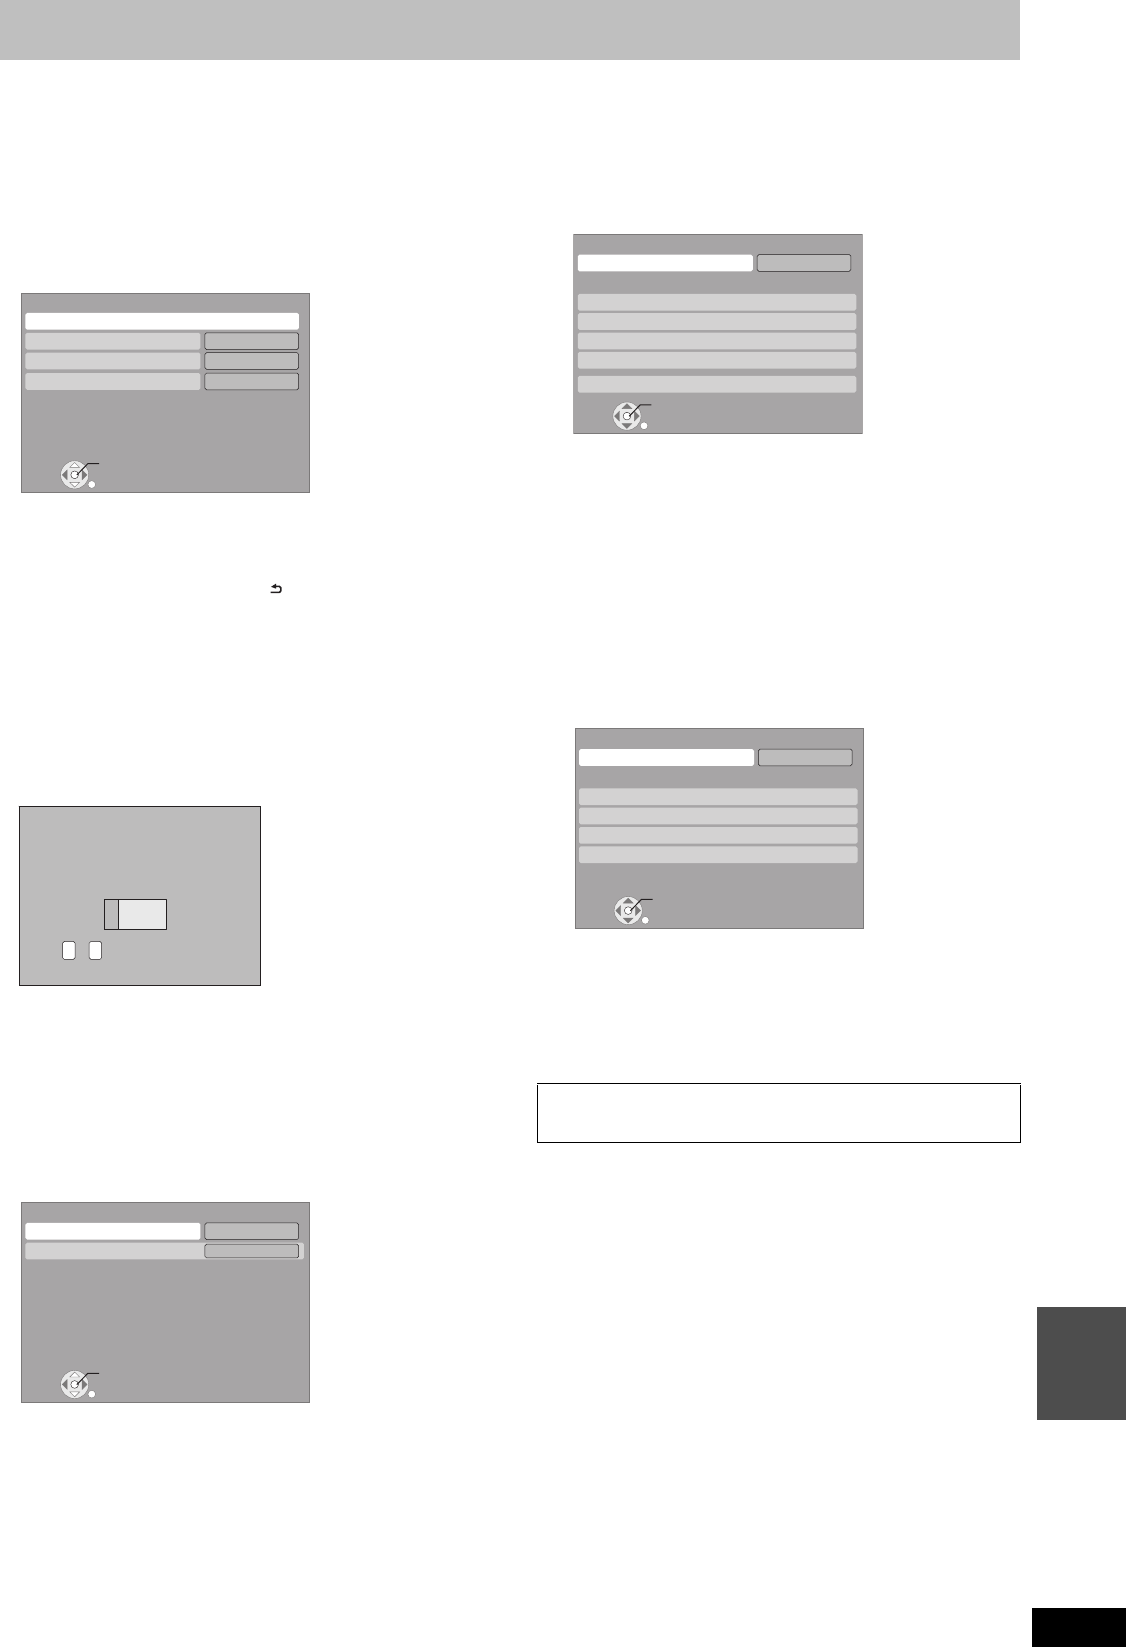
5 Select “Home Network ( DLNA ) Settings” and
press [OK].
6 Select “On” and press [OK].
7 Select “Yes” and press [OK].
Access this unit from the connected DLNA compatible
equipment within 10 minutes.
≥Up to 4 devices can be registered.
≥Even if it is Panasonic DLNA compatible equipment, you may not
be able to register from "Home Network ( DLNA ) Settings".
In such a case, register the equipment from "Server ( DLNA )
Settings" (> below)
≥
When connecting non-Panasonic DLNA compatible equipment
5 Select “Server ( DLNA ) Settings” and press
[OK].
≥Up to 4 devices can be registered.
6 Select the MAC Address for the connected
equipment and press [OK].
≥Up to 12 devices can display the MAC Address.
7 Select “Yes” and press [OK].
∫ Viewing video in this unit via the registered
equipment (> 79, DLNA feature)
RETURN
Home Network ( DLNA ) Settings
Registered devices list
Set unit name
OK
Off
Home Network ( DLNA )
RETURN
Server ( DLNA ) Settings
MAC Address
OK
Off
Server ( DLNA ) function
DMRBS850&750EG-RQT9434-L_eng.book 97 ページ 2010年1月14日 木曜日 午後4時21分