


24 C2673M-D (8/10)
Operation and Initial System Configuration
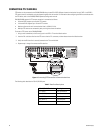
The DX4500/DX4600 is ready for configuration and operation once the hardware installation has been completed. Depending on your specific
application and installation requirements, there might be topics that do not apply for your specific installation. Advanced configuration details
are described in the server and client operation manuals. Be sure to read the information in Overview of DX4500/DX4600 Setup Window on
page 23 before performing the setup instructions described in this section. You must log on with administrator access to configure the
DX4500/DX4600.
POWERING ON AND LOGGING ON TO THE DVR
You must log on to the DX4500/DX4600 with a valid user name (ID) and password to operate the DVR. User names and passwords are case
sensitive. By default, the DX4500/DX4600 comes with one login account: the user name is admin and the default password is admin.
NOTE: If you are logging on for the first time, the system does not prompt you to change the default password (admin). If you keep the default
password, access to the DVR is easily accomplished by anyone who knows the user name (ID) and default password. Therefore, Pelco strongly
recommends that the system administrator change the password and keep it in a secured location. (The user name or access level, which by
default is Administrator, cannot be changed.) For information about changing the administrator password and creating new user accounts, refer
to the DX4500/DX4600 Operation/Configuration manual.
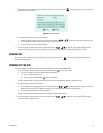
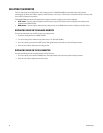
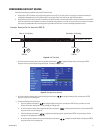
1. On the front panel or remote control, press and hold the POWER button until your hear a beep, and then release the button. After a few
seconds, the startup screen is displayed.
Figure 13. DX4500/DX4600 Power On Startup Screen
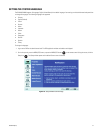
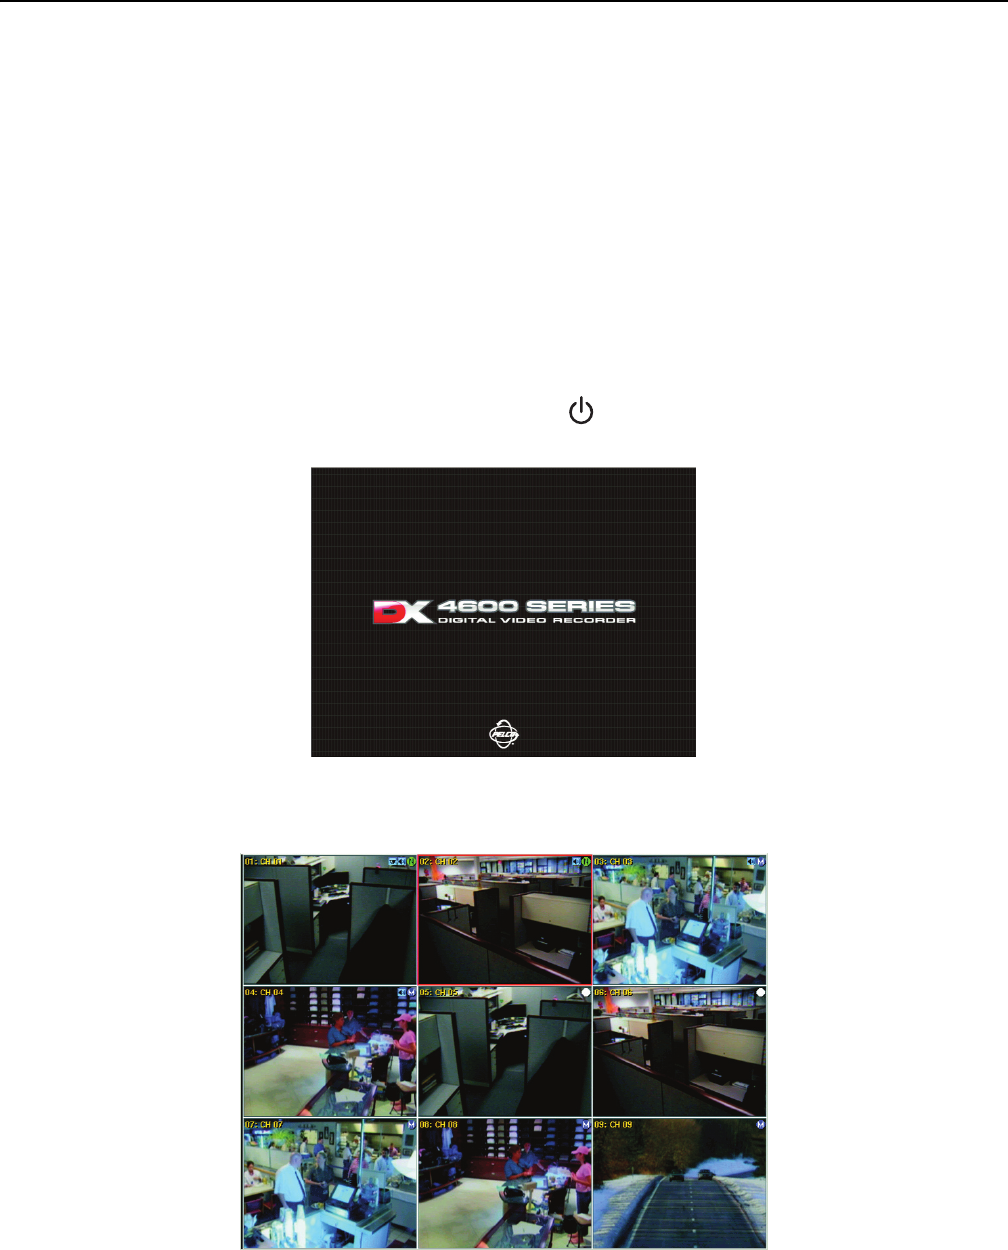
2. Wait until the DVR displays the DX4500/DX4600 application window.
Figure 14. Application Window and Toolbar