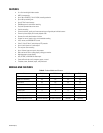
C2673M-D (8/10) 29
SETTING THE SYSTEM TIME
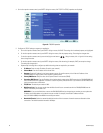
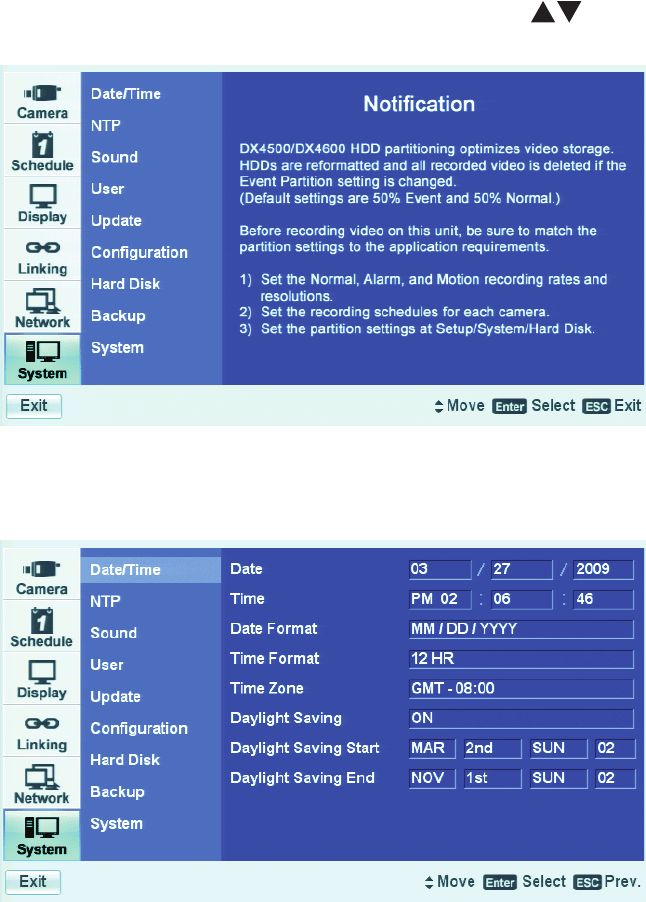
The System menu contains the Date/Time configuration option.
• Date: Sets the DX4500/DX4600 date and establishes the DVR’s internal calendar for all recorded video.
• Time: Sets the system time and establishes the time for all recorded video.
• Date Format: Selects the date format for the displayed date and establishes the format that is saved with the video as it is recorded.
Choices are MM/DD/YYYY, DD/MM/YYYY, and YYYY/MM/DD.
• Time Format: Sets the display time format and establishes the format that is saved with the video as it is recorded. Choices are 12- and
24-hour time format.
• Time Zone: Selects the time zone in which the DX4500/DX4600 is located. Time zones are determined based on the number of hours they
are offset from the Greenwich Mean Time (GMT).
• Daylight Saving: Ensures that the recorded video displays the correct time, reflecting the annual change to daylight saving time (DST).
Select this setting if the DX4500/DX4600 is located in a state or country that observes daylight saving time.
You must configure daylight saving time on both the DX4500/DX4600 and the computer on which the remote client application is running.
Configure the time zone on the remote client system, using the System menu in the Setup window. For information about configuring the
time zone on the remote client PC, refer to the client operation manual. For information about the time zone for your area, refer to
Appendix on page 38.
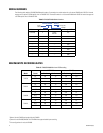
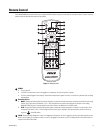
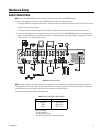
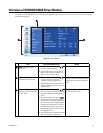
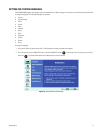
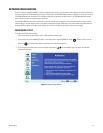
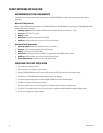
1. In the Setup window, on the front panel or remote control, press the up/down arrow buttons to select System. Using the mouse,
click System. The System page opens, listing the available options.
Figure 19. System Page
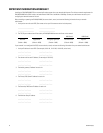
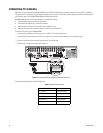
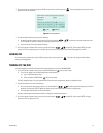
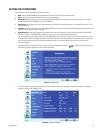
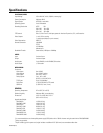
2. On the front panel or remote control, press ENTER. Using the mouse, click the Date/Time option. The Date/Time settings are displayed;
by default the date format is MM/DD/YYYY.
Figure 20. Date/Time Settings