


13
Installation
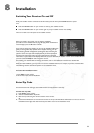
Switching Your Receiver On and Off
With your satellite receiver connected to the AC outlet, press the front panel POWER button to power
it on.
9 Press the POWER button on your remote to wake up your satellite receiver.
9 Press the POWER button on your remote again to put your satellite receiver into standby.
There is no need to turn off power to the satellite receiver.
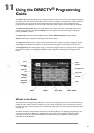
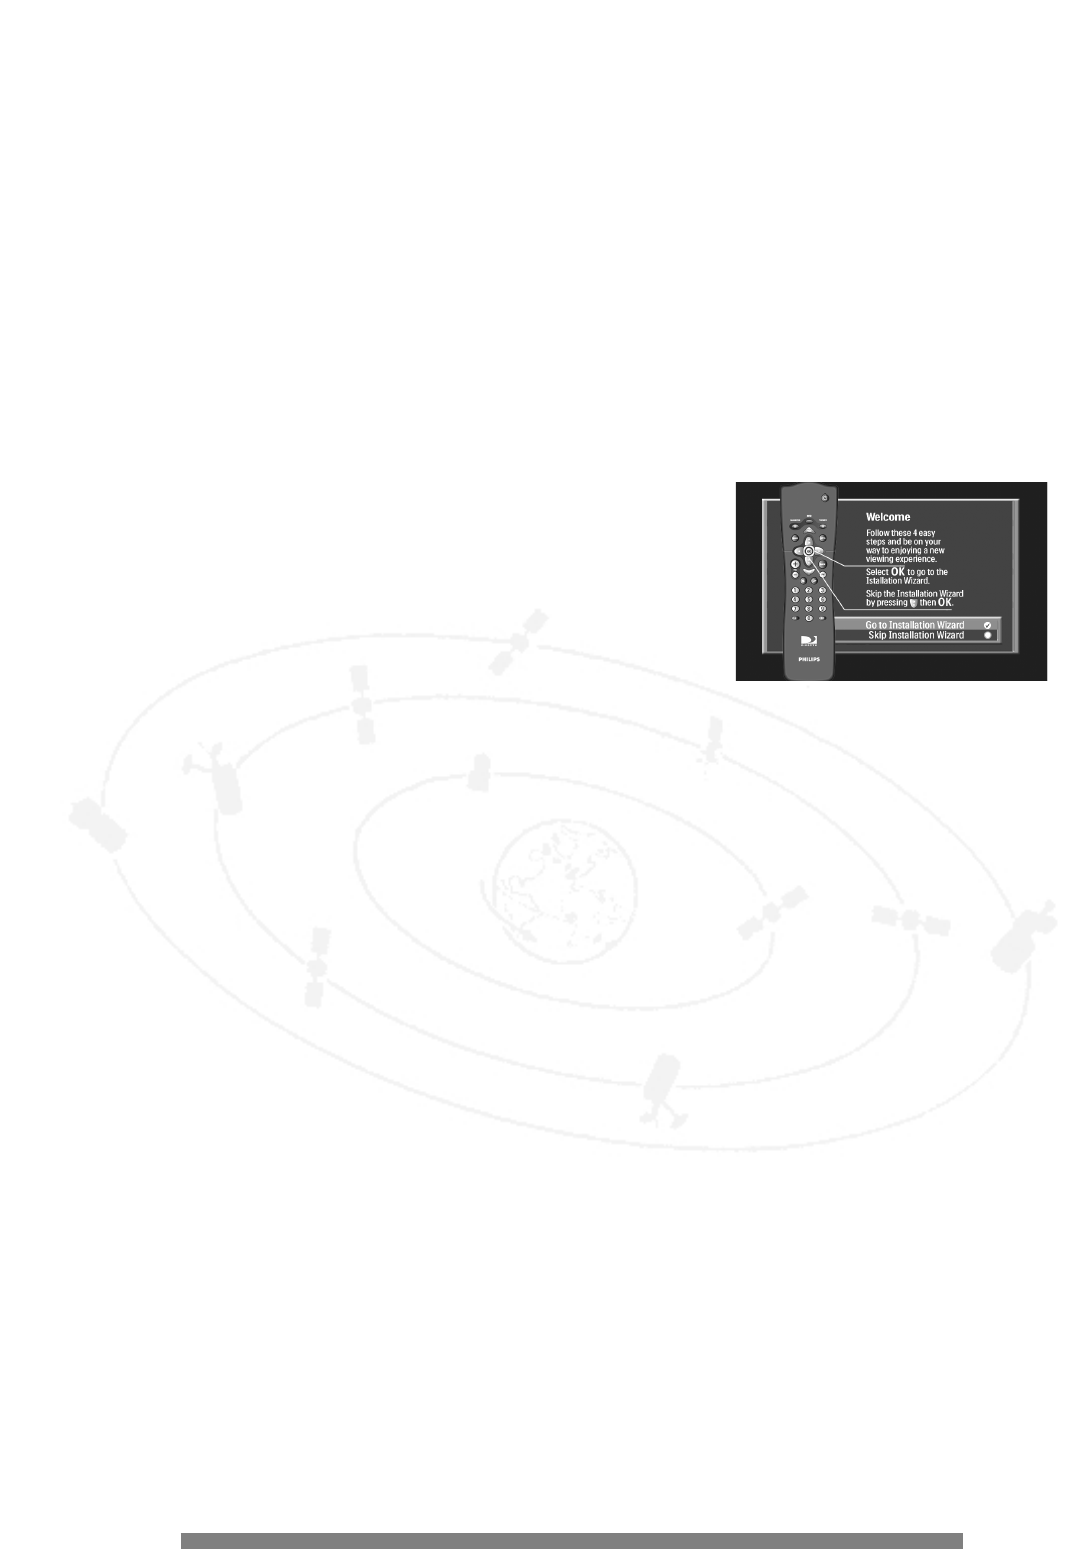
When you install a new system, you can skip the installation
procedure if all the defaults listed on page 28 apply.When the Welcome
screen displays, press the 4 button and OK.
If you need to change any settings, you can use the Installation Wizard to
guide you through the setup process which includes entering your zip
code, selecting the dish configuration, pointing the dish, and testing the
system.A series of screens will be displayed and you will be prompted
with onscreen instructions. Once you have entered all the requested
information, a System Test screen displays.When this screen is dismissed, the satellite receiver will be enabled. Be sure
you have contacted DIRECTV and arranged for service.
For installing your satellite dish and making connections, refer to the installation manual for the satellite dish.
After the initial installation, you may want to access the installation features, for example, if you have moved the dish.
The following sections describe the options on the Installation menu.
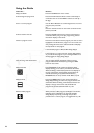
To access the installation menu:
1. Press MENU on the remote.
2. On the main menu, choose Installation.
Enter Zip Code
Use this function when setting up the satellite antenna to help position it correctly.
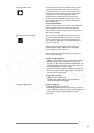
To enter the zip code:
1. Press MENU on the remote.
2. Choose Installation/Enter Zip Code.
3. Enter the zip code using the numeric buttons on the remote.
Or
4. Use the 3 and 4 buttons to increment the number in the zip code field. Press the 2 button to move to the next
field.When all the digits have been entered, press OK to return to the installation menu.
8
8