


24
Using menu mode
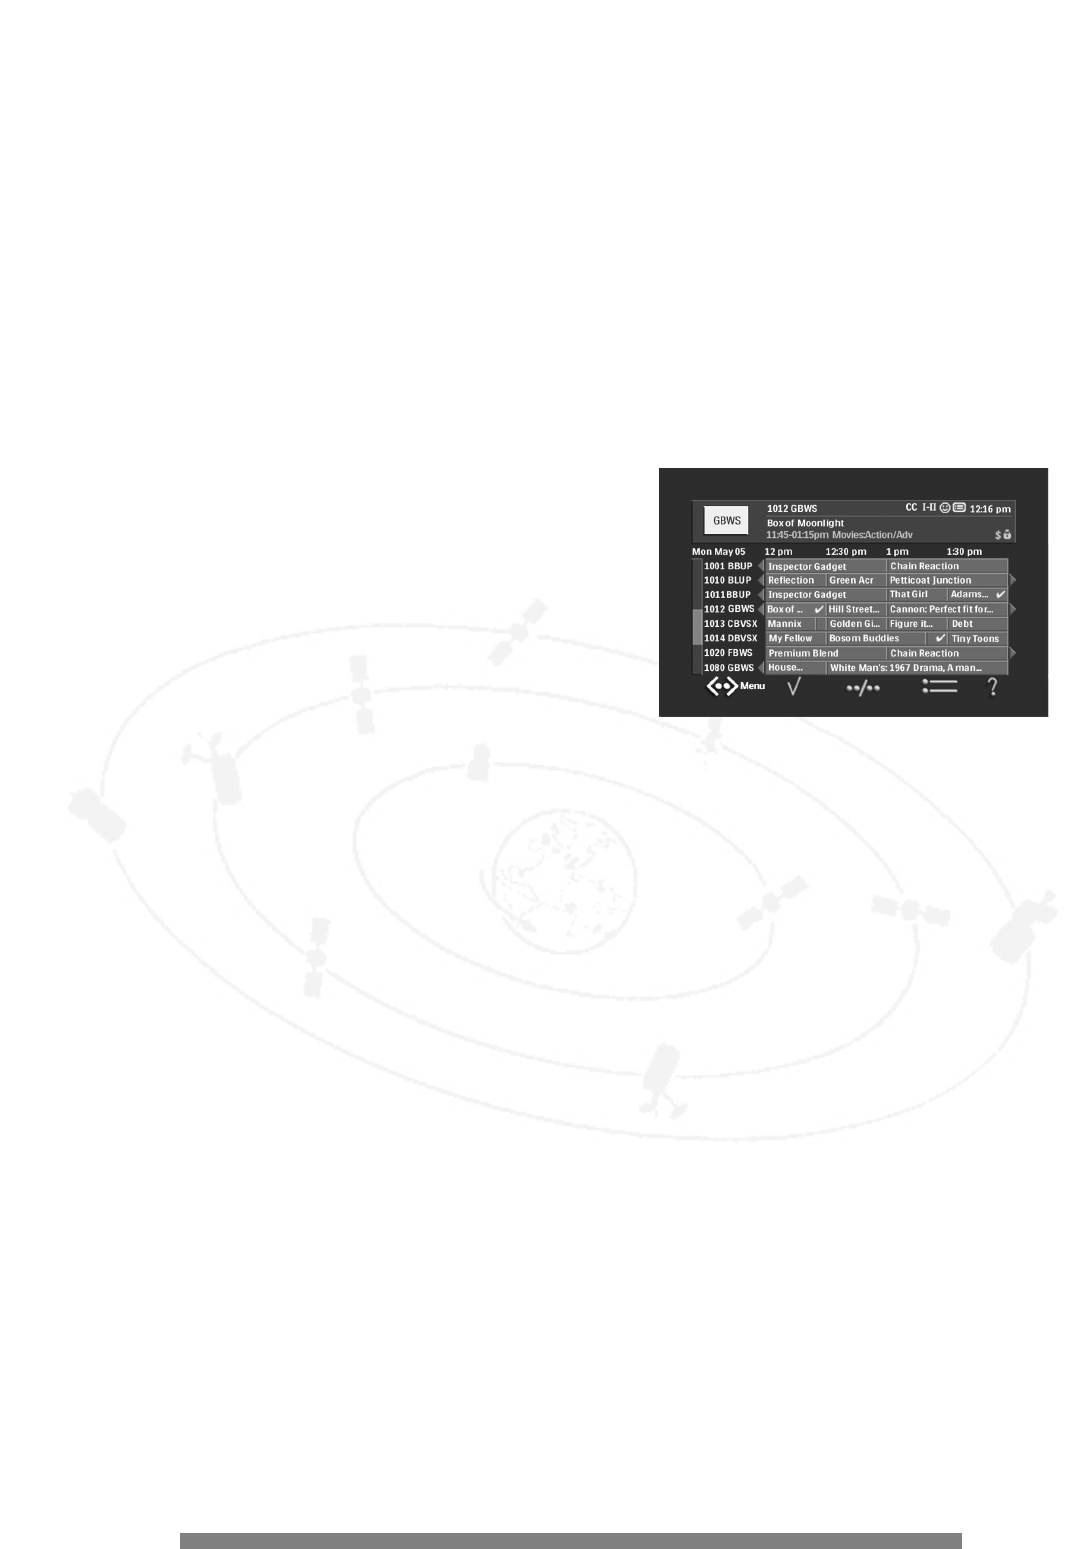
Messages
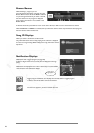
The satellite receiver may occasionally display messages which overlay the Guide.To dismiss a message, press OK.
Software Upgrade Message
When DIRECTV schedules or transmits a software upgrade, you will be notified by an onscreen message. Once a software
upgrade is complete, your satellite receiver is ready to use. Old software cannot be restored.
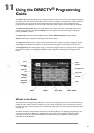
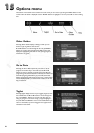
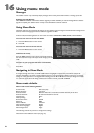
Using Menu Mode
The Menu mode lets you customize the features of your satellite receiver. Categories include General Settings,Access
Control, Preferred Language, Purchases, Installation, Upgrades and Mail.
In Menu mode, the following buttons on the remote are inactive: FAVORITES,THEMES, GUIDE, and ALT AUDIO.
To access the main menu from the Guide:
1. Press the MENU button on the remote.
2. Press OK.
To access the main menu from the TV:
1. Press the MENU button on the remote.
To dismiss the menu:
Press the MENU button on the remote control.This removes
the menu from the screen and accepts all the changes you have
made.
To return to your program and cancel a transaction:
Press EXIT.
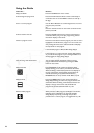
Navigating in Menu Mode
To navigate through the menus, use the 3 and 4 buttons to highlight an option.Then press OK to confirm the
selection and display a sub-menu or dialog. Selecting items on a sub-menu displays a dialog in which you can change
settings or review parameters. To navigate within a dialog, press the 3 and 4 buttons.To accept changes and return
to a sub-menu, press OK. If the dialog contained non-exclusive choices, press OK and BACK.
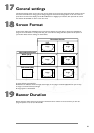
Menu mode defaults
Menu mode has the following defaults:
Screen Format: Full screen (4:3)
Banner Duration: 5 seconds
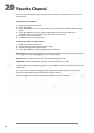
Favorites Names: Maximum 4 lists.List 1, List 2, List 3,List 4.Ten characters per list name
Favorites Channels: All channels selected for each list
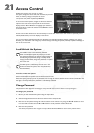
Channel Lock: None
Maturity Rating: R
Per-Purchase Limit: $10.00
Password: 0000
Password Mode: Unlocked
Menu & Guide Language: English
Audio Track Language: English
Dish Configuration*: Single
The following sections tell you how to change these settings.
*Described in the Installation section (see page 17).
16
16