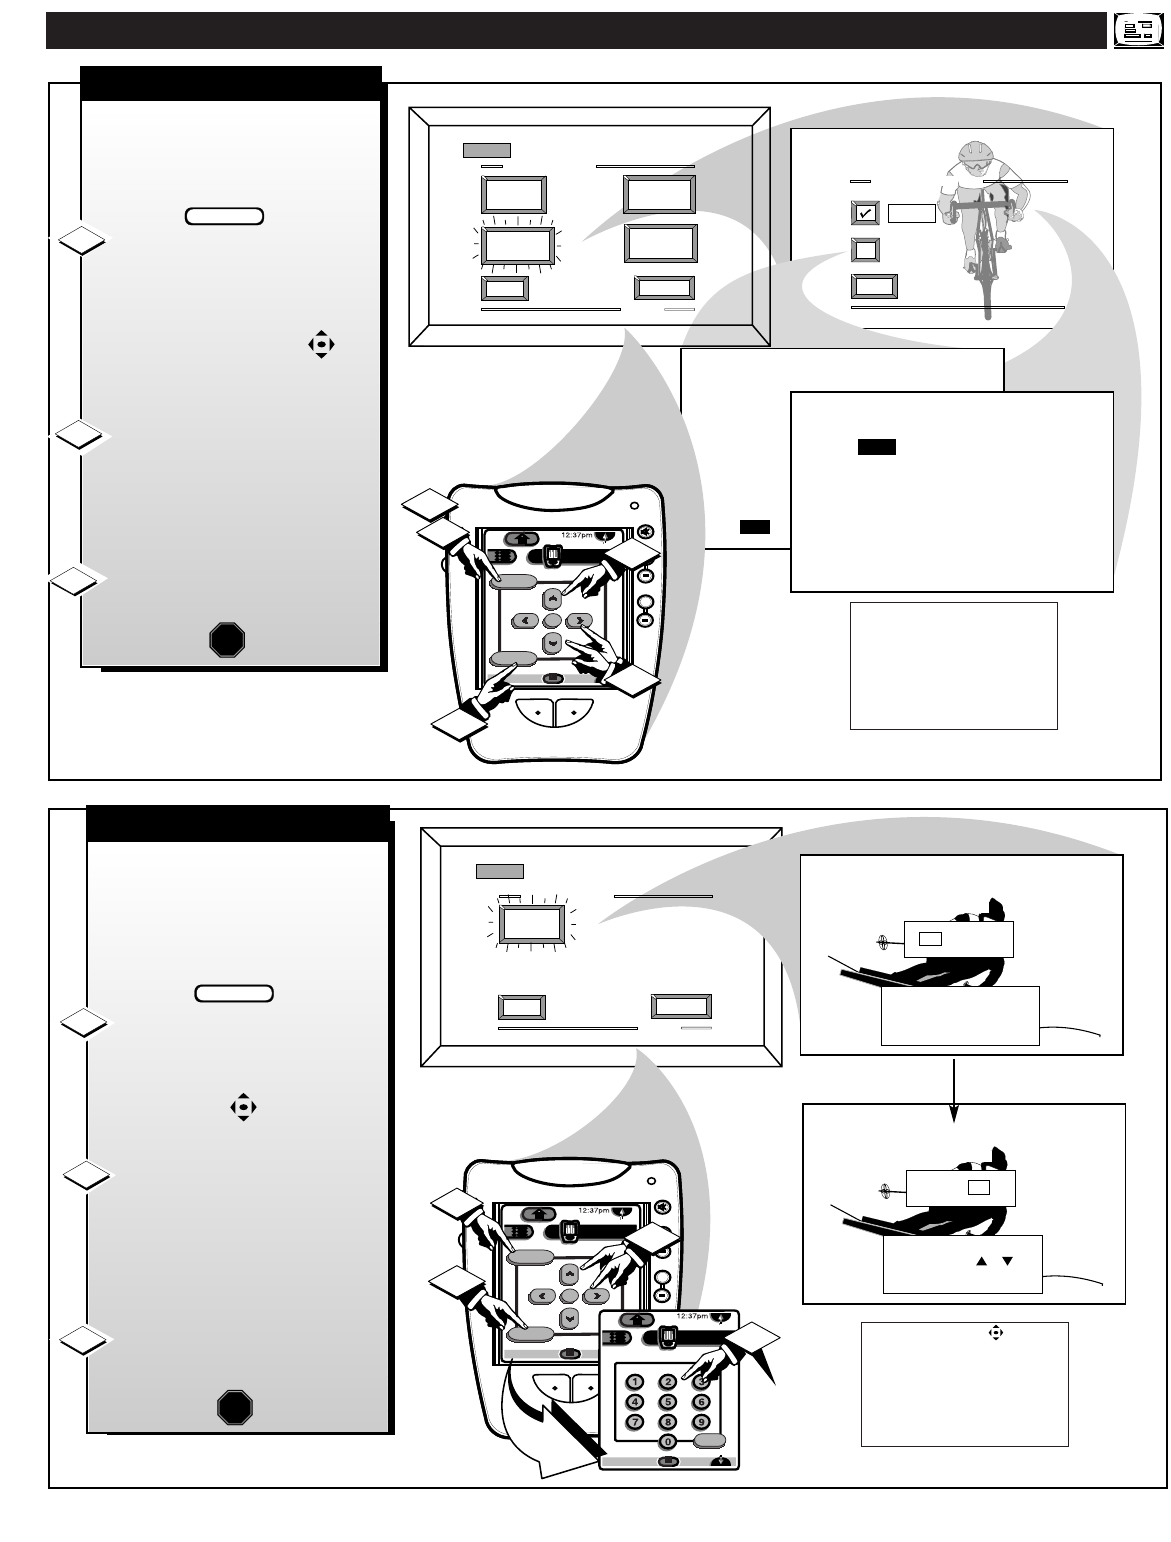
NTSC/ANALOG FEATURE MENU CONTROLS
NTSC
+
+
mute
volume
channel
ok
exit
menu
DTV
Analog
DTV3/3
1
1
9 : 19 AM
SET CLOCK
PLEASE ENTER THE
CURRENT HOUR
9 : 19 AM
SET CLOCK
PLEASE USE or
TO SET AM/PM
DTV
Analog
DTV2/3
A/CH
2
3
FEATURE MENU
EXIT
3 OF 3
SET
CLOCK
MORE...
SET CLOCK
17
FEATURES
EXIT
MAIN MENU
SOUNDPICTURE
1ST TIME SETUP
Y
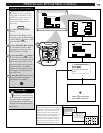
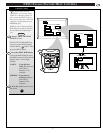
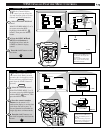
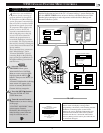
our DPTV comes with an on-
screen clock. During normal
operation the clock appears on the
screen with every channel change
(and when the STATUS button is
pressed).
Select SET CLOCK control.
With FEATURES MENU (3 of 3)
on screen, move the RED highlight
with the MENU buttons. Then
press the MENU button.
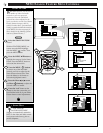
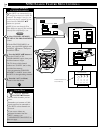
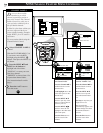
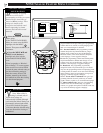
Press the remote's number
buttons (on the remote’s 2/3
touchscreen display) to set the time
clock Note: Be sure to press "0"
first and then the hour number for
single digit hour or minute entries.
Press the “exit” button to set
the clock in operation and clear the
screen.
STOP
1
2
3
BEGIN
NTSC
LARGE
SMALL - CHANNEL/LABEL
EXIT
CHANNEL DISPLAY
2
PBS
+
+
mute
volume
channel
ok
exit
menu
DTV
Analog
DTV4/4
1
2
3
1
2
10:06
2
PBS
FEATURE MENU
EXIT
2 OF 3
DISPLAY
FORMAT
MORE...
CHANNEL
LABELS
CHANNEL
DISPLAY
PARENTAL
CONTROL
CHANNEL DISPLAY
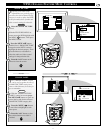
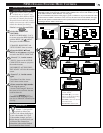
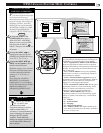
W
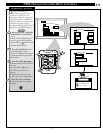
ith the Channel Display
control you can change the
size and location of the on-screen
channel and clock information.
Select CHANNEL DISPLAY
control.
With FEATURES MENU (2 of 3)
on-screen, move the RED
highlight with the MENU
buttons. Then press the MENU
button.
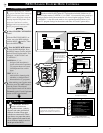
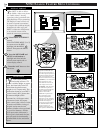
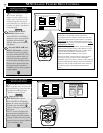
Press the MENU ▲▼ and
MENU (or ok) buttons
to
highlight and select (ߜ) the
LARGE or SMALL display
control.
Press the “exit” button to clear
the screen.
1
2
3
STOP
BEGIN
Channel Display Options
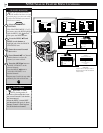
Press the Channel ▲▼ buttons and
you should see the Display Size
you selected.
Note: The SMALL SIZE display
shows only the channel number,
not the time (or clock).
The remote's MENU buttons
can also be used to set the hours,
minutes, and AM/PM portions of
the clock.
DPTV Clock settings may be lost
when the unit is unplugged (or AC
power to the set is interrupted.)


