220
Integrator Mode
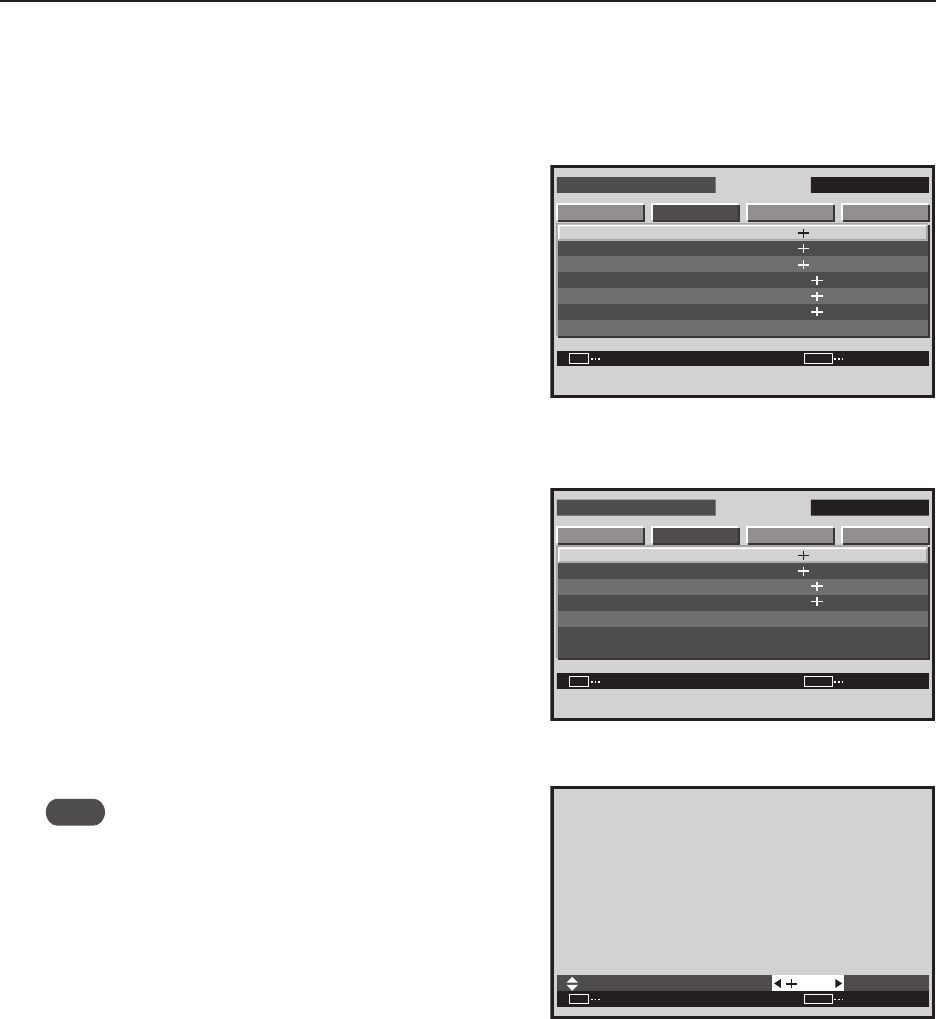
5) SCREEN (Screen Position) Adjustment
The adjustable items are H. POSITION, V. POSITION, CLOCK, PHASE, H. SIZE and V. SIZE.
1 Enter the integrator mode then switch to the input
(INPUT1 to INPUT5) to be adjusted.
2 Select ‘SCREEN’ then select the item to adjust.
In screen 2, when ‘YES’ is selected for the ‘SCREEN
RESET’, all SCREEN values return to the factory settings.
3 Perform the adjustment.
Note
‘CLOCK’ and ‘PHASE’ can be adjusted when there is PC
signal input.
Use the [5/∞] buttons on the remote control or the main-
control panel to select a different item.
Use the [2/3] buttons on the remote control or the main-
control panel to change settings.
The values adjusted here become the menu mode’s initial
values.
Press the [SET] button to return to screen 2.
<Adjustable Range>
H. POSITION, V. POSITION when there is PC signal input: 0 to 255 (initial value: 128)
H. POSITION, V. POSITION when there is video signal input: 0 to 127 (initial value: 64) (When a PDA-5003/PDA-
5004 is used.)
H. SIZE, V. SIZE: 0 to 63 (initial value: 0)
CLOCK: 0 to 255 (initial value: 128)
PHASE: 0 to 31 (initial value: 16)
<Adjustment Order>
Performing adjustment in the following order is effective.
V. POSITION H. POSITION CLOCK H. POSITION CLOCK PHASE
INTEGRATOR INPUT1
ENTER
SCREEN SETUP OPTION
H. POSITOIN
V. POSITOIN
CLOCK
PHASE
SCREEN RESET
H. SIZE
V. SIZE
PICTURE
: 128
: 16
: 32
: 32
: 128
SET
EXIT
MENU
: 128
Screen 2
For PC signal input
:
SET
SET EXIT
MENU
128
H. POSITION
Screen 3
INTEGRATOR INPUT1
ENTER
SCREEN SETUP OPTION
H. POSITOIN
V. POSITOIN
SCREEN RESET
H. SIZE
V. SIZE
PICTURE
: 32
: 32
: 128
SET
EXIT
MENU
: 128
For video signal input
(Applicable only when a PDA-5003/PDA-5004 is
installed.)


