


Recording
06
59
En
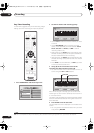
• Depending on your camcorder, you can use this
recorder’s remote to control the camcorder using the
, , , , , and buttons.
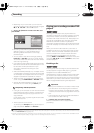
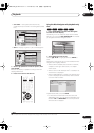
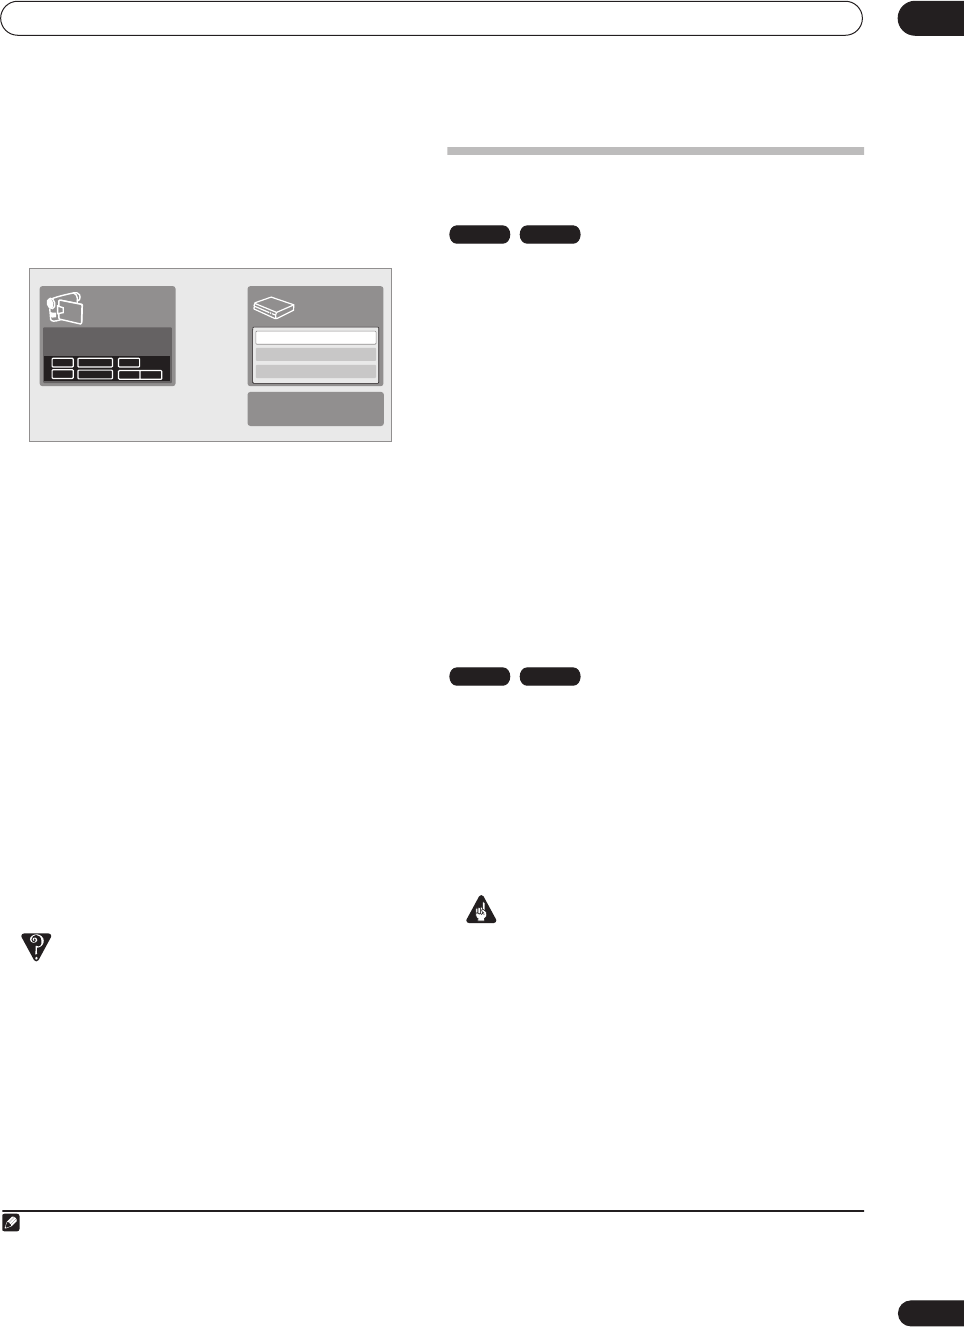
7 Use the / buttons to select ‘Start Rec’ and
press ENTER.
• Recording is automatically paused if the recorder
detects no signal, or a copy-protected signal.
Recording restarts when there is a non-copy-
protected signal.
• You can pause or stop the recording by selecting
Pause Rec or Stop Rec from the on-screen display.
You cannot control the camcorder from this remote
control during recording.
• If you restart recording after stopping the camcorder,
the first few seconds of the camcorder tape will not
be recorded. Use the pause button on your
camcorder instead and recording will start
immediately.
• HDD and DVD-RW (VR Mode) only: A chapter marker
is inserted every time there is a break in the timecode
on the DV tape. This happens when the recording is
stopped or paused then restarted, for example.
• While recording, you cannot exit the DV recording
screen using the HOME MENU or RETURN button.
• See also DV-related messages on page 115 if you
encounter an error while using the DV IN jack.
Frequently Asked Questions
•I can’t get my DV camcorder to work with the recorder!
Check that the DV cable is properly connected. Also
make sure that what you’re trying to record is not
copy-protected.
If it still doesn’t work, try switching off the camcorder
then switch back on.
• There’s a picture, but no sound!
Try switching the DV Input setting (see DV Input on
page 103) between Stereo 1 and Stereo 2.
1
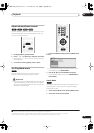
Playing your recordings on other DVD
players
Most regular DVD players can play finalized discs
recorded in Video mode. A number of players (including
many Pioneer models) can also play DVD-RW discs
recorded in VR mode, finalized or not. Most players will
not play VR mode DVD-R discs, although some DVD-
ROM drives and DVD recorders may be able to
(finalization might be necessary). Check the manual that
came with the player to check what kinds of discs it will
play.
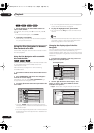
When you finalize a Video mode disc, a title menu is
created from which you can select titles when you play
the disc. There are a number of different styles of title
menu to choose from to suit the content of the disc.
All the title menus are navigated in the usual way,
pressing MENU or TOP MENU to display the menu, then
using the /// followed by ENTER to select titles
and start playback.
Finalizing a disc
Finalizing ‘fixes’ the recordings in place so that the disc
can be played on a regular DVD player or computer
equipped with a suitable DVD-ROM drive.
2
Note that the disc name will appear in the title menu after
you finalize a disc. Make sure the disc name is as you
want it before you finalize the disc as it can’t be changed
afterwards. If you want to rename the disc, see Input Disc
Name on page 95 before starting the steps below.
Important
• Once you’ve finalized a disc recorded in Video mode,
you can’t edit or record anything else on that disc.
However, the finalization on a DVD-RW disc maybe
‘undone’; see Undo Finalize on page 96 for how to do
this.
•A VR mode disc can still be recorded and edited on
this recorder even after finalizing.
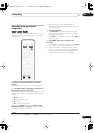
1 Load the disc you want to finalize.
Make sure that the recorder is stopped before
proceeding.
Note
1.If the audio subcode on the DV tape cannot be read correctly, the audio type will not switch automatically. You can switch the audio manually
from the External Audio setting (page 102).
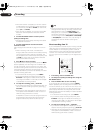
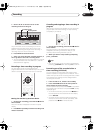
Start Rec
Pause Rec
Stop Rec
SP (2h00m/DVD)
32h45m
Stop Stop
1.02.22
Control with these
buttons
Rem.
HDD
2.If the TV line system of the disc is different to the current setting of the recorder, you will not be able to finalize the disc. See Additional infor-
mation about the TV system settings on page 107 for how to change the recorder’s setting.
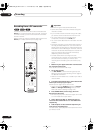
VR mode Video mode
VR mode Video mode
06 Recording.fm 59ページ 2005年2月14日 月曜日 午後7時1分