


DVR User’s Manual
8
2. System Setup
The notices and introduction on system installation will be described
particularly in this chapter. Please follow the description to operate the unit.
In order to prevent the unit from data loss and system damage that caused by
a sudden power fluctuation, use of an Uninterruptible Power Supply (UPS) is
highly recommended.
2.1 Position the Unit
Firstly, note to position / mount the DVR in a proper place and be sure to
power off the unit before making any connections. The placed location should
avoid hindering or blocking the unit from airflow. Enough airflow is needed to
protect the unit from overheating. The maximum allowable temperature of
operating environment is 40°C.
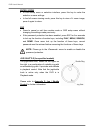
The unit utilizes heat-conducting techniques to transfer internal heat to the
case, especially to the bottom side of the unit.
NOTE: Be sure the rubber feet are not removed, and always leave a
space for air ventilation on the unit’s bottom side.
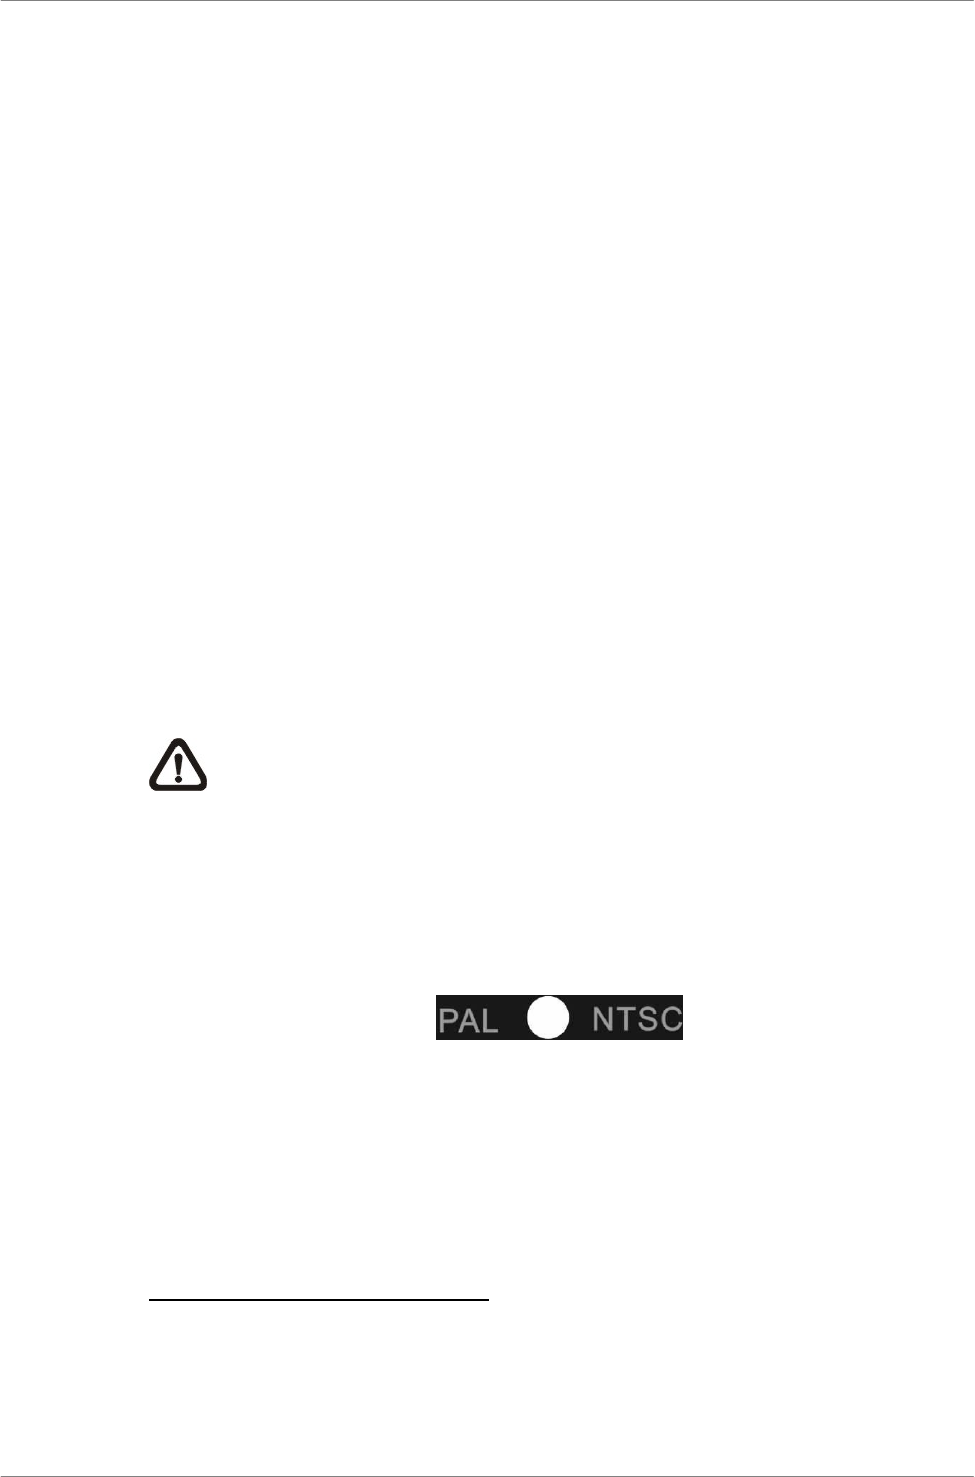
2.2 Select Video Format
The DVR is designed to operate under either NTSC or PAL video formats.
The switch is positioned on the rear panel.
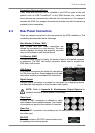
2.3 Connect Devices to the Unit
This section lists some notices that should be given before making any
connections to the DVR.
Connecting Required Devices
Before powering on the unit, cameras and a main monitor should be
connected to the unit for basic operation. If needed, connect a call monitor for
displaying full screen video of all installed cameras in sequence.