6
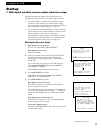
Hooking Up the VCR
Satellite Receiver
CH
3 4
AUDIO
VIDEOR
R
L
IN OUT
IN OUT
VIDEO R AUDIO L
S-VIDEO
CH3
CH4
IN FROM ANT
SATELLITE IN
OUT TO TV
Back of VCR
Back of Satellite Receiver
From
Satellite
Dish
RF Coaxial Cable
Audio/Video Cables
(supplied)
From
Cable, Cable Box
or Antenna
Back of TV
Cable/
Antenna
OR
VHF
UHF
RF Coaxial Cable
(supplied)
75 to 75/300 Ohm
Separator
IN
FROM
ANTENNA
OUT
TO
TELEVISION
MONO
L
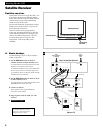
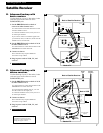
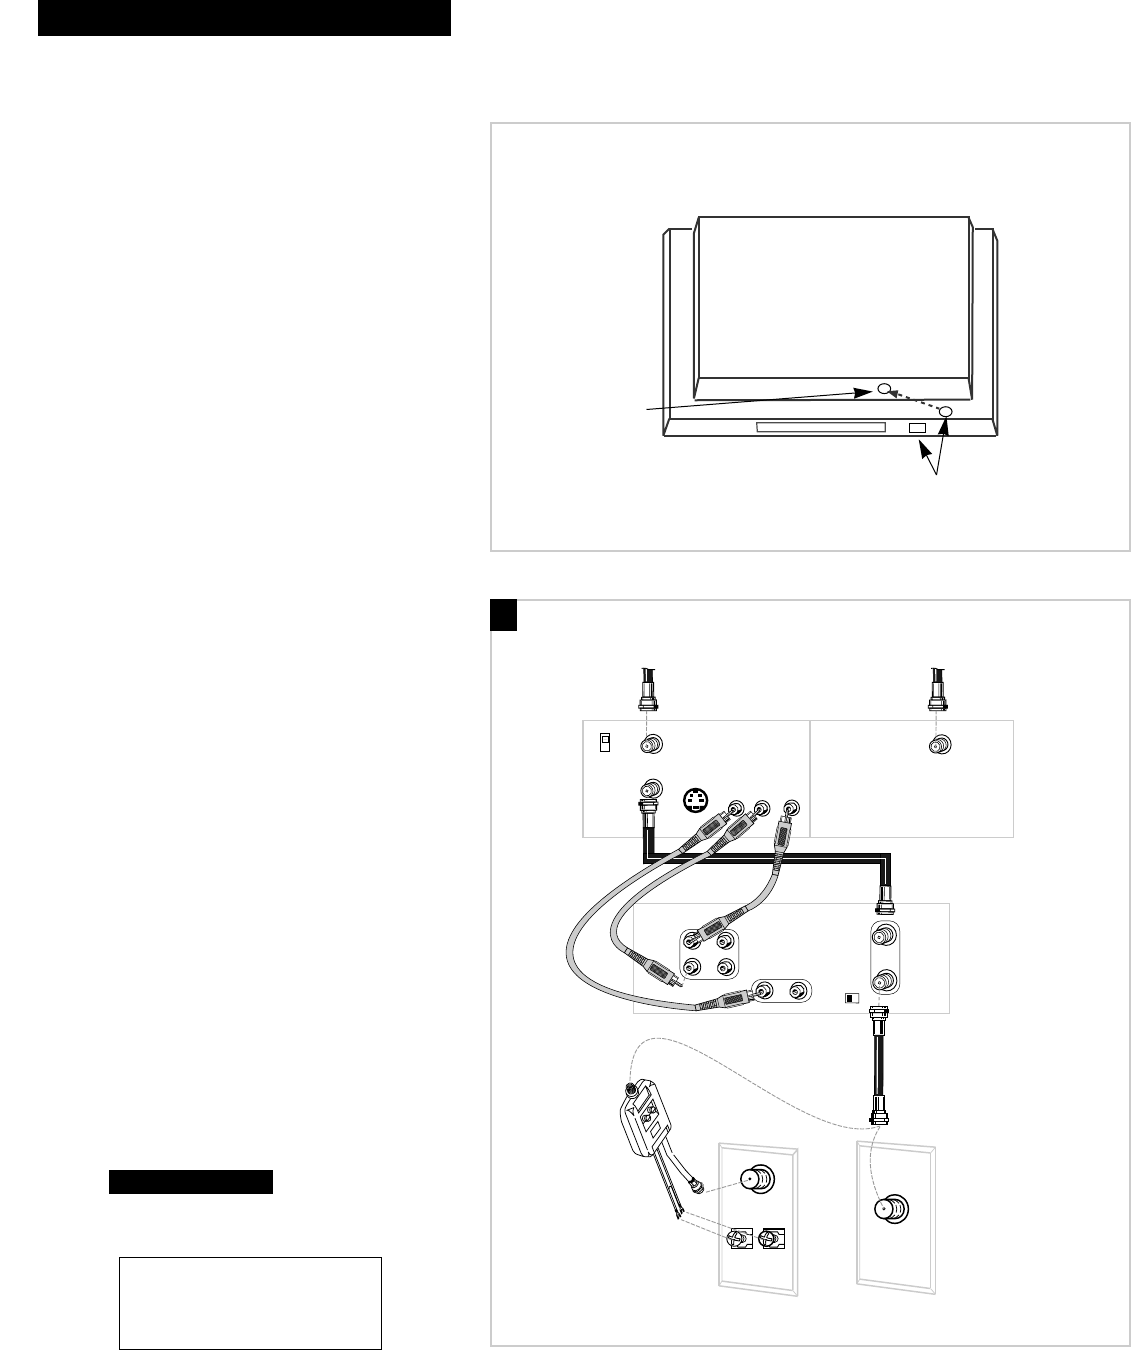
Position receiver.
Position the receiver on top of the VCR. You
may need to position it at different angles
before the VCR can control it. Make sure the
receiver does not cover the transmitting
window on top of the VCR.
Do not stack electronic components or other
objects on top of the receiver. The slots on
top of the receiver must be
left uncovered to allow proper airflow
to the unit. Blocking the airflow to the unit
could impair performance or damage your
receiver and other components. Also, do
not stack the receiver on top of a Òhot
componentÓ such as an audio power
amplifier.
A. Basic hookup.
Use this hookup if your TV does not have
audio/video jacks.
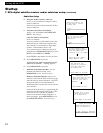
1. Set the CH3 CH4 switch on back of
satellite receiver to either channel 3 or 4.
You will tune the VCR to this channel or its line
input (L1) to record from the receiver.
To watch the satellite receiver, turn off the VCR.
If you want to watch or record the signal from
your antenna, cable, or cable box, make sure the
satellite receiver is turned off.
2. Set the CH3 CH4 switch on back of VCR
to either channel 3 or 4.
You will tune the TV to this channel and use the
TV•VCR button to watch the VCR.
3. Connect as shown.
This connection may require additional
accessories not provided.
4. Plug in power cords of VCR, TV, and
receiver.
5.
Continue to page 9.
A
Caution: The unauthorized recording
of satellite broadcasts, television
programs, or other materials may
infringe the rights of others.
Transmitting
Windows
Remote Sensor
Satellite Receiver


