


Installation
38 D-73d Series Installation/Operation Manual
PRE
L
IMINAR
Y
3.7
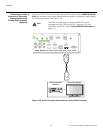
System
Interconnections
Proceed as follows to connect the D-73d system components to each other and to AC
power.
When connecting your equipment:
• Turn off all equipment before making any connections.
• Use the correct signal cables for each source.
• For best performance and to minimize cable clutter, use high-quality cables that are
only as long as necessary to connect two devices. (Don’t use a 20-foot cable when a
6-foot cable will suffice.)
• Ensure that the cables are securely connected. Tighten the thumbscrews on
connectors that have them.
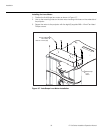
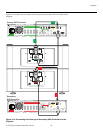
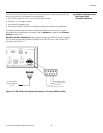
Connecting the Primary
and Secondary DHD
Controllers to the D-73d
Projector
Digital Video Connection: Connect the HDMI Out (To Display) connector on the
Primary DHD Controller to HDMI input on the “left eye” (top) optical engine on the D-73d
projector. Similarly connect the HDMI Out (To Display) connector on the Secondary
DHD Controller to HDMI input on the “right eye” (bottom) optical engine on the D-73d
projector.
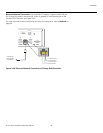
RS-232 Connection: Connect the Display Control output from the Primary DHD
Controller to the RS-232 input on the “left eye” (top) optical engine on the D-73d
projector.
Similarly connect the Display Control output from the Secondary DHD Controller to the
RS-232 input on the “right eye” (bottom) optical engine on the D-73d projector.
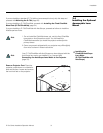
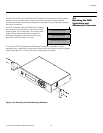
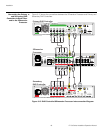
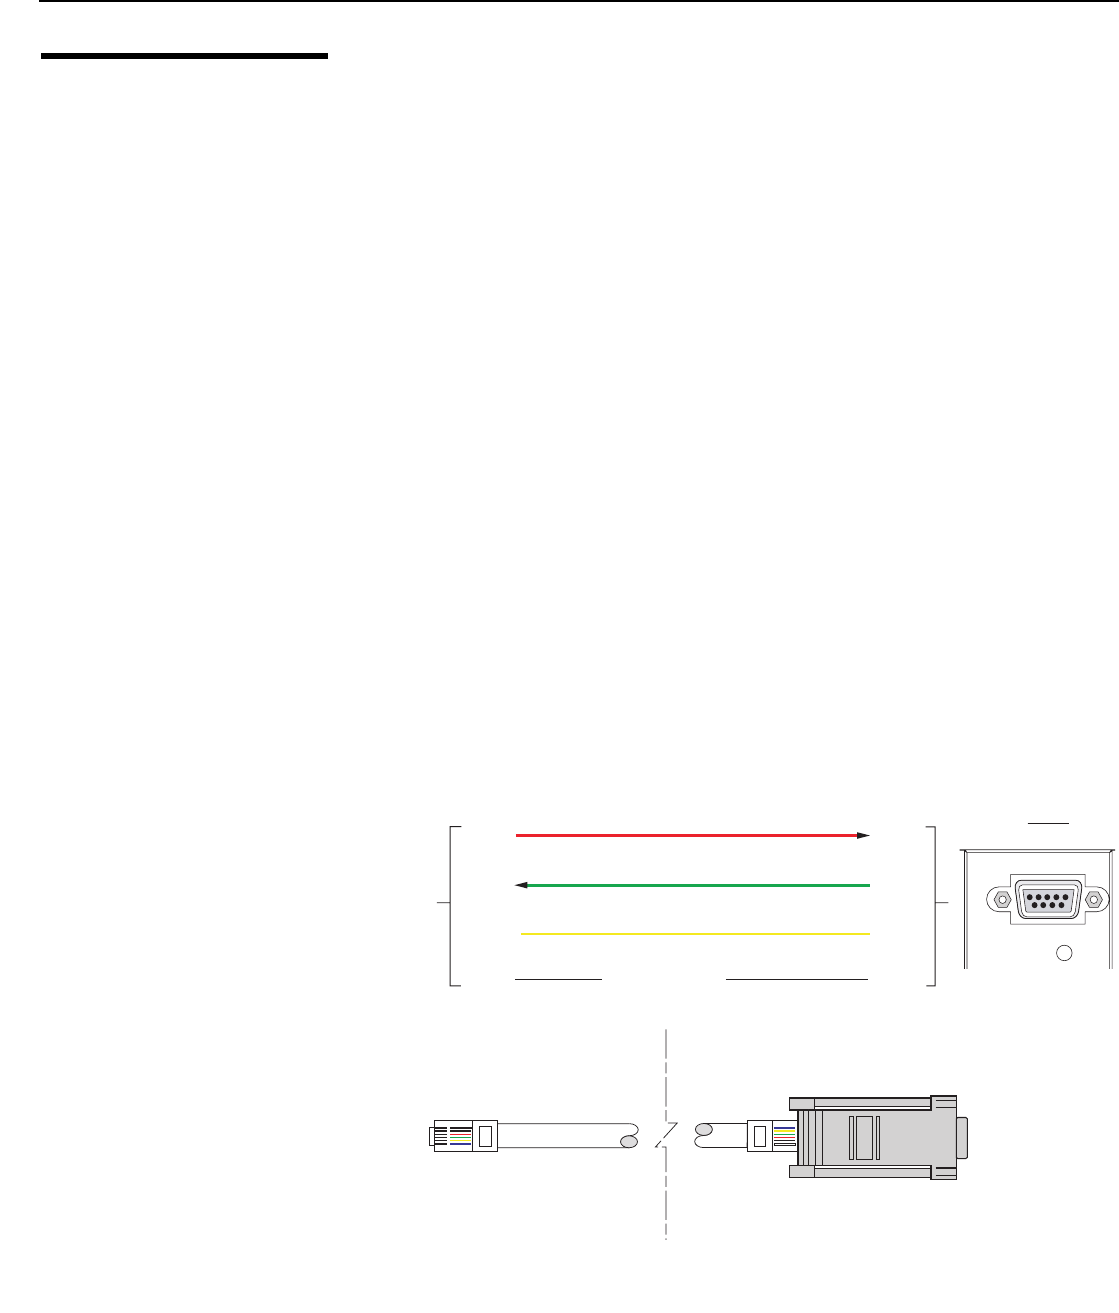
Use the provided modular telephone cables with RJ11 plugs at both ends for the RS-232
connections. These cables have color-coded labels at each end to facilitate these
connections. On the D-73d end, use the provided RJ11-to-DB9 adapters. These
adapters are wired as shown in Figure 3-13.
Figure 3-13. RS-232 Connection from the DHD Controller to the D-73d
➤
3
4
RCV DATA
3
2
XMT DATA
2
5
SIG GND
NO CONNECTION
1, 5, 6
1, 4, 6,
7, 8, 9
To/From
DHD
Controller
6-position
RJ-11 Male
DB-9 Male
6
1
1
6
RS-232
RS-232