


Installation
D-73d Series Installation/Operation Manual 53
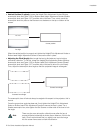
PRE
L
IMINAR
Y
Anamorphic Lens
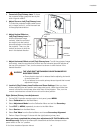
Installation
(D-73d/CineWide with
AutoScope Only)
If you are installing a D-73d/CineWide with AutoScope, install the anamorphic lenses as
described in the section entitled D-73d/CineWide or D-73d/CineWide with
AutoScope - Shasta Anamorphic Lens Installation on page 57. Ensure that the
AutoScope lens motor power switch is in the “off” position and the lenses are out of the
light path.
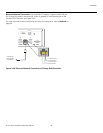
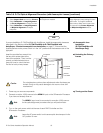
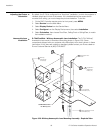
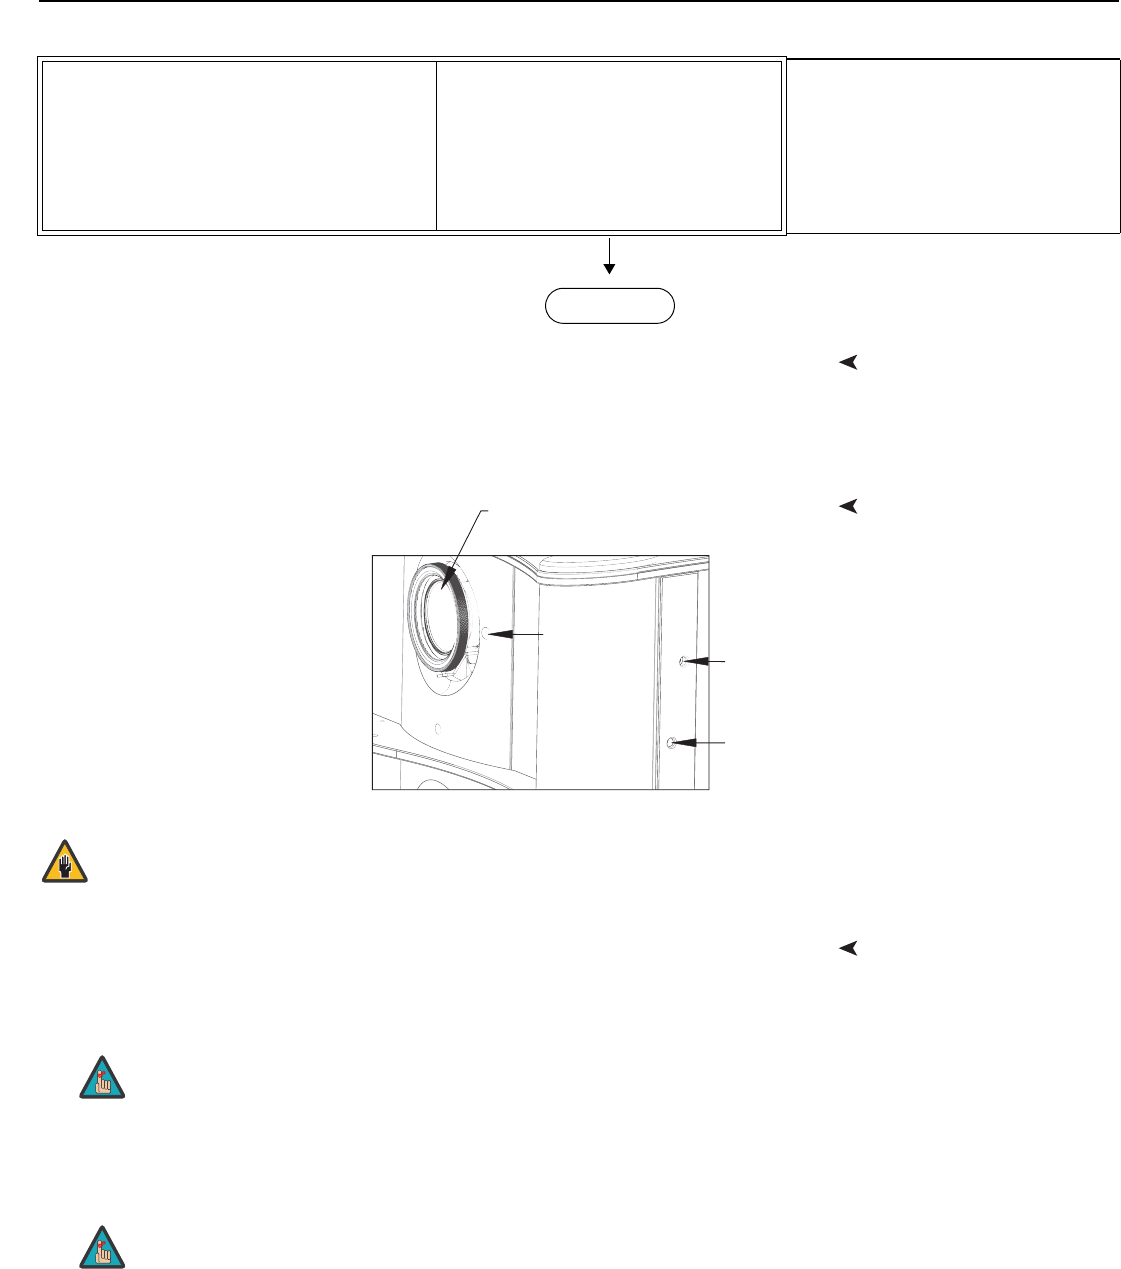
Unlocking the Primary
Lenses
Insert the provided hex wrench into
the lens lock access hole at the
front of the projector. Then, turn the
wrench counterclockwise two or
three full turns to unlock the lens.
Do this for both primary lenses.
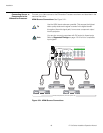
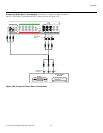
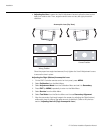
Turning on the Power1. Power up your source components.
2. Connect an active, 1080p source to the HDMI 1 input on the 3Dimension Processor
if you have not already done so.
3. Turn on the main power switch at the rear of each DHD Controller and the
3Dimension Processor.
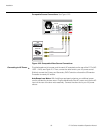
DHD
1. Select Aspect Ratio and set it to Cinema.
2. Select Calibration -> Image Alignment
-> Corner Alignment and adjust corners.
3. Select Calibration -> Image Alignment
-> Midpoint Alignment and adjust
midpoints.
Projector
No adjustment needed.
Note: The DHD Controller saves the
Image Alignment (warp) settings for each
aspect ratio. To program additional
aspect ratios, select each one and use
the controls in the Corner Alignment
and Midpoint Alignment menus.
Table 3-6. D-73d Optical Alignment Procedure (with Anamorphic Lenses) (continued)
END
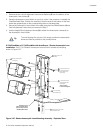
Do not attempt any primary lens adjustments when the lenses are
locked. Doing so may cause damage to the zoom or lens shift
mechanisms.
Vertical
Lens Shift
Horizontal
Lens Shift
Projection
Lens
Lens Lock
Caution
The HDMI 1 input must be connected to an active 1080p source
for the optical alignment procedure that you will perform later.
Leave the AC power switch on the anamorphic lens transport in the
“off” position for now.
Note
Note