


Installation
54 D-73d Series Installation/Operation Manual
PRE
L
IMINAR
Y
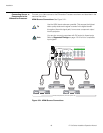
4. Press the ON button on the remote control (or the ON/STANDBY ( ) button on the
Primary DHD Controller front panel) to turn on the system. The vacuum fluorescent
display on the Primary DHD Controller front panel briefly displays “Initializing System,”
followed by “Starting D-73d.”
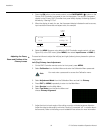
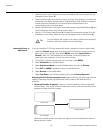
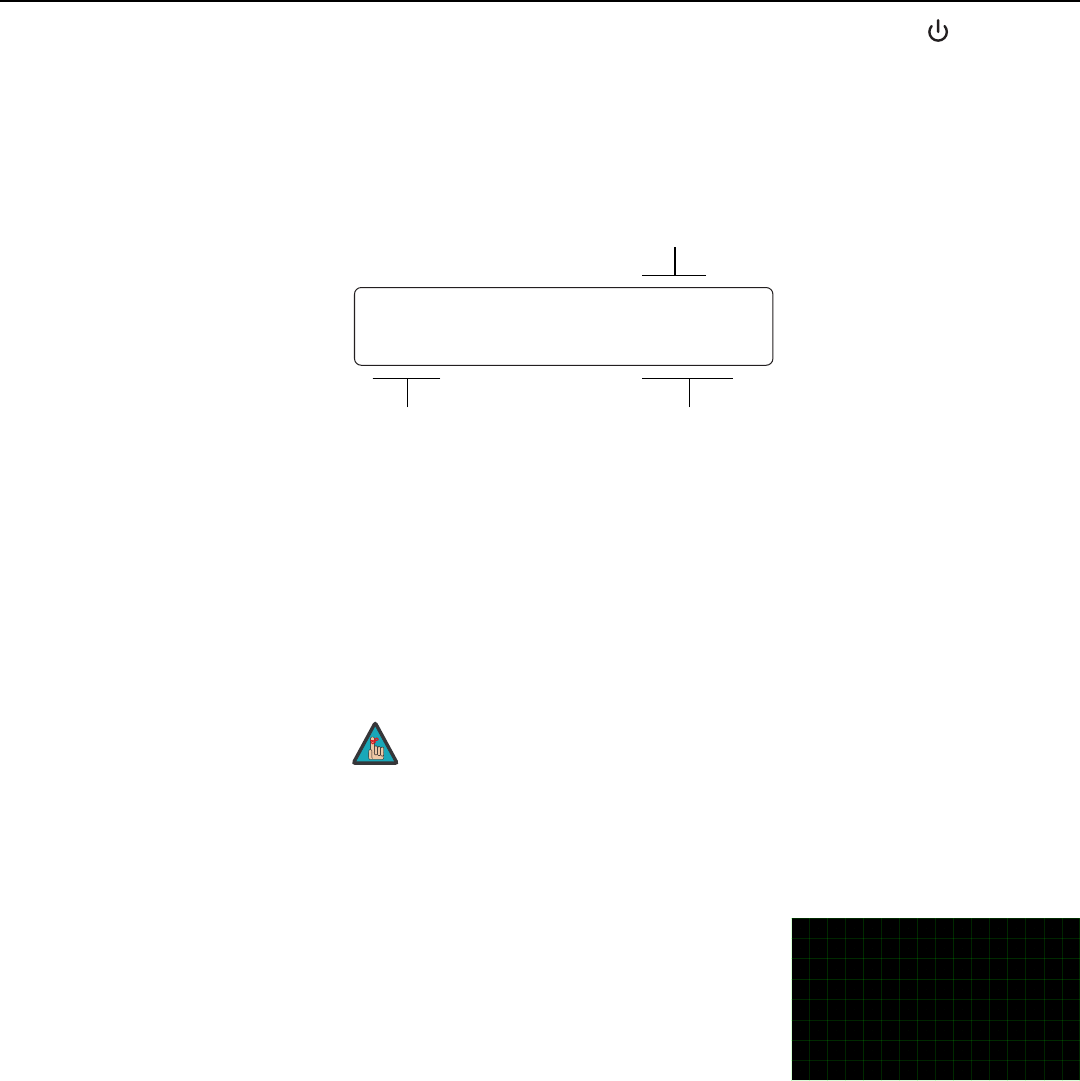
5. When the display is ready for use, the fluorescent display indicates the active source,
input resolution/frame rate and aspect ratio; for example:
6. Select the HDMI 1 source using either the DHD Controller remote control unit (see
Figure 2-8) or the OSD menu (press MENU, then select Input Source -> HDMI 1).
Adjusting the Focus,
Zoom and Position of the
Primary Lenses
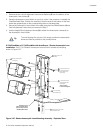
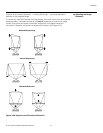
Proceed as follows to adjust the left (top) and right (bottom) primary lenses for optimum
image quality.
Left (Top) Primary Lens Adjustment:
1. On the DHD Controller remote control or front panel, press MENU.
2. Select Calibration from the Main Menu and enter the Calibration Menu passcode.
3. Select Adjustment Mode from the Calibration Menu and set it to Primary.
4. Press EXIT (or MENU) repeatedly to return to the Main Menu.
5. Select Service from the Main Menu.
6. Select Te st Video from the Service Menu and
choose Primary Alignment.
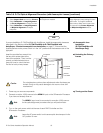
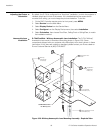
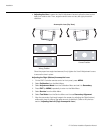
7. Adjust the front-to-back angle of the ceiling mount to minimize keystone distortion.
Adjust the side-to-side angle to minimize “clocking” (unwanted “roll” or rotation about
the lens axis). Refer to the ceiling mount installation instructions for more information.
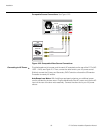
HDMI 1
16:9 1080i/60
Current
Source
Aspect Ratio
Input Resolution/Frame Rate
D-73d
1080p/60
➤
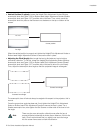
You must enter a passcode to access the Calibration menu.
Note