


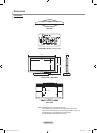

English - 112
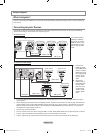
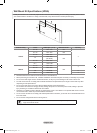
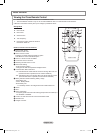
Auto Wall-Mount Adjustment (Sold separately)
Once the auto wall mount is installed, your TV’s position can be easily adjusted.
This function is optional and may not be supported.
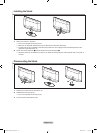
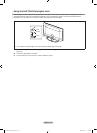
TV Rear Panel
Auto Wall-Mount
EX-LINK Cable
(Not supplied)
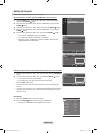
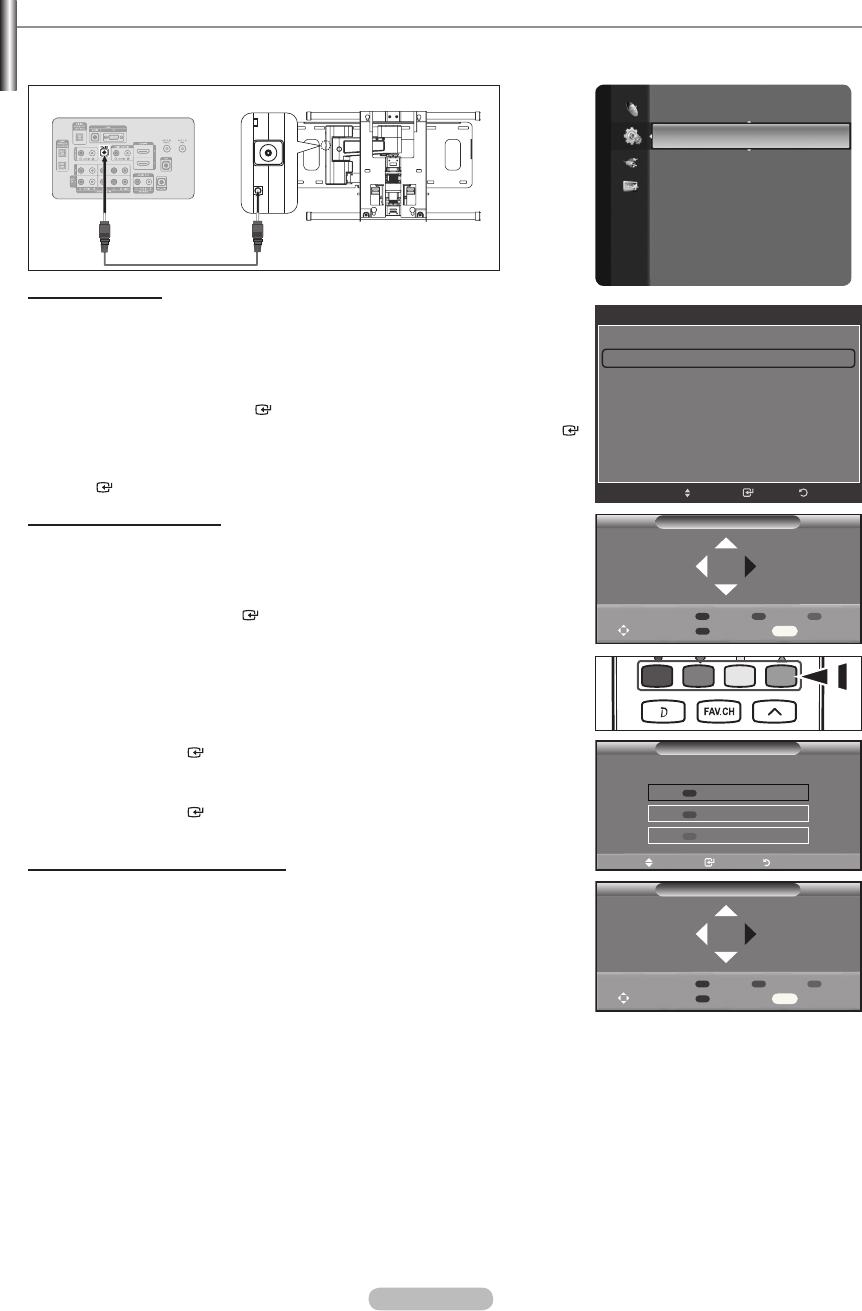
Entering the menu
1. Press the ▲, ▼, ◄ or ► button on your remote control.
The Wall Mount Adjustment screen is displayed.
If the Wall Mount Adjustment screen is not displayed when clicking on a
direction button while watching your TV, use the menu to display that screen.
Press the MENU button to display the menu. Press the ▲ or ▼ button to select
“Setup”, then press the ENTER button.
Press the ▲ or ▼ button to select “External Settings”, then press the ENTER
button.
Press the ▲ or ▼ button to select “Wall-Mount Adjustment”, then press the
ENTER button.
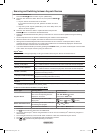
Remembering the Position
2. Adjust to the desired position using the ▲,▼,◄,► buttons.
If you press an arrow button when no OSD is displayed on the TV screen,
the Adjustment screen appears.
Press the INFO button to reset. Press the ◄ or ► button to select “Yes”,
then press the ENTER button. The position is initialized to the default
setting.
3. Press the Blue button.
Press the ▲ and ▼ buttons to select a save mode from either Position 1,
Position 2 or Position 3 in order to save the current position.
To not save the current position, press the RETURN button.
When selecting a save mode, you cannot use the Color buttons.
4. Press the ENTER button to save.
When Position1 is selected, the message “Current position saved as
Position1” is displayed.
5. Press the ENTER button.
The saved Position appears on the left side of the OSD.
Moving to the remembered position
1. Complete Step 1 of “Entering the menu”.
2. Pressing a Color (Red, Green, Yellow) button moves the auto wall mount to
the saved position.
You can move the wall mount to one of the 3 pre-set positions by pressing
the Red (Position 1), Green (Position 2) or Yellow (Position 3) buttons.
If you adjust the Position after moving to a pre-set position, the position
display will disappear.
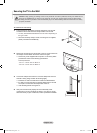
For installation, refer to the Installation Manual provided with the wall mount.
For product installation and the installation and moving of the wall mount, make sure to consult a specialized
installation company.
This installation manual is to be used when attaching the wall mount to a wall. When attaching to other building
materials, please contact your nearest dealer.
The auto wall mount will not work when Anynet
+
or WISELINK is operating.
LN40A620A1F models are not compatible with the older wall mount model (WMN5090A).
The Auto Wall-Mount and RJP (Remote Jack Pack) will not work at the same time.
When the Auto Wall-Mount is connected to EX-LINK, the AV Control and the Clone Remote Control do not work.
When the Auto Wall-Mount is not connected to EX-LINK, the AV Control and the Clone Remote Control work through
the RJP JACK.
When the Auto Wall-Mount is not connected to EX-LINK and the RJP is connected to the RJP JACK, the AV Control
and the Clone Remote Control do not work.
➣
➣
➣
•
•
•
➣
➣
➣
➣
➣
➣
➣
➣
➣
➣
➣
➣
➣
➣
➣
➣
➣
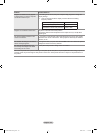
Setup
V-Chip
Caption
ExternalSettings ►
Entertainment : Off
Energy Saving : Off
PIP
CableCARD™
CableCARD Setup
Software Upgrade
External Settings
Melody : Medium
Wall-Mount Adjustment
ReturnEnter
Move
Save
Select a mode to Save.
Position1
Position2
Position3
Move Enter Return
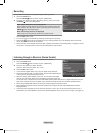
.QZ ABC DEF
GHI JKL MNO
PRS TUV
GUIDE
ON-DEMAND
WXY
ENG/NUM/SYM
LAST
PAGE
NEXT PAGE
DELSPACE
PREV. PAGE
DATA-SERVICE
Wall-Mount Adjusment
Adjust Save Center
INFO
1 2 3Position
Wall-Mount Adjusment
Adjust Save Center
INFO
1 2 3
Position1
Position
BN68-01800A-01Eng.indb 112 2008-10-24 �� 10:44:44