4-4 CUE Menu
4-46 Chapter 4 Menu Settings
Chapter 4 Menu Settings
To copy time data of a cue point to another
cue point specified in the CUE menu
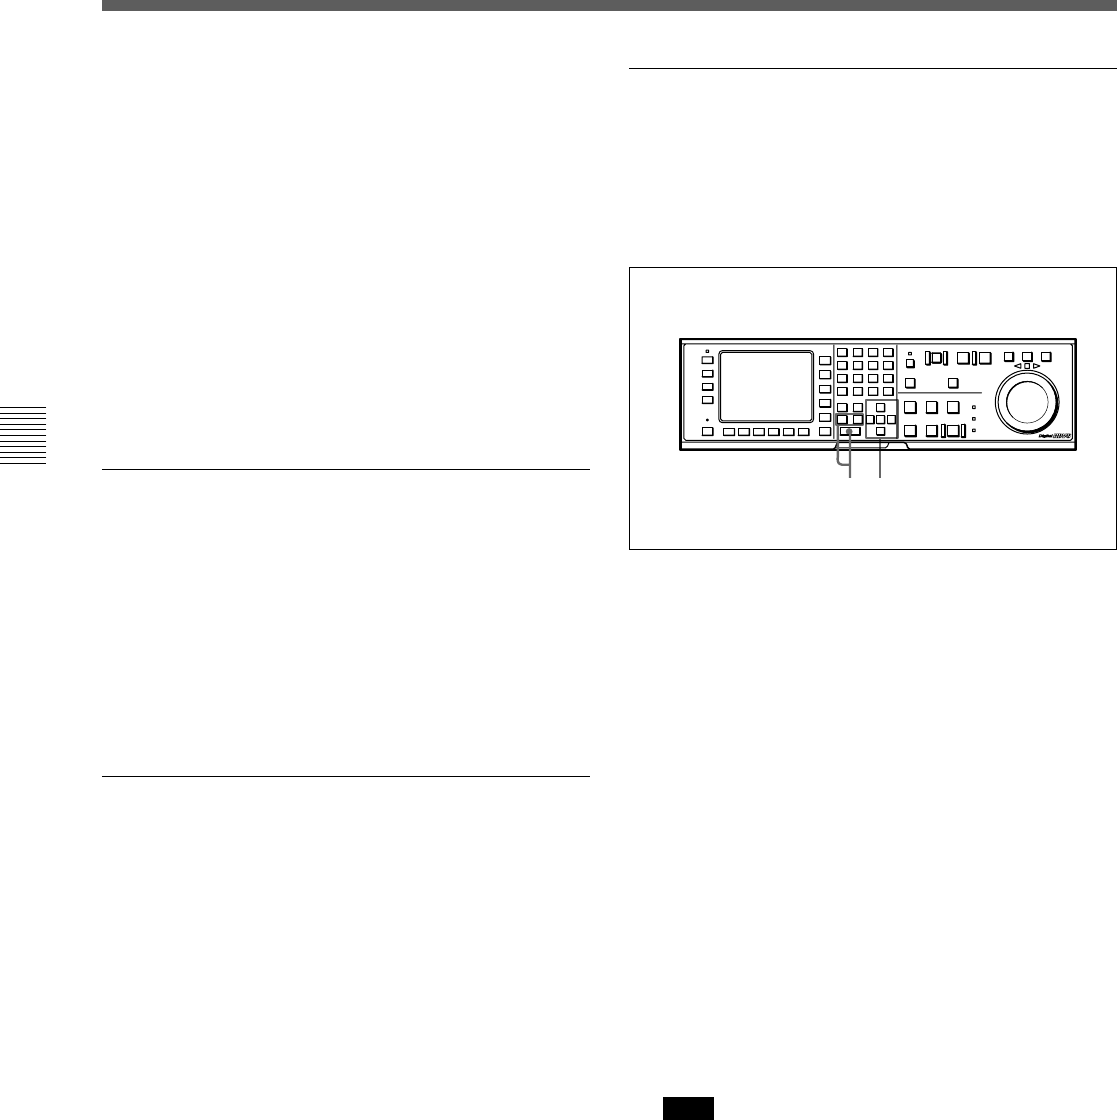
1 Press the ALT/[F4] (COPY to CUE) buttons.
A message appears (in the control panel display)
requesting confirmation of the copy operation.
To cancel the copy operation
Press the CLR button.
2 Press the [F4] (COPY to CUE) button while
pressing down the SFT button.
The time data of the cue point is copied to the cue
point indicated in the CUE menu.
Changing Mrk data
Use the cursor buttons to move the cursor to the line
with the mark attribute to be changed, and then press
the [F6] (MARK) button. Or, move the cursor directly
to the mark attribute to be changed, and then press the
[F4] (CHANGE DATA) button. In both cases, each
press of the button changes the attribute as follows:
OK n NG nKP (keep temporarily) n blank (no
attribute).
Changing the recording starting point
setting
Use the cursor buttons to move the cursor to the
recording starting point section. Then press the [F4]
(CHANGE DATA) button. Each press of the button
turns the setting on (the @ indication appears) or off
(the @ indication disappears).
Entering and modifying IN/OUT point data
You can use either the ENTRY button or the numeric
buttons to enter and modify IN/OUT point data.
To enter or modify IN/OUT point data using
the ENTRY button
1 Use the cursor buttons to move the cursor to the
IN/OUT section on which the current time code is
to be entered or replaced.
To move the cursor using the numeric
buttons
With the cursor specifying Time, Mrk, IN, OUT or
the recording starting point section in the TELE
FILE menu display, enter the line number using
the numeric buttons. Then press the [F9]
(CUENUM POINT) button. The cursor will move
to the line specified by the numeric buttons.
2 Press the IN button (to enter IN point data) or OUT
button (to enter OUT point data) while pressing
down the ENTRY button.
The current time code is entered as the IN/OUT
point data or it replaces the existing IN/OUT point
data.
Note
If the cursor is not on the IN/OUT section when
pressing the IN/OUT button while pressing down
the ENTRY button, the current time code is
entered as the Time data or it replaces the existing
Time data. When pressing the ENTRY button
only, the Time data is entered or replaced
regardless of the cursor position.
1
2


