18 (GB)
Using On-screen Menus
Using On-screen Menus
Operating Through Menus
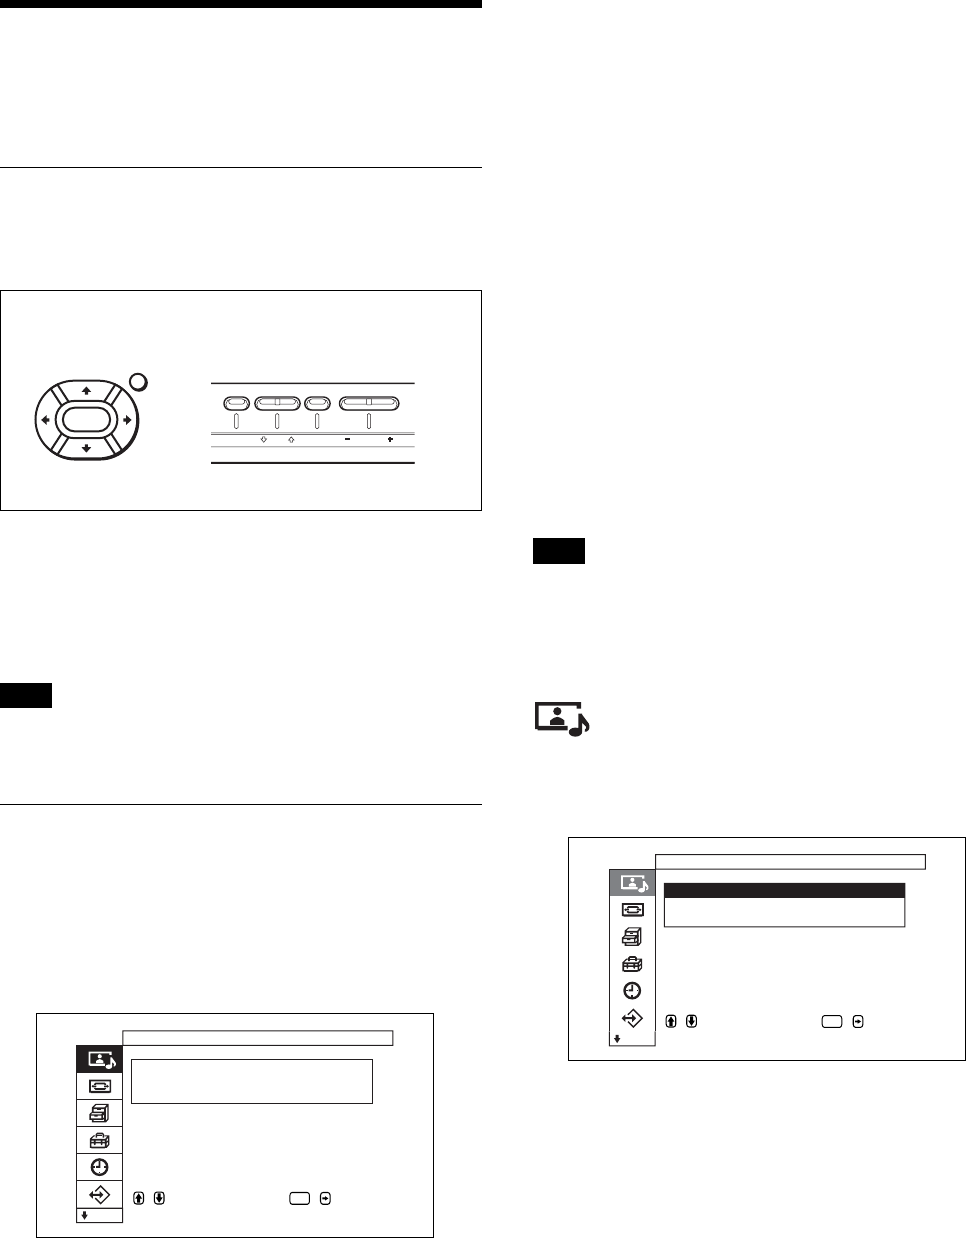
Menu operating buttons
Use the buttons on the display unit or the Remote
Commander for menu operations.
ENTER
MENU
MENU ENTER VOLUME
Operation is explained in these operating instructions
for the case of operation using the Remote
Commander. The M/m and ENTER buttons on the
Remote Commander have the same functions as the
M/m and ENTER buttons on the display.
Note
Operation may differ in some cases since there is no
</, button on the display.
Configuration of the menu
To select the language used in the menu, see page
41 (GB).
1 Press MENU.
The main menu appears on the display panel.
,toselect, ,to
ENTER
Picture/Sound Control
Picture Mode :Standard
Adjust Picture
Adjust Sound
enter adj. menu
2 Press M/m to move the cursor (yellow), and press
ENTER to select a menu.
The cursor moves to the next menu.
3 Press M/m to move the cursor (yellow) and press
ENTER to select an item.
The menu for the selected item appears on the
display panel.
Settings are similarly selected when the next menu
is displayed.
4 Press M/m to adjust or select the setting and press
ENTER to set.
The setting is registered and the menu returns to
the previous menu.
To return to the normal screen, press the MENU
button.
To move between menu levels, use the </,
buttons.
If you want to use the MENU button to move between menu
levels, see “MENU Function” on page 23 (GB).
Menu Guide
Note
Items that cannot be set or adjusted by an input signal
have a dark gray colored background. In addition, the
message “Adjustment not possible” is displayed on
the bottom of the screen.
Picture/Sound Control menu
Adjusts the image quality and sound quality of images
displayed on the display.
,toselect, ,to
ENTER
Picture/Sound Control
Picture Mode :Standard
Adjust Picture
Adjust Sound
set
Picture Mode
Sets the image quality mode to match the surrounding
brightness or the pattern.
For details, see “Selecting Image Quality” on page 30
(GB).
Remote Commander Control button section
