3-2. Setup – Display Mode
Press the SETUP button and enter the password. The setup menu is displayed as picture below. Select
DISPLAY icon and press SEL button to enter the setup menu item. Navigate through the menu items using
the control button (◀ ▲ ▶ ▼) and change the value of the menu item using the control button
(◀ ▲ ▶ ▼). To return to setup menu screen, press the ESC button.
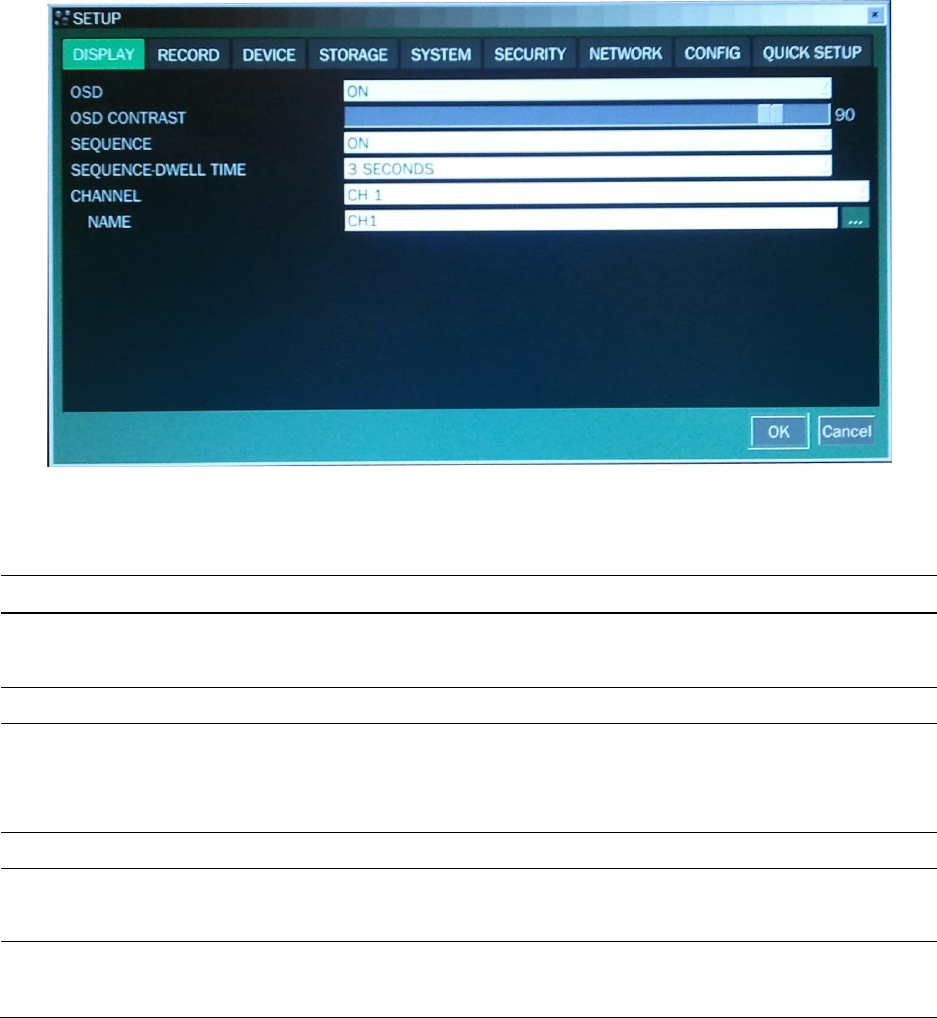
Figure 3.2.1. Display Mode Setup Screen
Table 3.2.1. Menu Items in DISPLAY Mode Setup
Enable/disable on-screen-display.
Select ON: show it on the screen, Select OFF: Disappear on the screen.
Enable/disable sequential display of video in full screen mode.
Set the dwell time of each,
single channel display in sequential display mode (3~60seconds)
Quad or 9 channels display in sequential display mode (1-60seconds)
Set the visibility level of the On Screen Display (OSD).(0-100)
Select a channel for applying the following settings using the control
button (◀ ▲ ▶ ▼). Press SEL button to change the channel.
Set the channel name. Press SEL button and set the channel name
and select OK using the control button (◀ ▲ ▶ ▼).
3-3. Setup – Recording Mode
Press the SETUP button and enter the password. The setup menu is displayed as picture below. Select
RECORD icon and press SEL button to enter the setup menu item. Navigate through the menu items using
the control button (◀ ▲ ▶ ▼) and change the value of the menu item using the control button (◀ ▲ ▶
▼). To return to setup menu screen, press the ESC button.


